Candle making tips
March 02, 2020 | 4 minute read
I’ve been making candles for close to 3 months now, and below are some tips I found to be helpful.
Get a scale to help measure wax
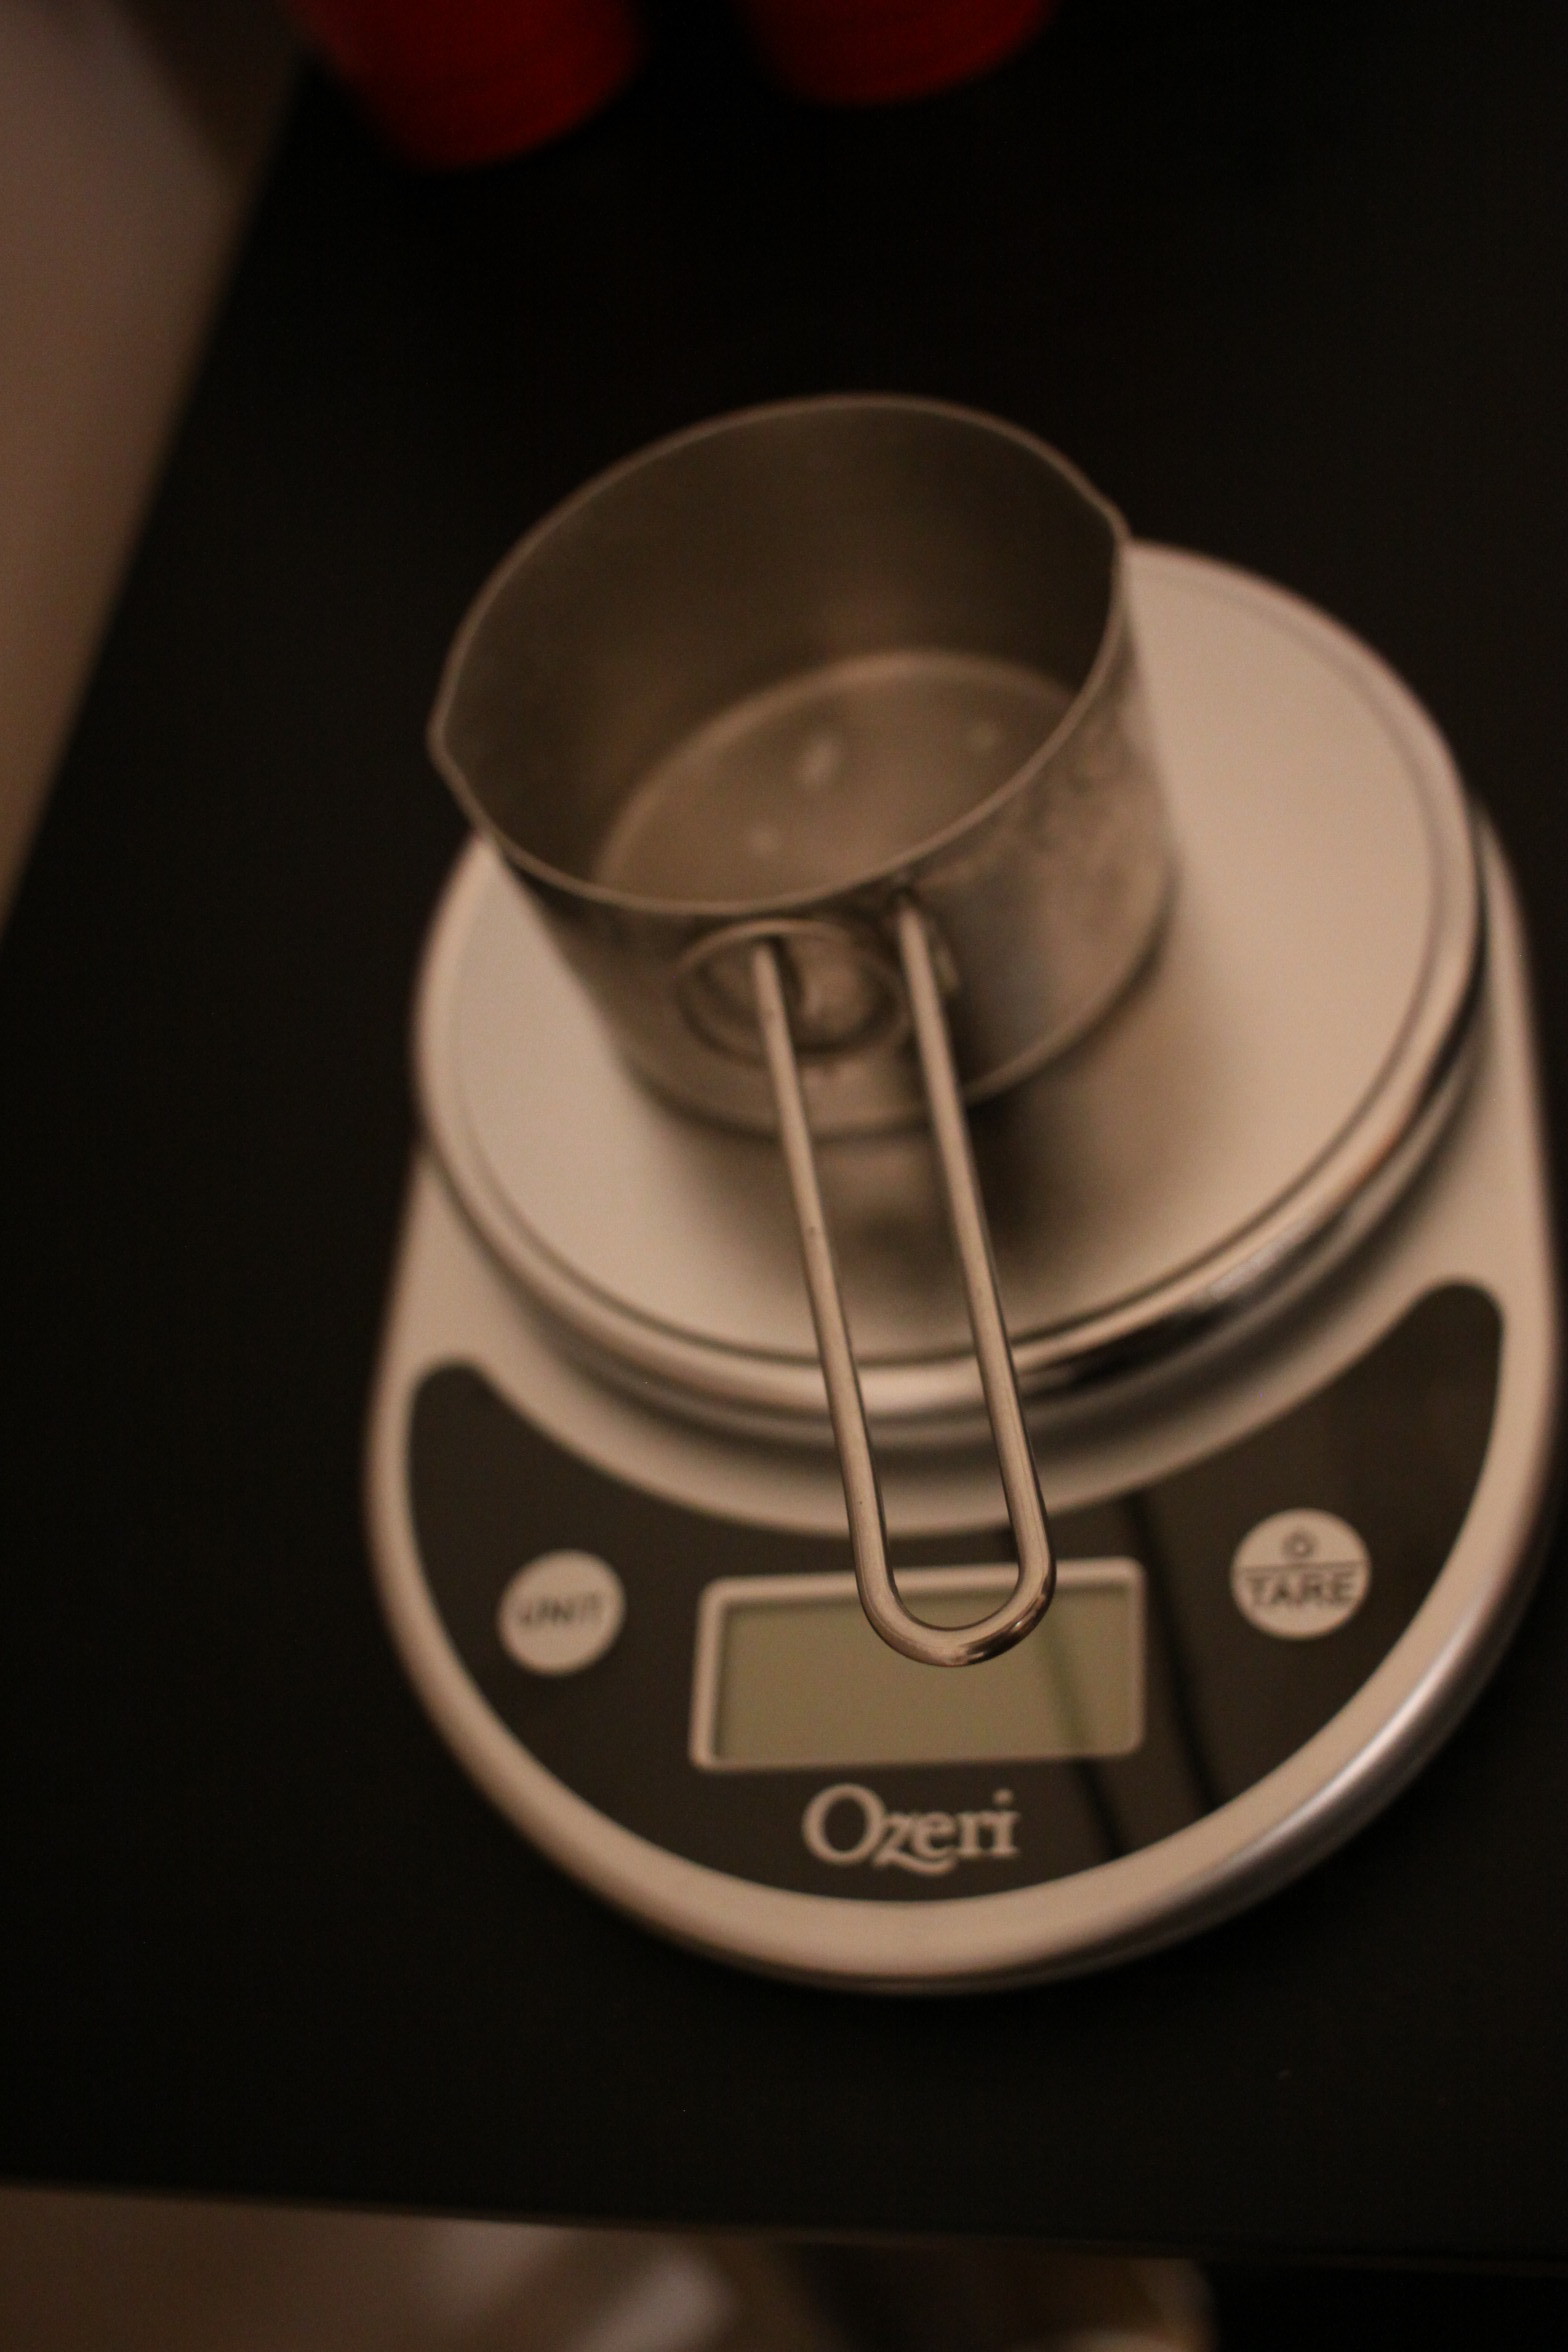
Cup measuring spoon on a measuring scale.
Measure by weight rather than volume. And use tools that are equipped to measure so.
When I first started out, I used measuring cups to do my measurements. I was measuring by volume, and this resulted in inconsistent wax pours between batches. Once I switched over to measuring by weight with a scale, my pours were a lot more consistent.
Get cheap candle tins for testing
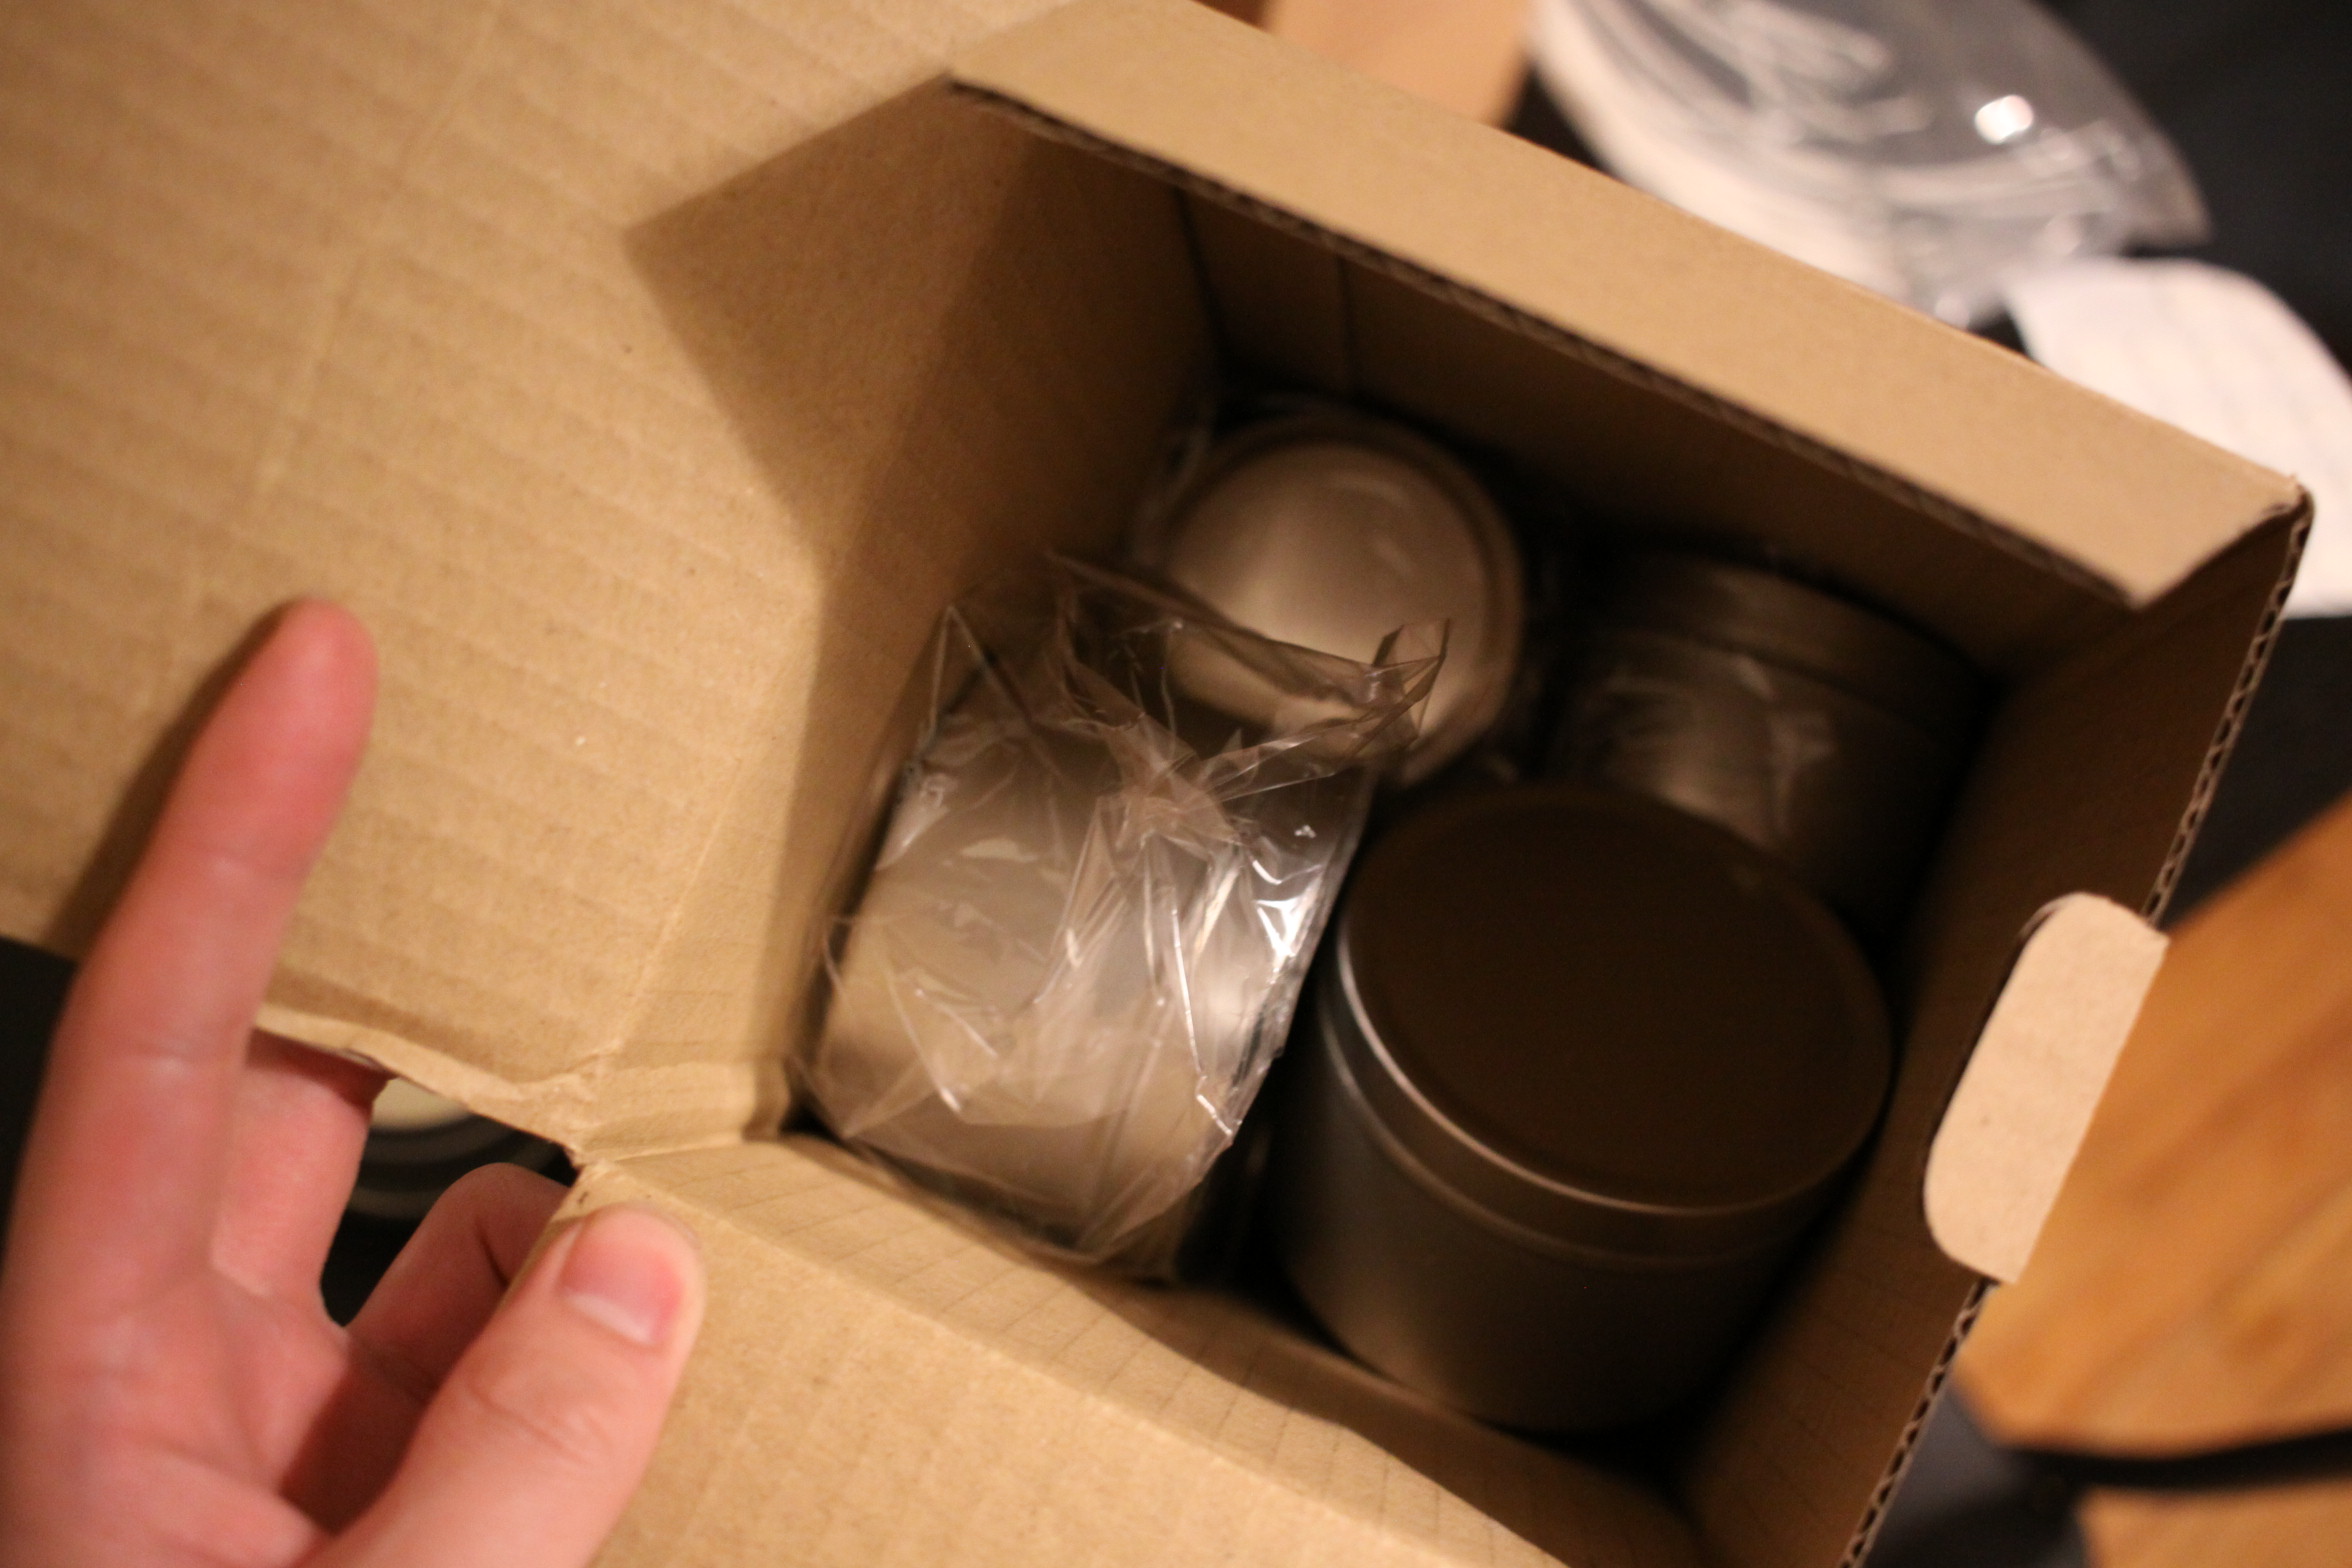
Cheap candle tins.
I’d say it’s guaranteed that your first couple of batches will have some sort of fault with them. To minimize wasted supplies, I’d suggest practicing with cheap, small, tin candle containers first. I’ve found glass to be a bit more expensive and less forgiving to work with.
Buy 1oz fragrance oils first
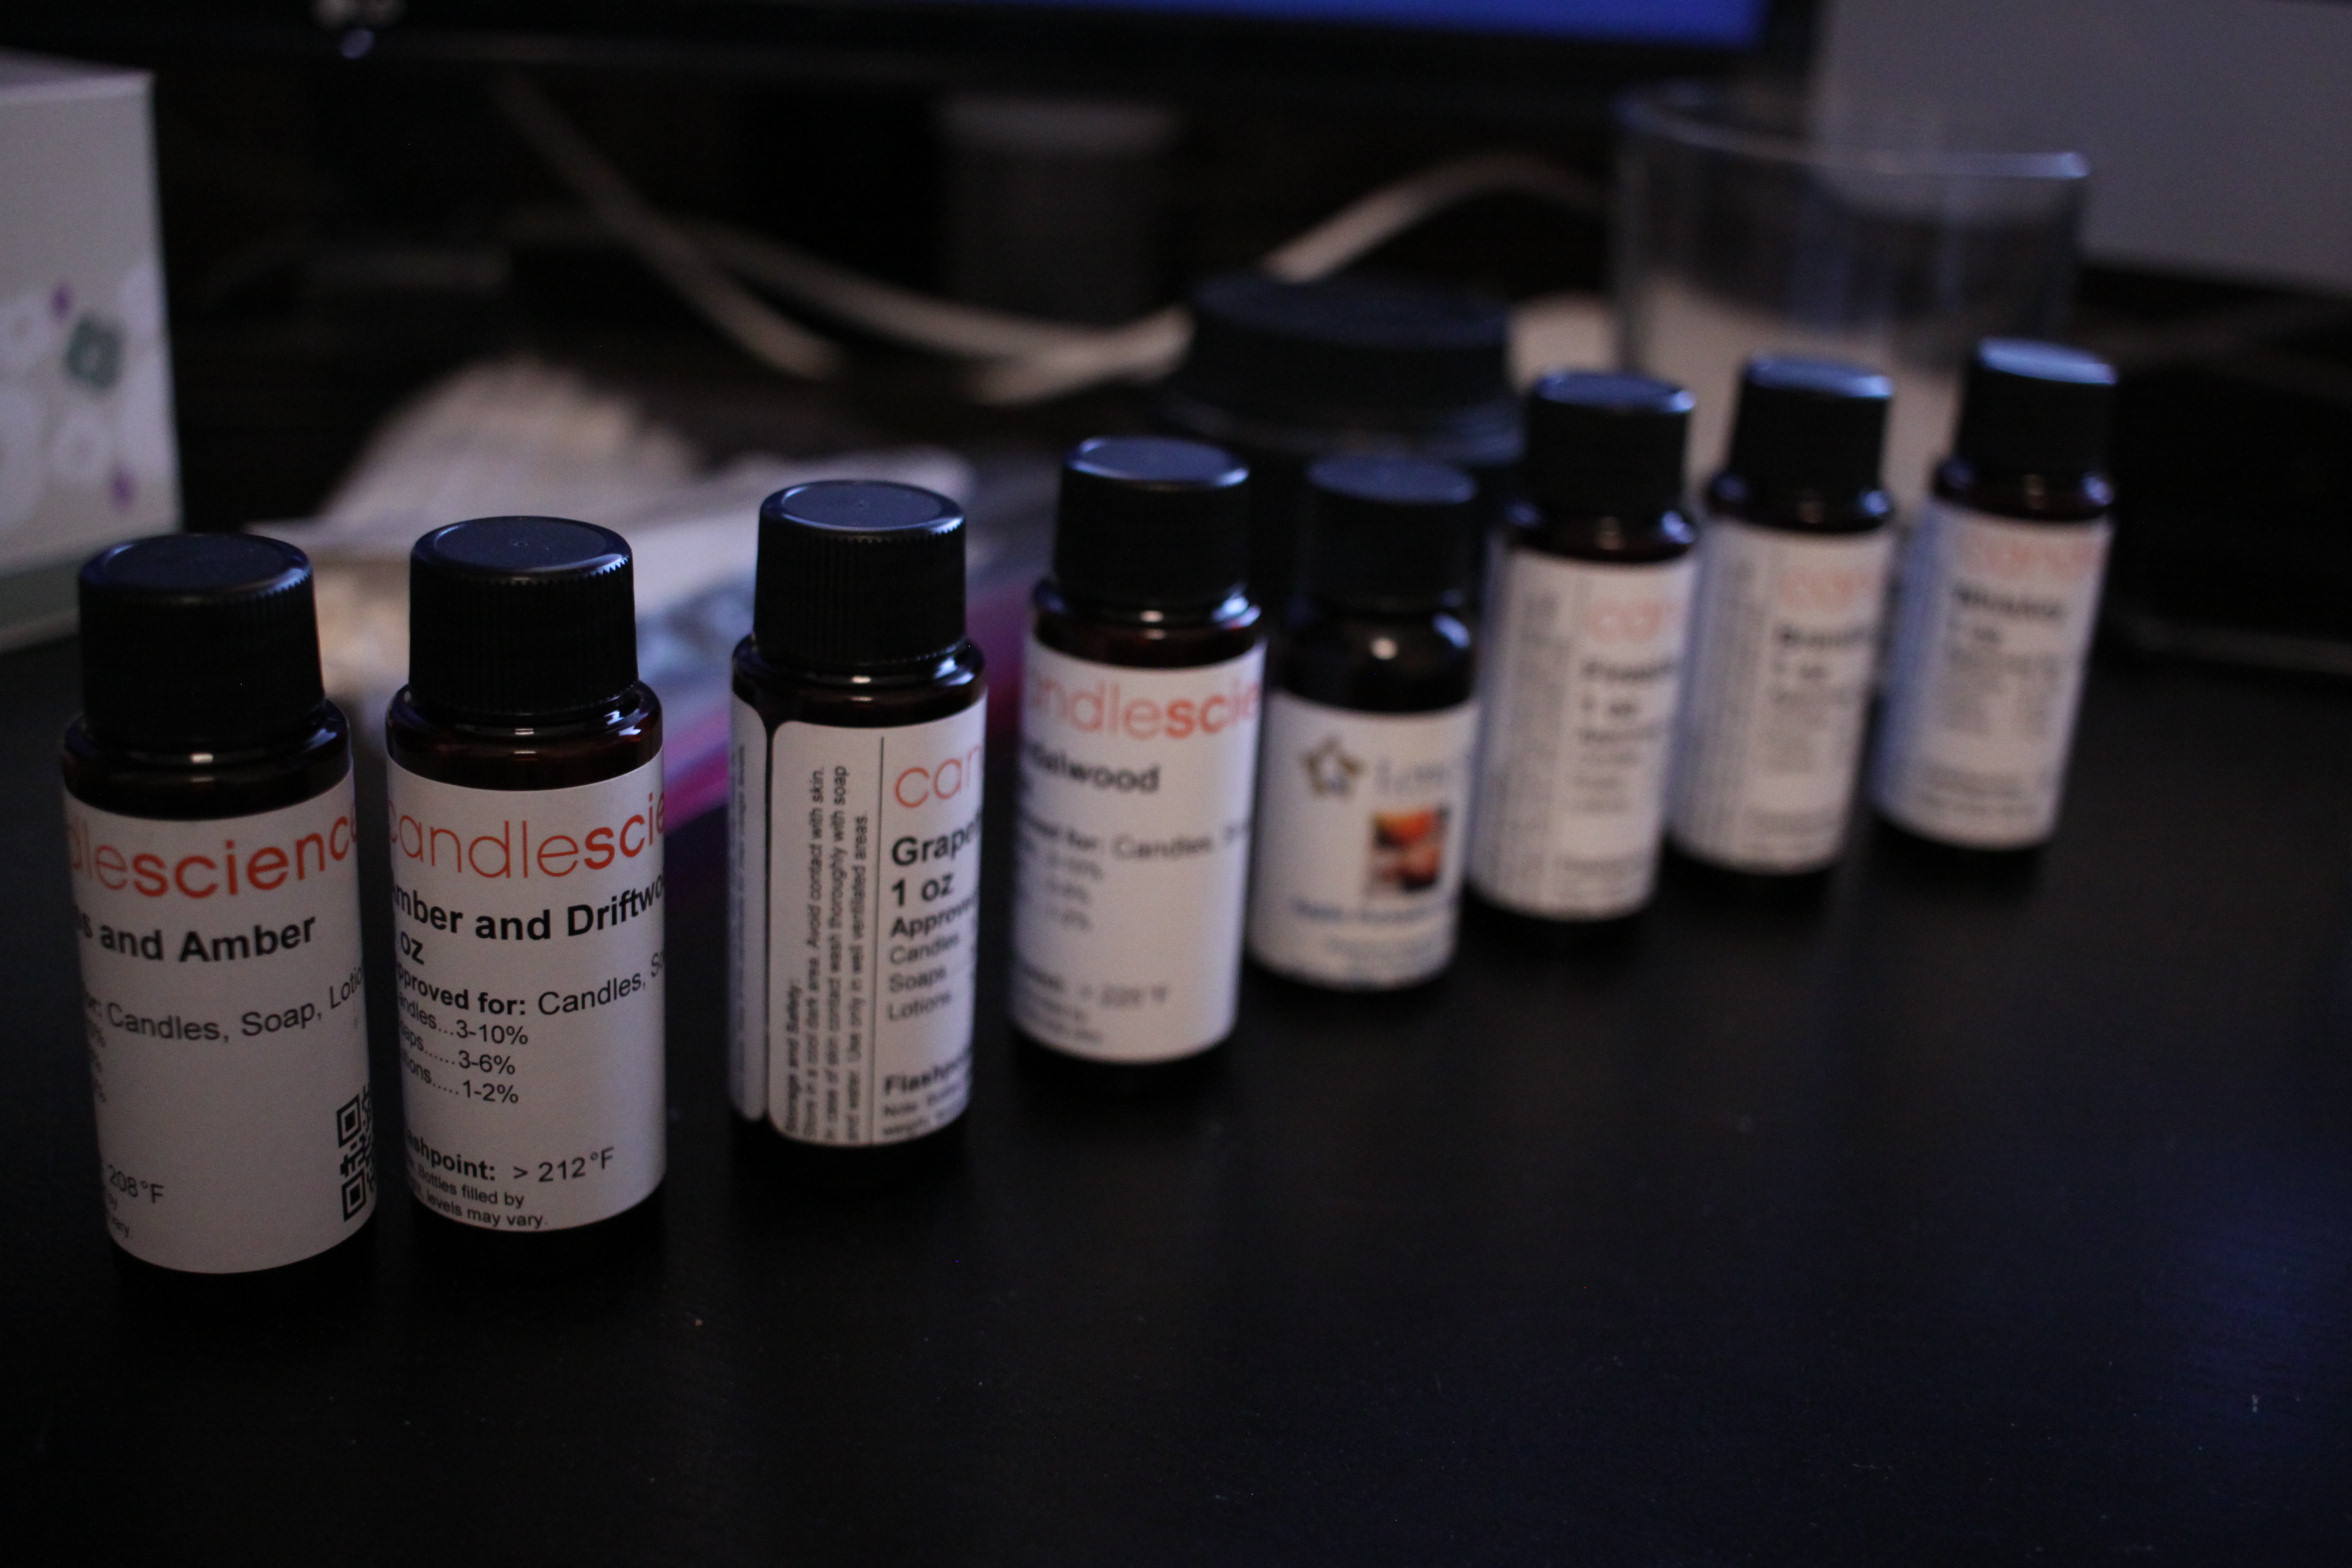
Row of one oz fragrance oils.
Each vendor’s version of a scent will likely be different than others. I’d suggest first buying 1oz versions so you can test and confirm that the fragrance oil is one you want to use. If the fragrance oil isn’t what you expected, then your loss is minimal. If the fragrance oil is what you expected, then you have enough to at least use for some test candles, and you can place future purchases with confidence.
I made this mistake by purchasing an 8oz supply of a leather fragrance that didn’t turn out to be the leather smell I wanted. The smell was more of a “new car leather” smell rather than a “worn and used leather” smell. I ended up just shelving that bottle, considered it a loss, and turned to seek out another supplier instead.
Had I stuck to purchasing a 1oz bottle, I’d have incurred less of a loss, and the funds could’ve been spent on trying other fragrances instead.
In the beginning, I think it’s important to prioritize developing a comprehensive scent pallete. This way, you’ll have an intuition on which fragrance oils would pair good with what other scents. Figuring out my candles’ scent compositions was an arduous process.
Get a good thermometer
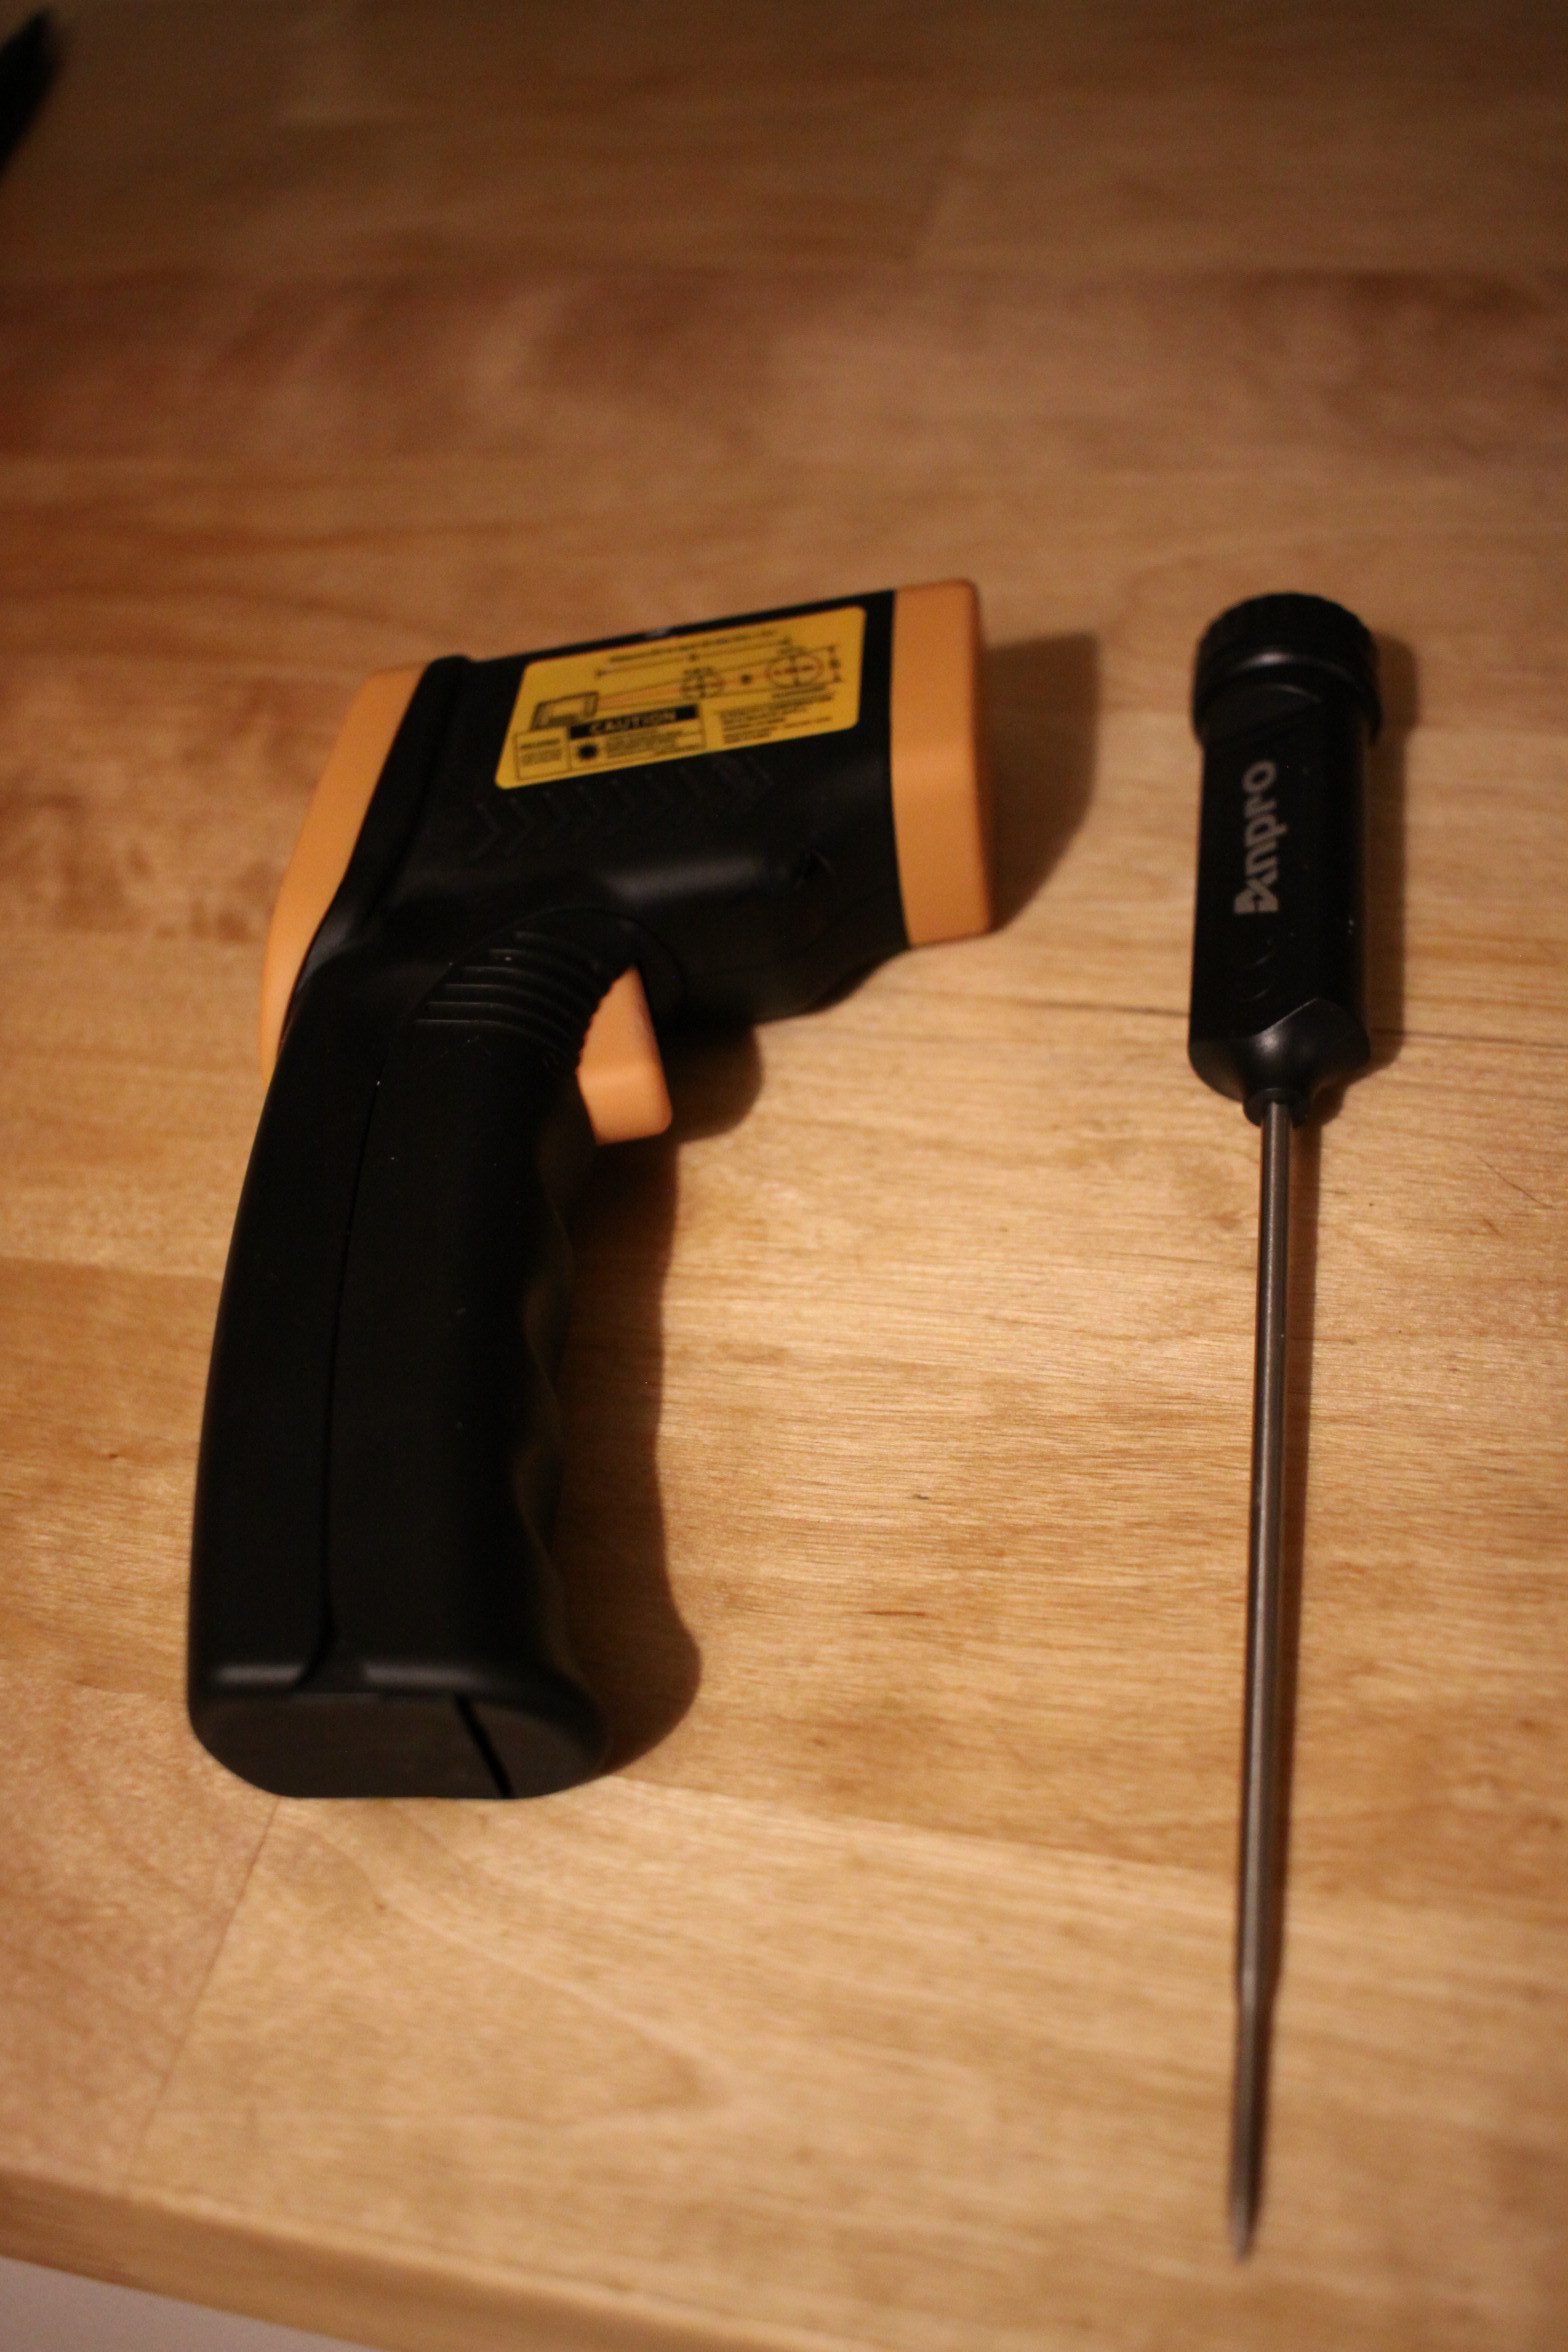
Regular and Infrared Thermometers
When I first started, I had two types of thermometers. I had one that I’d stick into the liquid, and another that I’d point at the liquid. Both had their pros and cons.
The in-liquid thermometer tended to give more consistent readings. However, it required more cleanup as wax would accumulate on its tip.
The infrared thermometer didn’t seem as accurate as the in-liquid thermometer. It sometimes gave readings that would never converge to a single number. Plus, I was never sure if I was measuring the tempareture of the wax, or I was measuring the temperature of the metal wax pourer.
The fluctuations are probably attributed to the shiny coating of the candle pouring container. Infrared thermometers are known to have difficulty when used against shiny backgrounds.
Regardless of which you decide to use, make sure you get one that you are comfortable with. Temperature plays a big part in determining the quality of your candle.
If you are using a candle-wick holder (like the one below), cut from underneath.
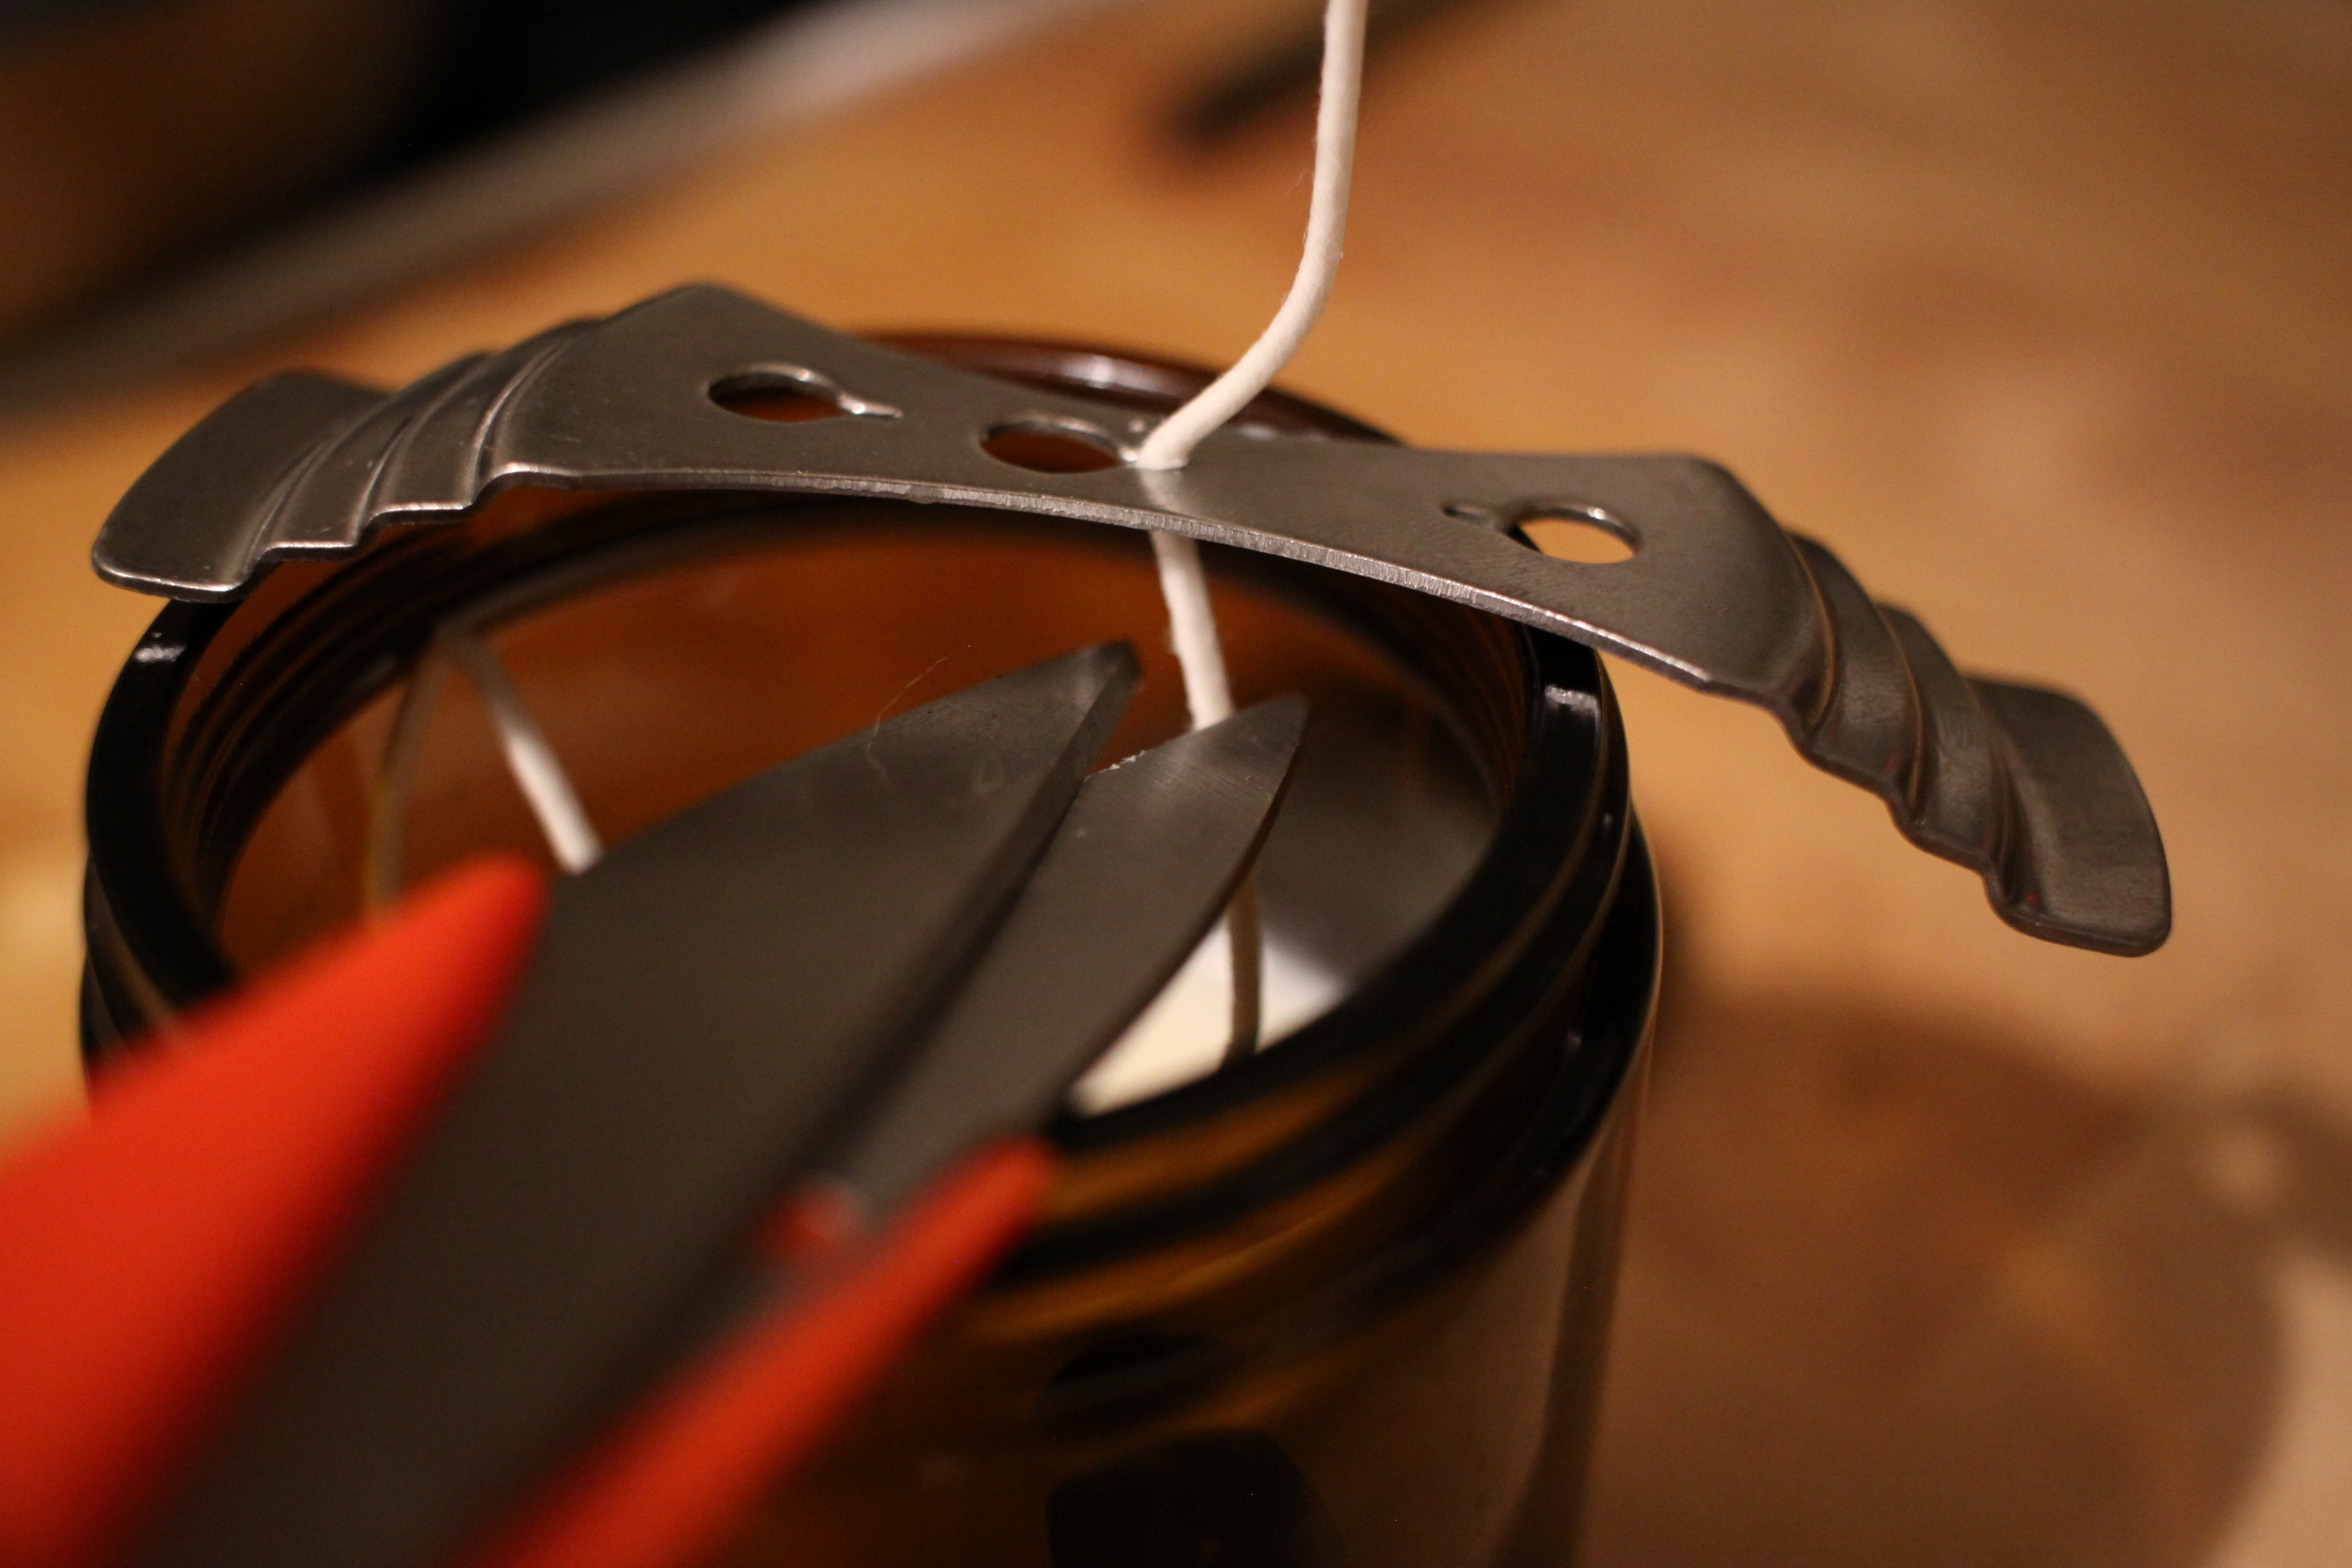
Candlewick holder
Reason for this is that if you attempt to dislodge the wick from the candle-wick holder and then cut the remaining wire, you risk dislodging the wick from its mold. This rigid movement will result in a hole between your wick and the surrounding wax. You want as little movement as possible when removing the candle-wick holder as to not risk producing this hole.
To prevent this hole, cut between the wax and the metal candle-wick holder. Angle your scissors within this opening, then snip. It shouldn’t be too difficult to do so. Note when you do this, the tension from the wick will split and the candle-wick holder may fall. So don’t be too surprised if the candle-wick holder clanks to the floor.
Though if this happens, don’t fret, you can always apply a heatgun post-cooling to fix the tops.
Take notes on everything

Post-it notes about candles
There will be a lot of trial and error as you journey through the path of candle-making. Scribe it all down so you can refer to it later. An example of how I’ve found note-taking to be useful is when trying to pair scents. I note which scents work well with which, and which scents don’t work well with which. This way, I can save some time in the future if I know whiskey and brandied pear go good with grapefruit and mint (two very bold and sweet scents).
Have your candles rest on a tray.
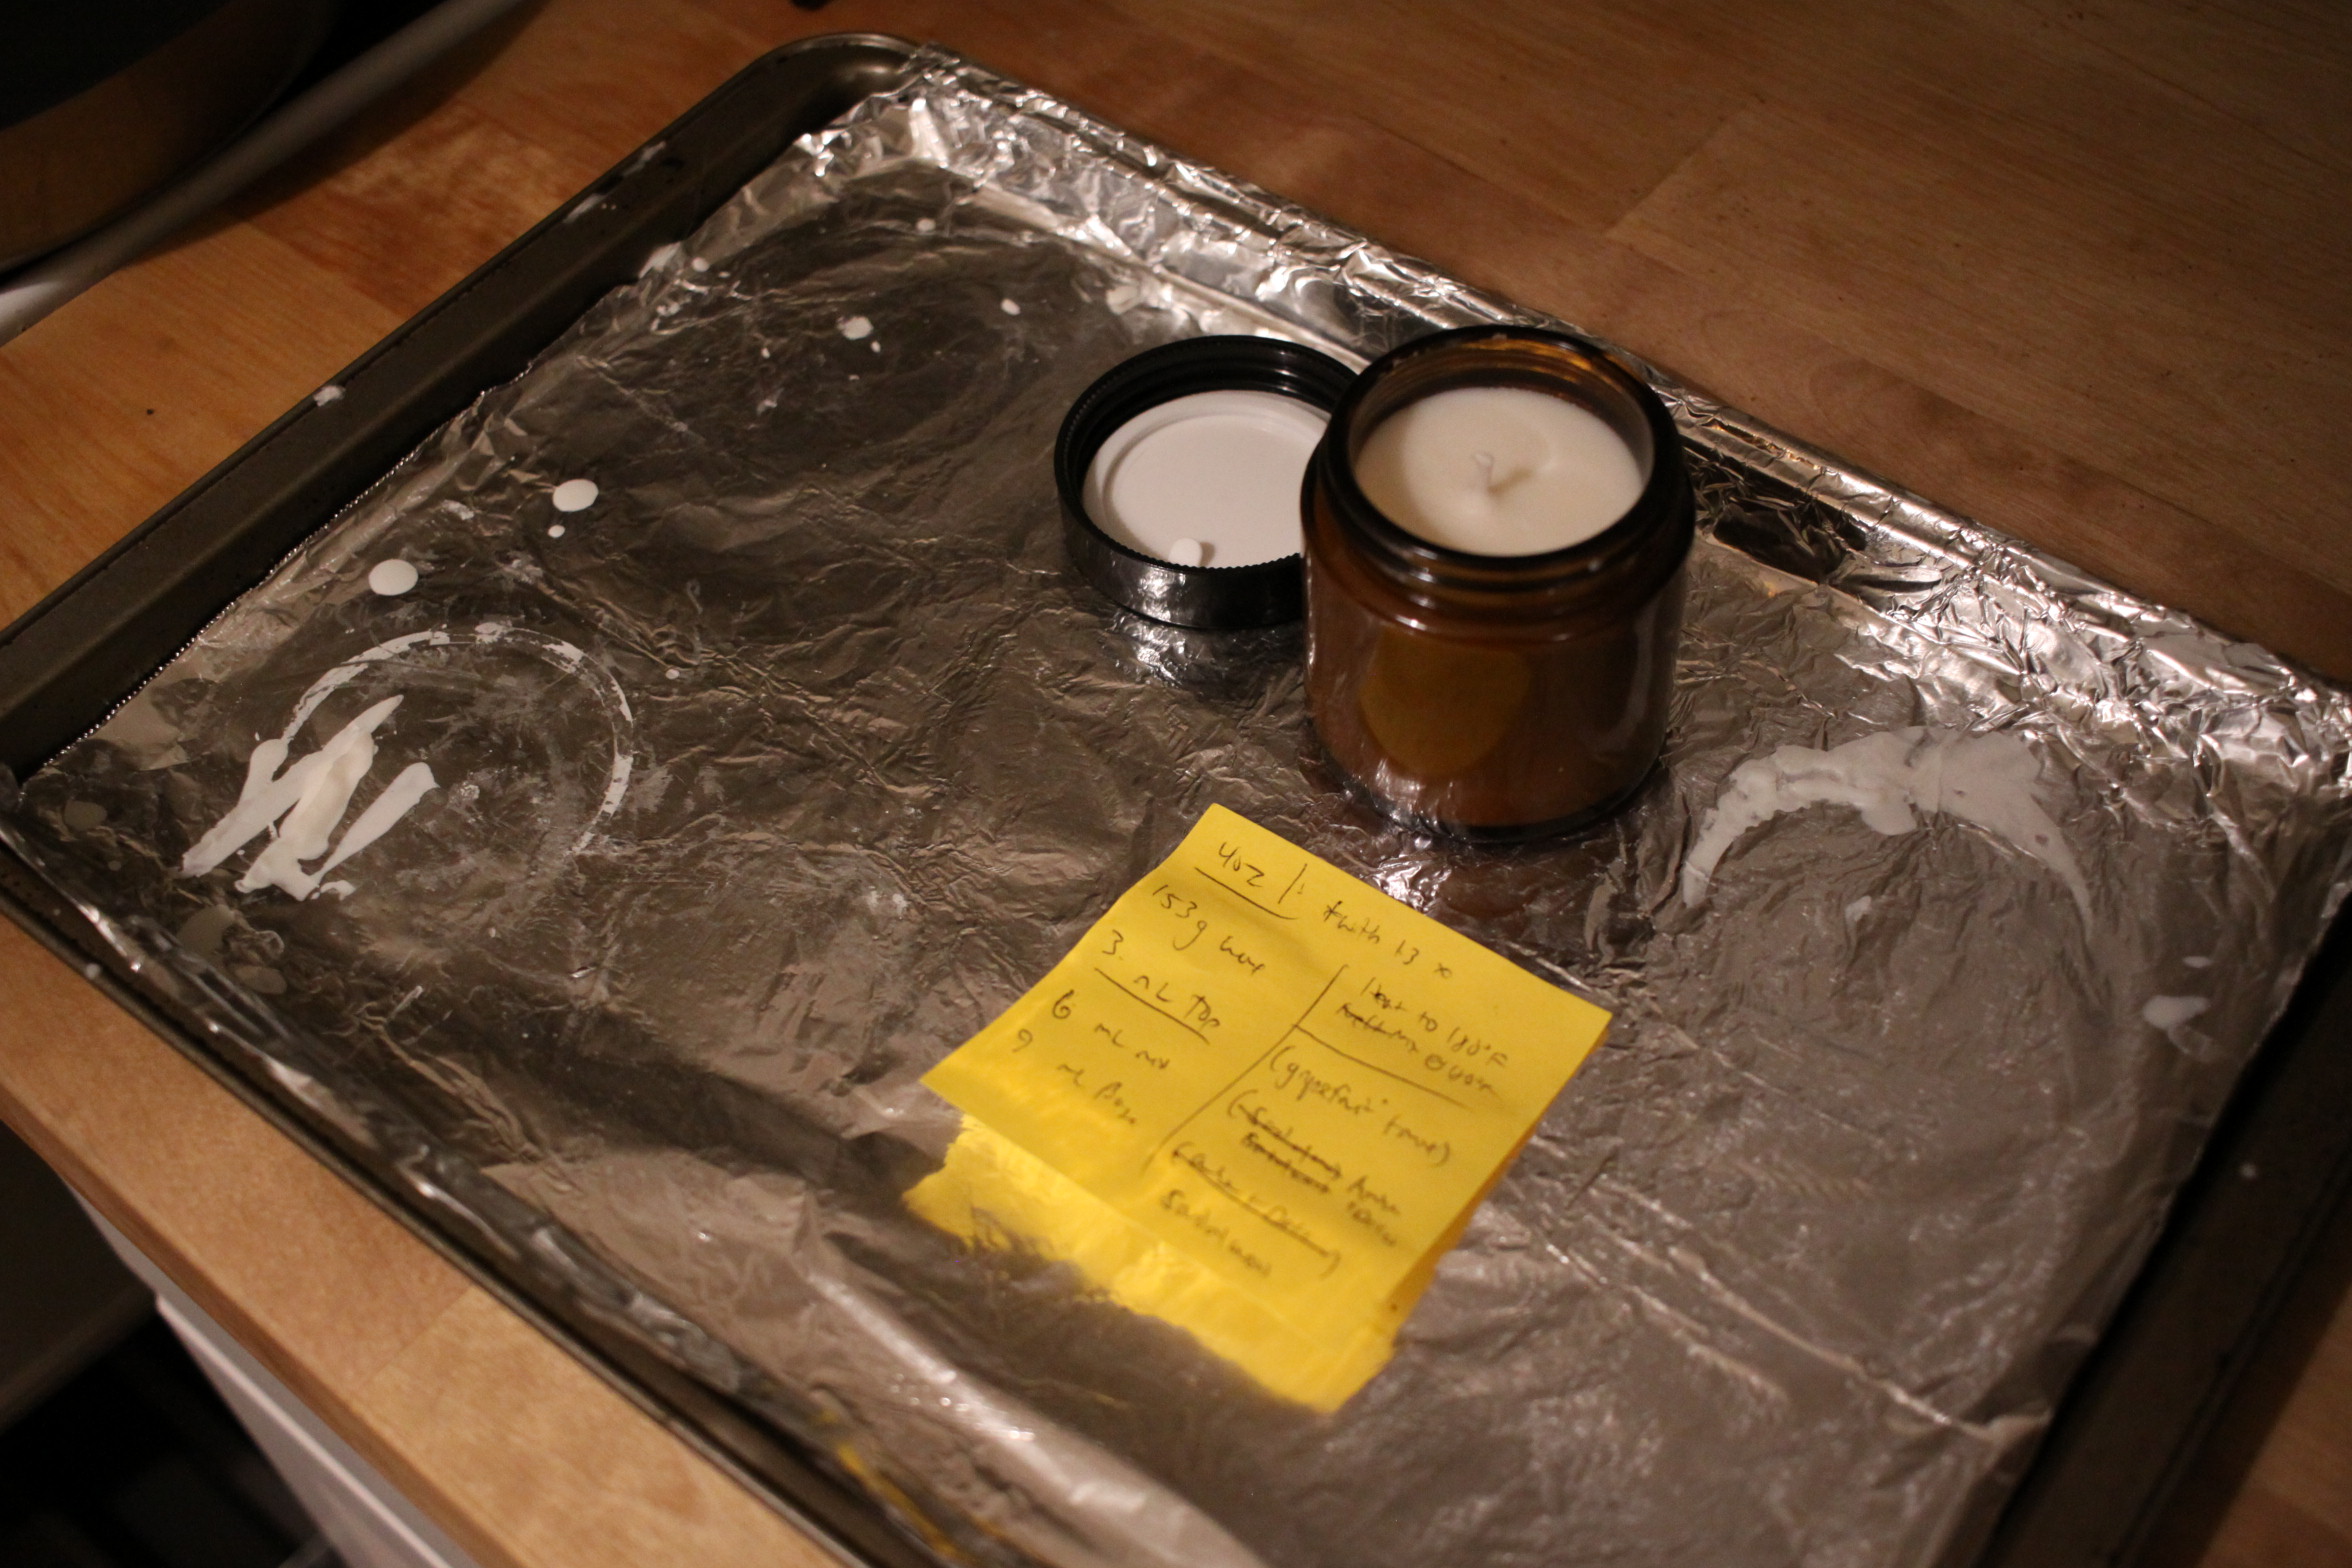
Candle tray
Nothing is worse than dropping your liquid candle when moving it from one spot to another. You should rarely be moving your liquid candles as you want to minimize movement when cooling them. However, maybe you aren’t able to deter your cat from intruding the area, or you need to prioritize cabinet space for something more pressing, having your candles in a single unit will lessen the risk of spilling or dropping your candles.
Reason why I have this on here is because I’ve dropped my hot, liquid candle when transporting it out of reach from my curious cat. Hot wax got everywhere, and it took all next morning til I was able to clean it up. Note that cooled wax isn’t something you can just easily wipe off, you have to do so with a hot paper towel. Plus, you’ll have to have an additional paper towel, on top of the hot one, to absorb the melted wax. Otherwise, you’ll just move the wax around. All in all, it’s a painful clean up task. Don’t burden yourself to experience it.
…and here’s a picture of the culprit who made me drop a glass filled with liquid wax all over my kitchen.
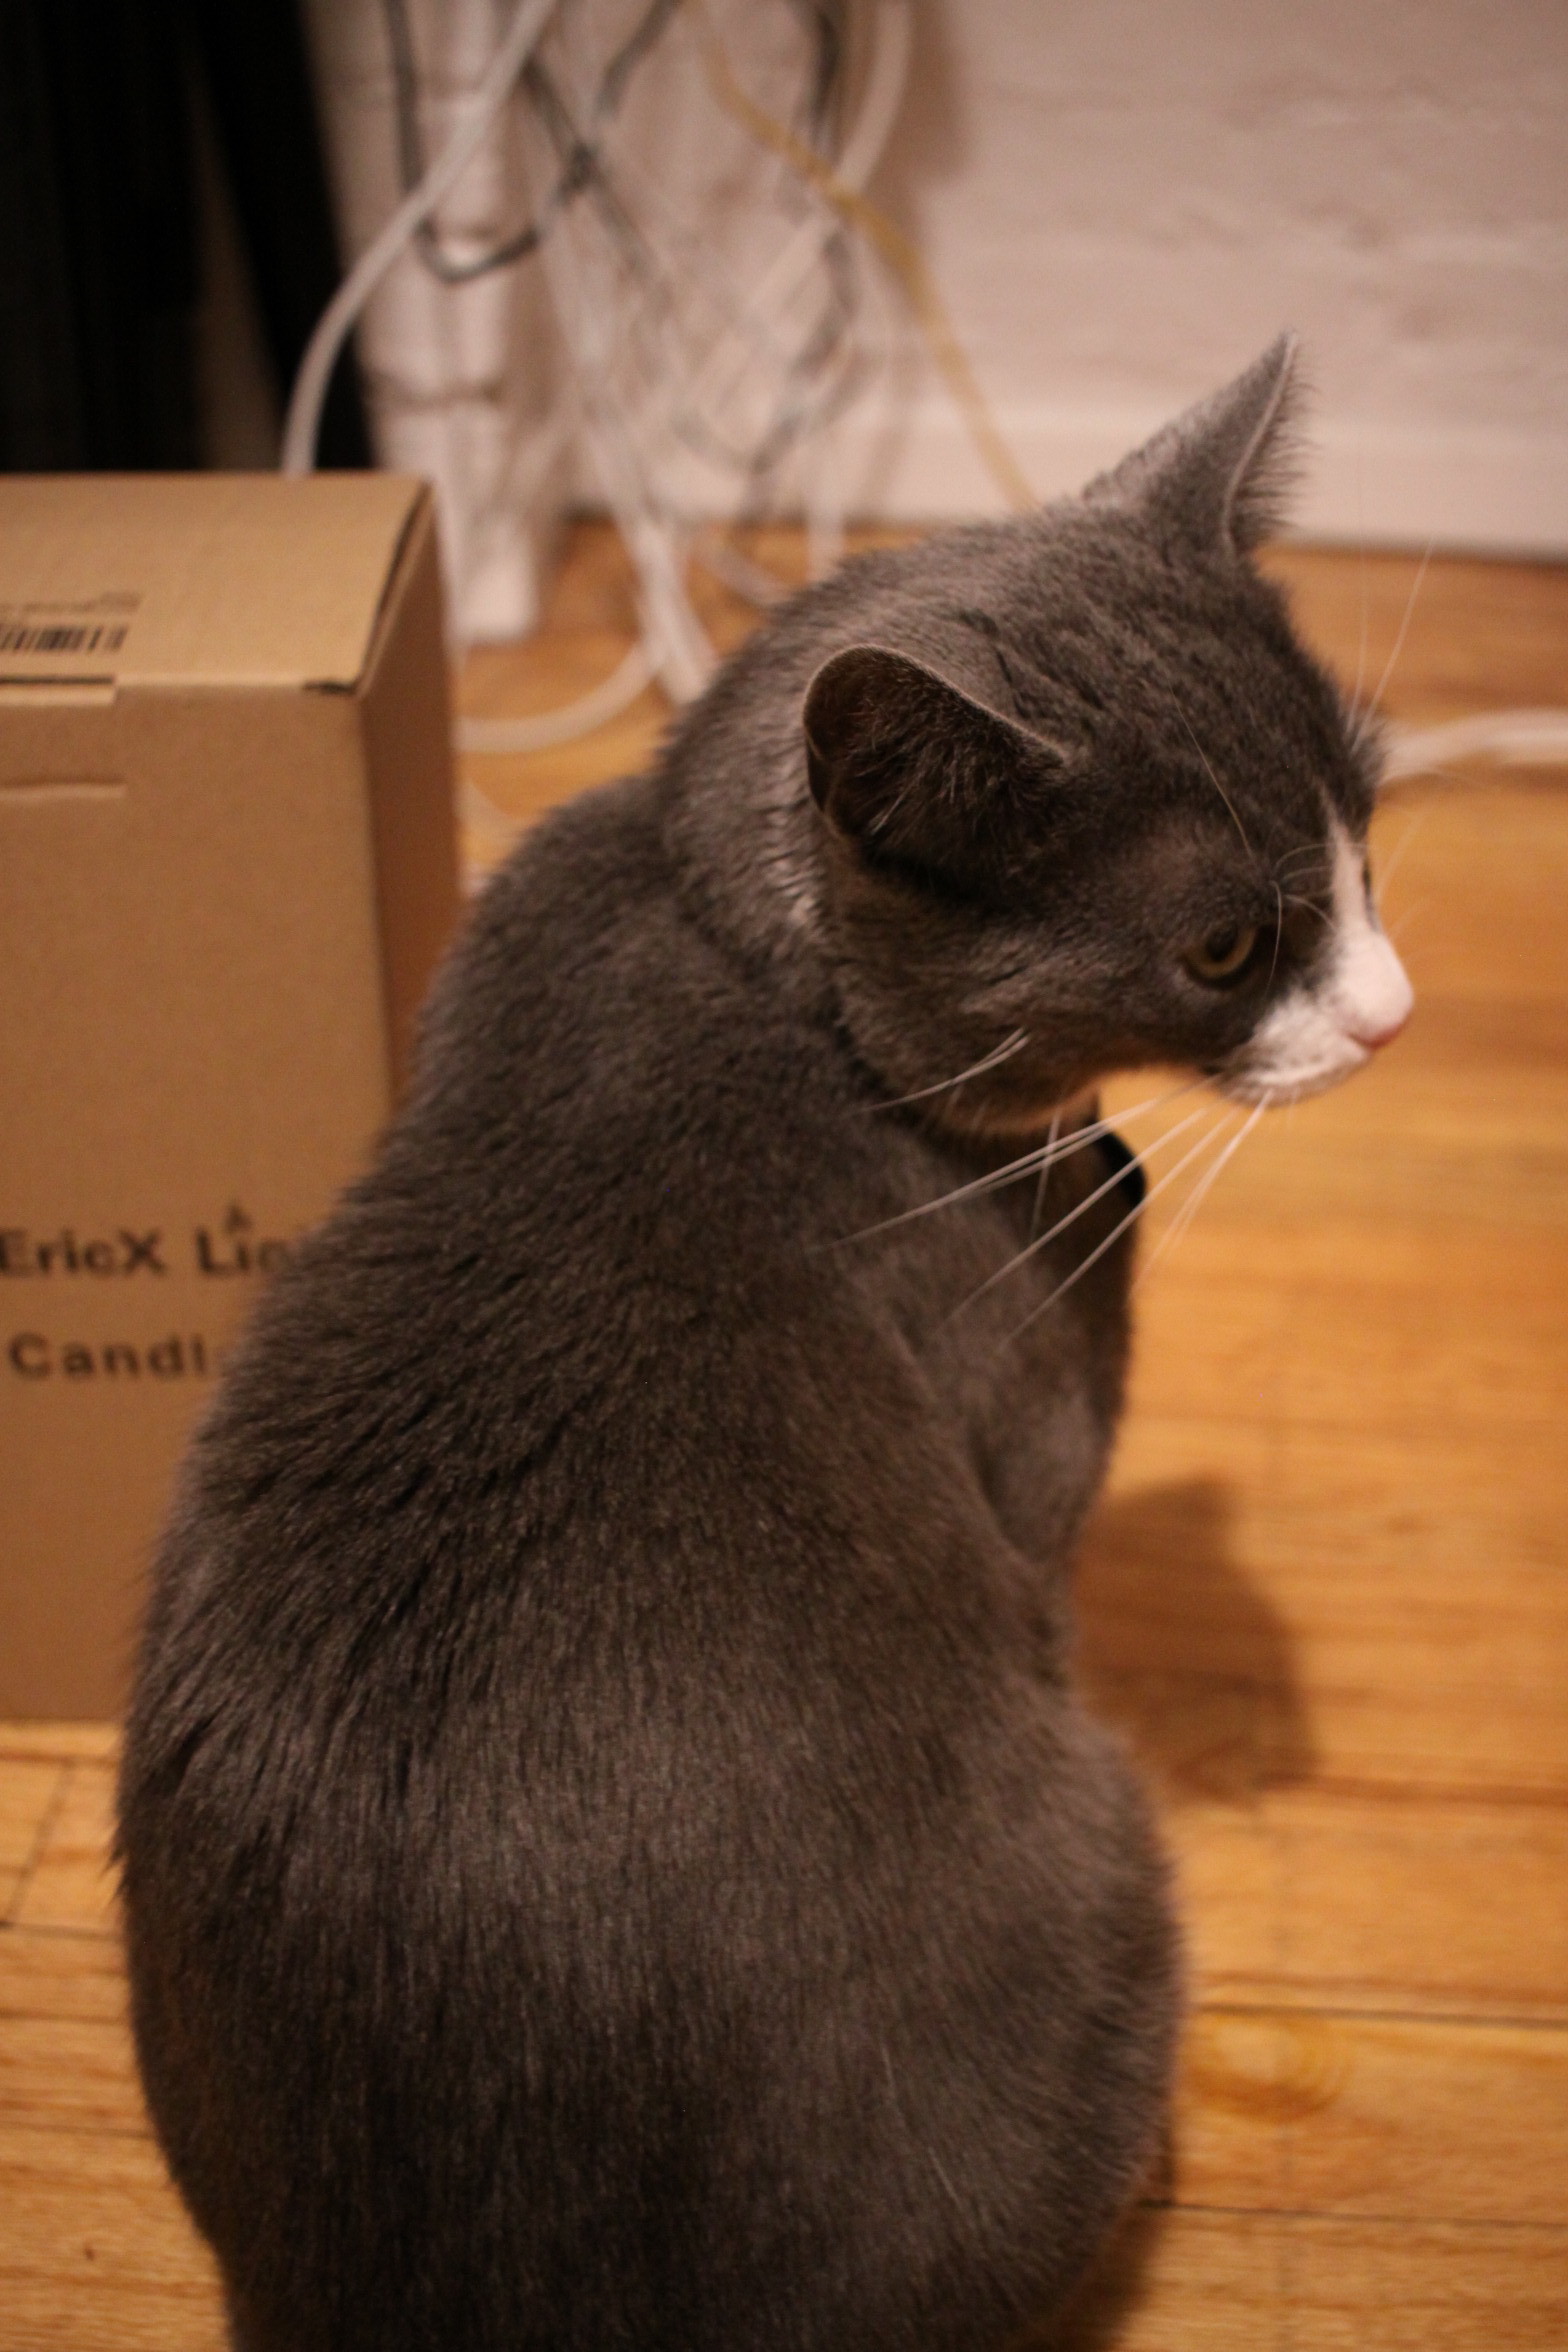
Toby
Get multiple candle pouring pots.
Like the first point, having multiple pouring pots will help you make more candles at once.
I know there are more advanced pots that can help you melt huge amounts of wax at once. But if you are like me and don’t have enough order flow to justify one of those advanced pots, stick with multiple small-scale cheap candle pouring pots instead. This way, you can have different types of candles being made at the same time, hence parallelizing your workflow.