Working with 464 Soy Wax
February 20, 2020 | read
Making a good candle is hard. To start, there is an abundance of credible sources that claim conflicting practices. Many have no concrete examples, or tests, backing their statements. With this amount of disparate information, it becomes difficult to figure out what exactly to follow.

Questions and Answers section for an Amazon Soy 464 Wax listing
An example of the conflicting information can be seen in the above Amazon page screenshot. If you scroll down to the questions, it’s interesting to note the range of temperatures suggested. One person suggested to heat to 185°F, and another person suggested to heat to 160°F. If I included other sources, I’m certain I’d get an even wider set of temperature ranges.
To try and help with this problem, I decided to run a couple of tests by changing a set of parameters to shed some light conditions needed to make a good candle.
The end-candle I wanted to create was one that:
[ ] Holds its sent

[ ] Smooth surface

[ ] Minimal air pockets
To start, I nailed down constants that I wouldn’t be tweaking. The constants I chose were:
Container type
Fragrance oil ratio
Fragrance oil type (all compositions were the same)
Mixing in fragrance at 180°F
Melting wax at 180°F
Cooling area
For the container, I used a 4oz tin container.
For the fragrance oil ratio, I applied 10% of fragrance oil to X cups of wax.

Spreadsheet to manage how many mL of fragrance to use
For the cooling area, I made sure they all cooled on my kitchen countertop. Prior to this, I was cooling candles both in the oven and in a water bath (interesting results actually). Both places ended up yielding different results, so I thought it would be safe to not keep the cooling area a constant.
The parameters I wanted to test were:
Pour temperature
Cool duration
Some other notes to consider are that I used two different thermometers while conducting this experiment. One was a put in liquid type, and the other was a laser-based thermometer. I don’t remember which I used for which experiment, but I do know the put in liquid gave higher readings than the laser-based one. This inconsistency doesn’t hinder the end conclusions from this experiment.
Candle 1:
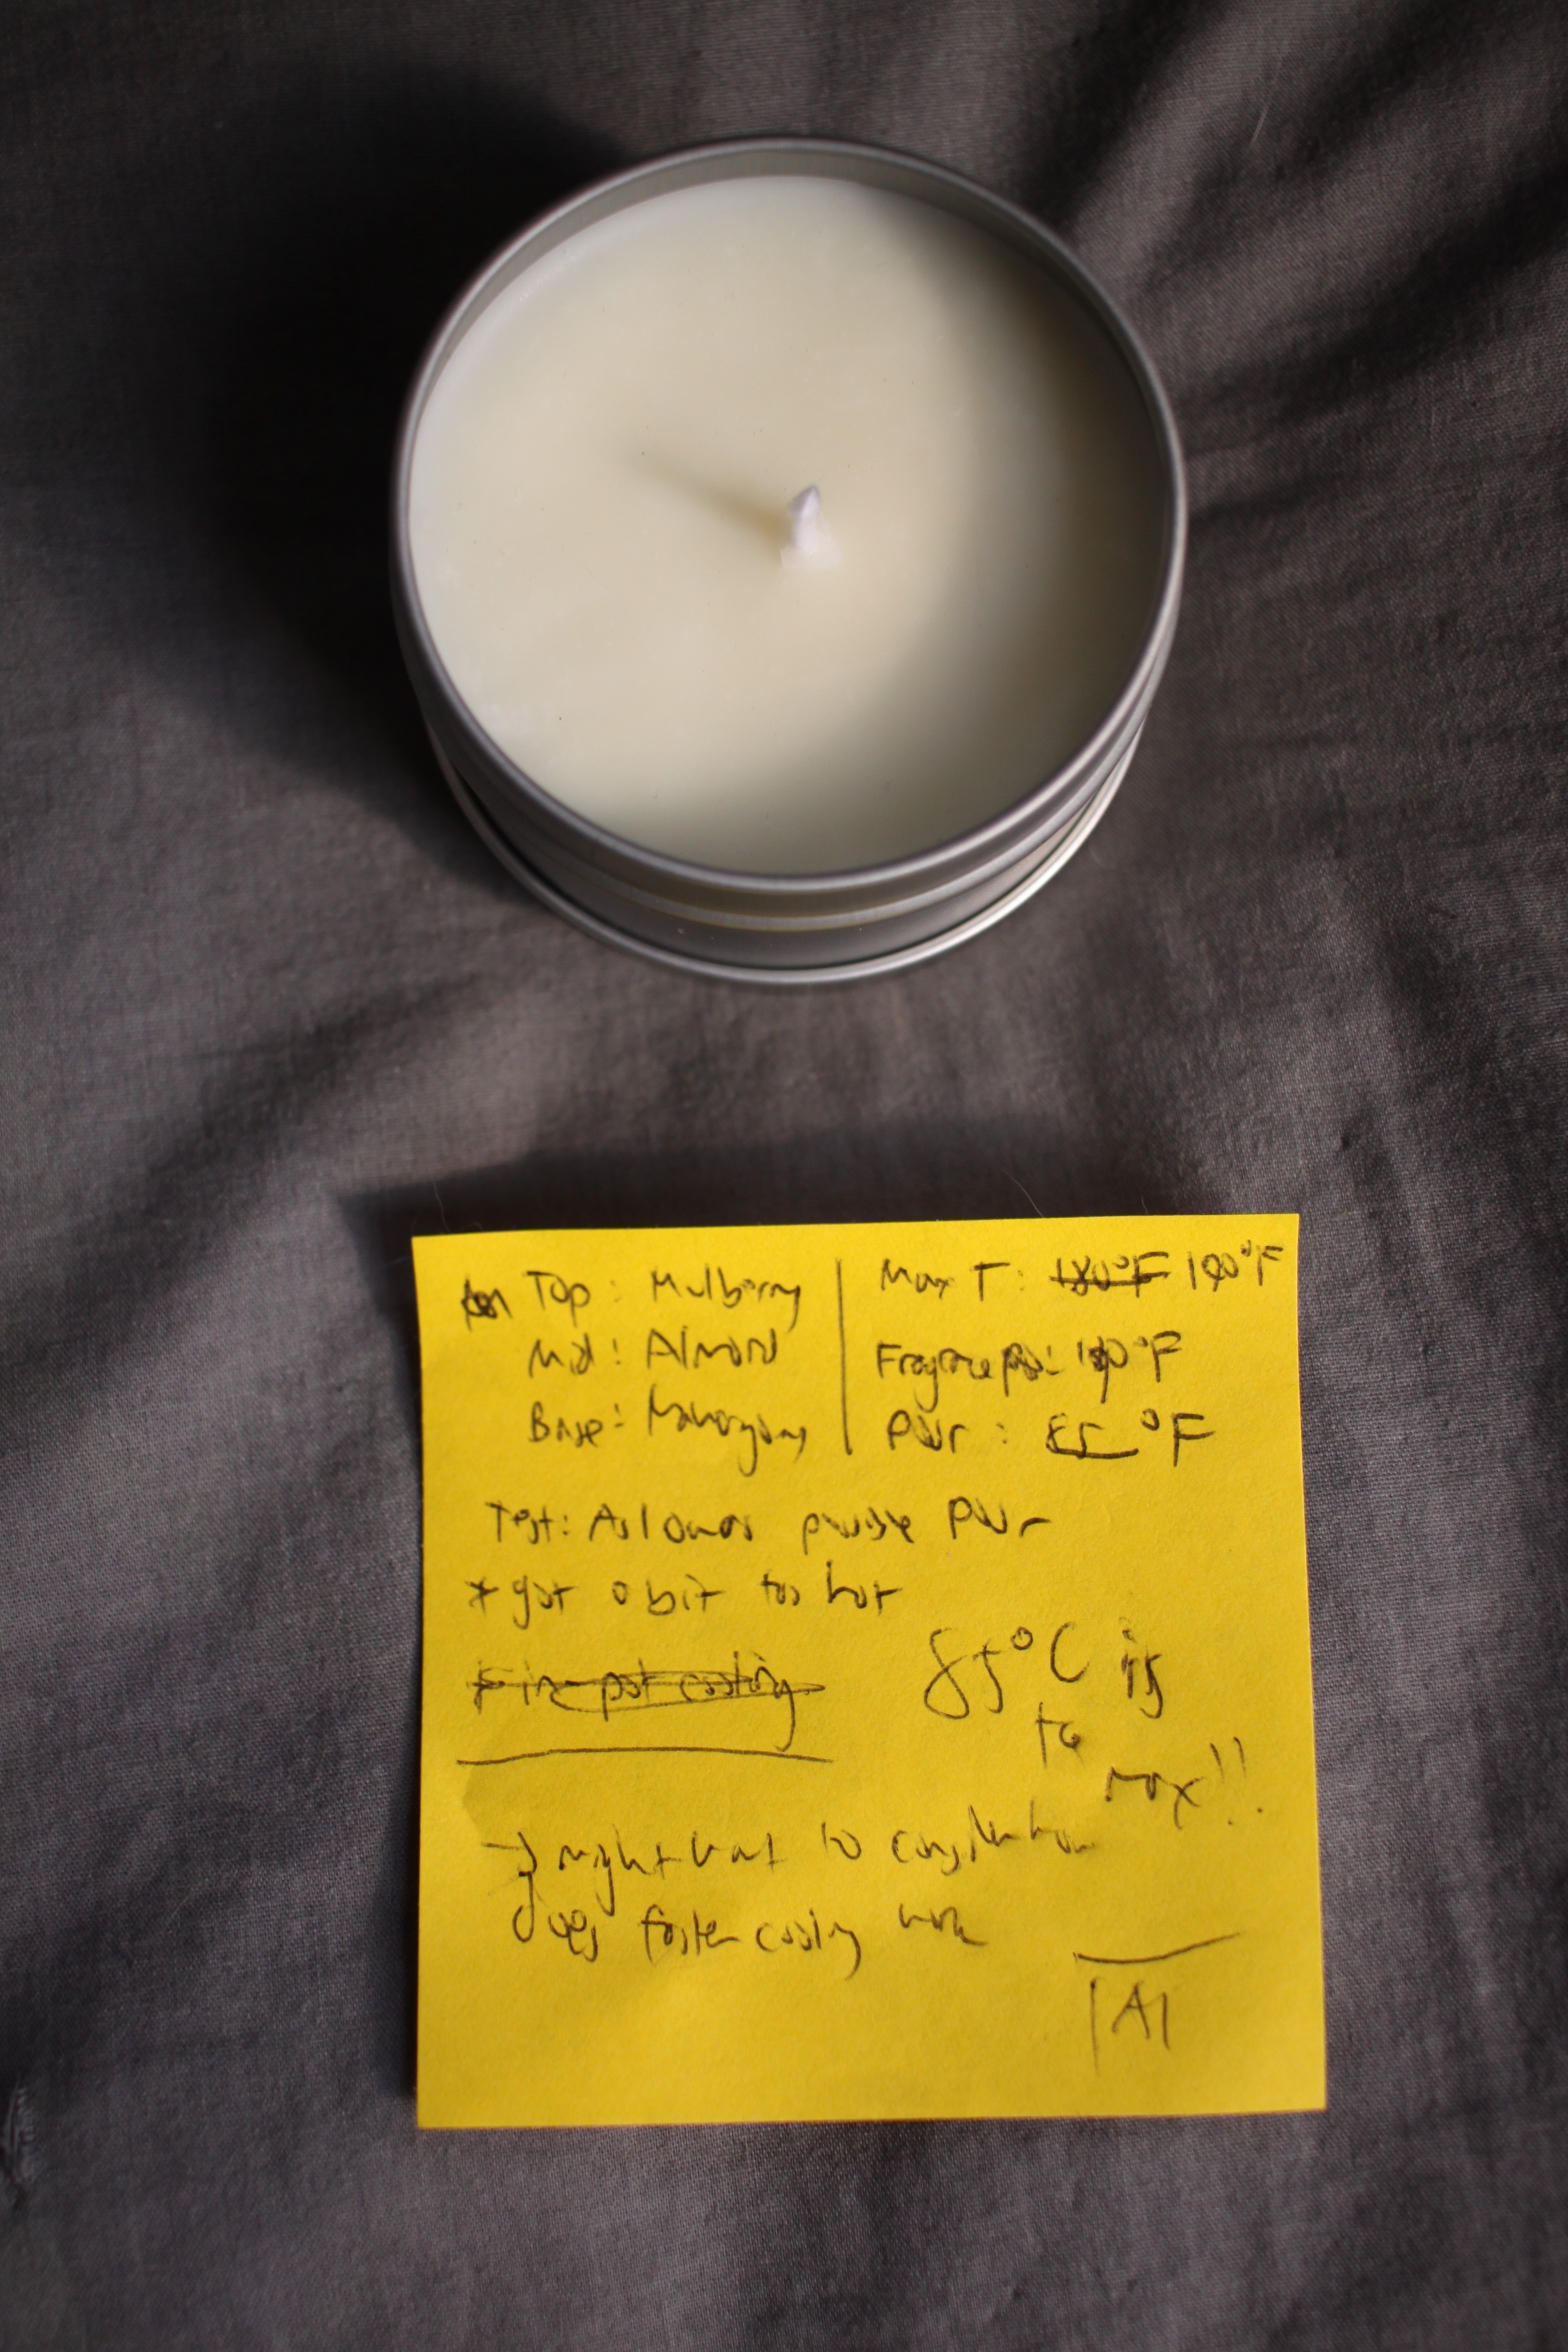
Candle #1
The conditions for Candle 1:
Pour out wax at the lowest temperature (80°F) possible
Intermittently pull candle pouring out of boiler
Reason for pouring at the lowest temperature was because I noticed from prior experience that the lower the pour temperature, the smoother the tops. Days before, I cooled one candle in an ice bath and its top was the silkiest top I had ever seen. However, reading from the internet, common advice was to not do this as unless you are able to maintain a consistent cool temperature across the candle, certain parts will cool unevenly and deformations will become visible.
Once Candle 1’s wax reached its max temperature of 180°F, I pulled its wax off the heat and start both the mixing and cooling process. After a couple of seconds, I opted to put it back on into the boiler (not boiling, but still warmer than the candle pouring pot). After I made this mistake, I just continued to move the candle pouring pot on and off the heat to make this scenario a test case.
From the photo, this set of conditions turned out pretty well. I actually let the wax cool a little too long as the wax started clumping and solidifying inside the candle pouring pot. After I poured the clumping wax into the tin container, it took about 3 minutes until the wax started to glaze to a smooth surface and finally solidify. I was very happy with the results of Candle 1.
Candle 2:
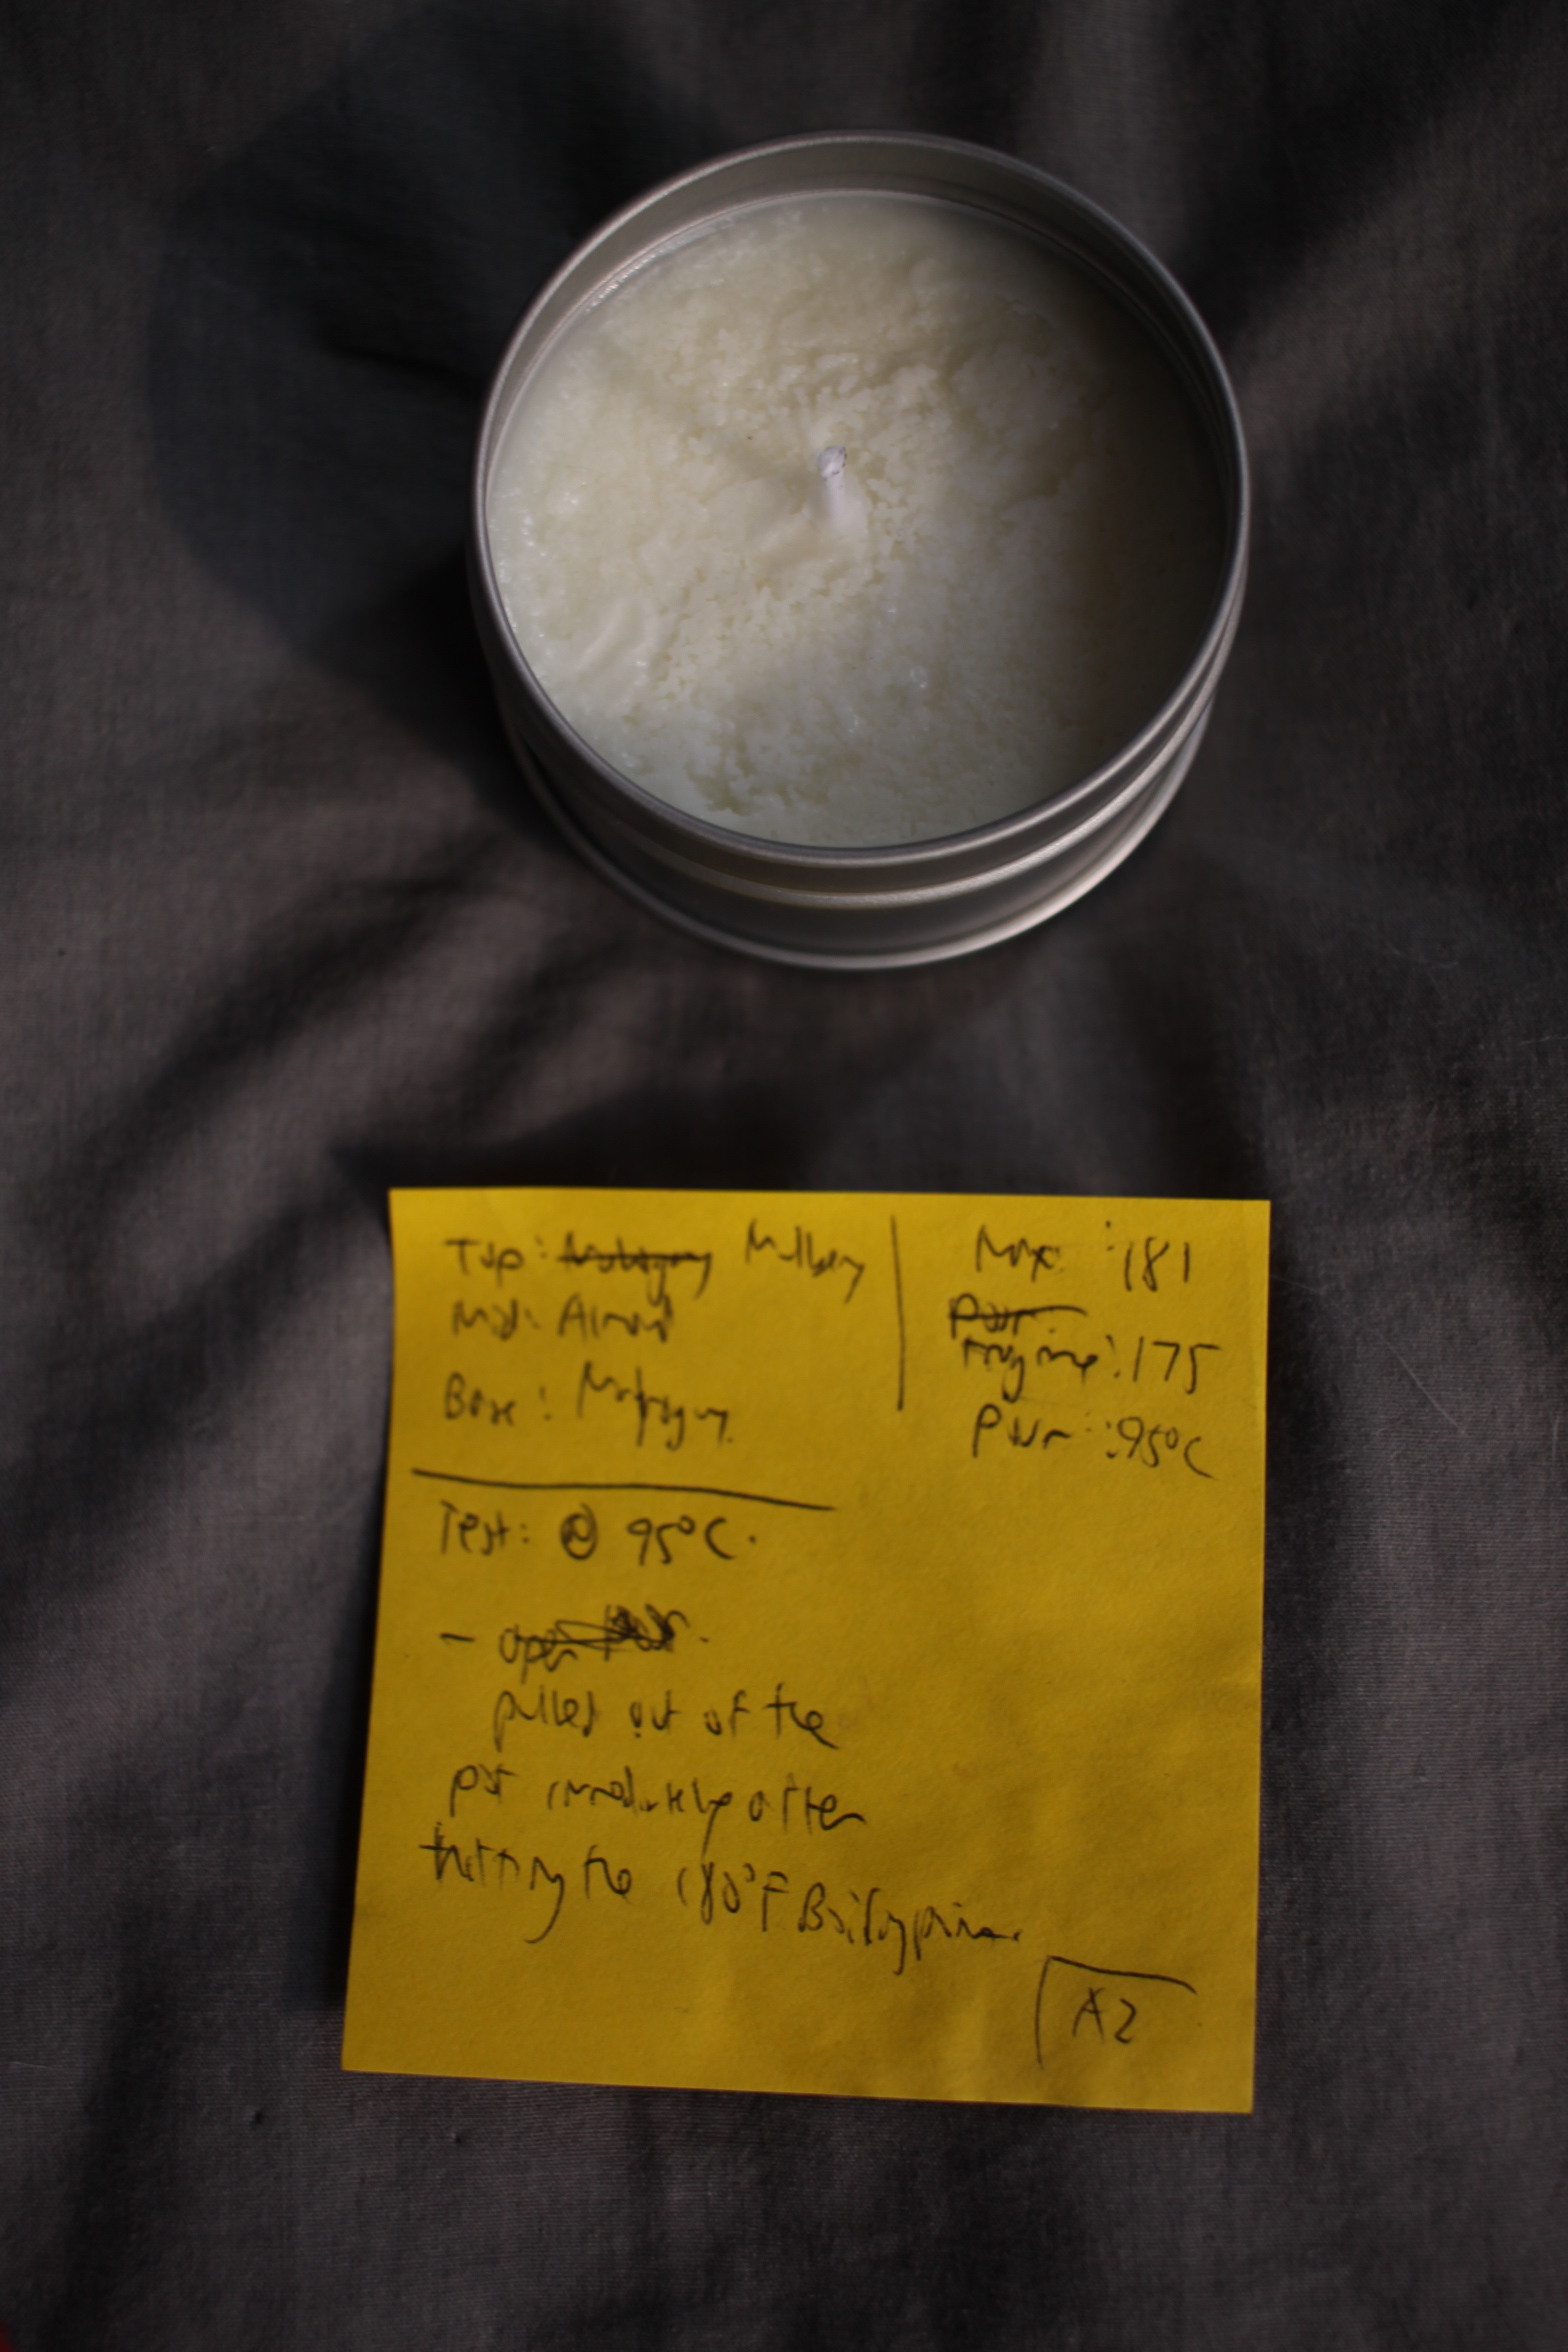
Candle #2
The conditions for Candle 2:
Pour out wax at 95°F
Pull candle pouring pot out immediately after mixing in fragrance
For Candle 2, I wanted to see if I could reduce the cool temperature to 95°F instead of 80°F to save time. From making Candle 1, the time it took for the wax to go from 180°F to 160°F was probably twice as fast as it took compared to going from 120°F to 100°F even though both went down a delta of 20°F.
I was also interested in seeing if I could save time by immediately pulling the candle pouring pot out of the pot of water, and letting it cool at a faster rate. If both conditions resulted in a smoother top, I’d have a quicker process that still yielded good results.
Unfortunately, both conditions resulted in a very poor pour. Candle 2’s top was the lumpiest of all the candles.
Candle 3:
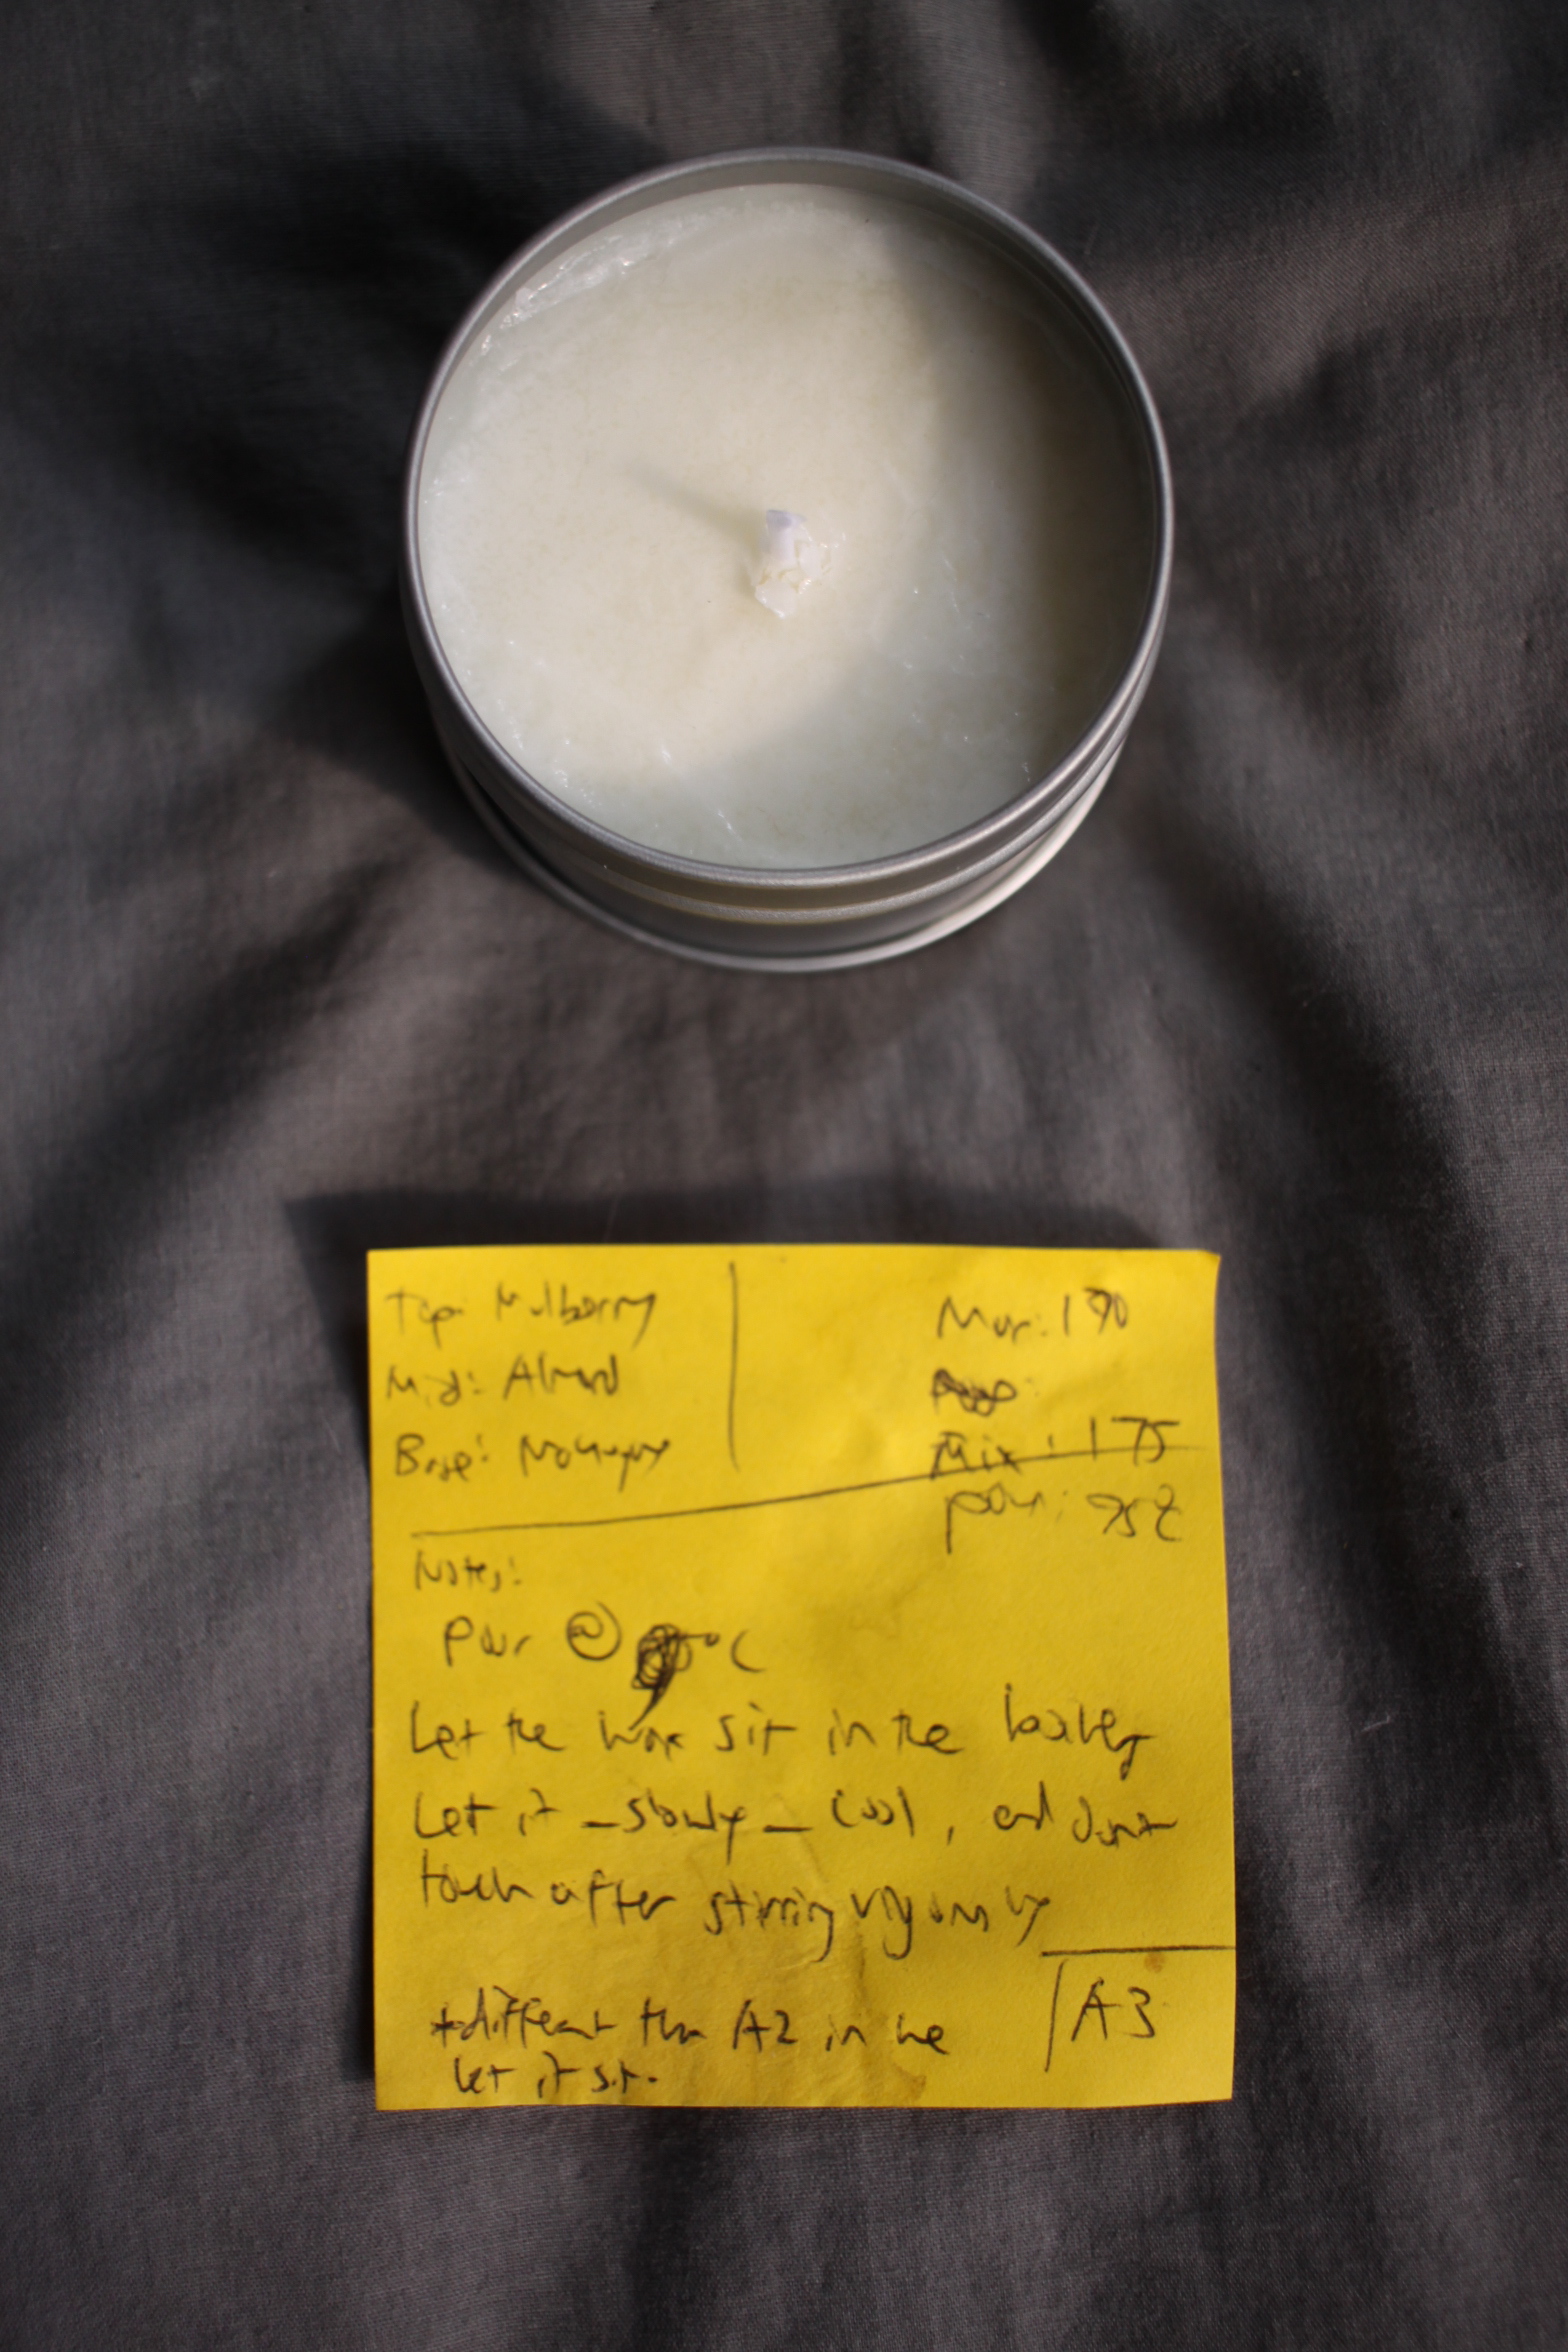
Candle #3
Conditions for Candle 3:
Pour at 95°F
Let the candle pouring pot cool in the pot of water
From Candle 2, I now know that either the increased pouring temperature (95°F) or the difference in cooling method (pulling the pouring pot out immediately) ruined how the wax solidified. Candle 3 aimed to test whether it was due to the change in the latter condition.
Waiting for the candle pouring pot to cool inside the boiler took the longest to cool. The boiler acted as an additional heat source that kept the candle warm during the cooling period. I wasn’t just waiting for the candle pouring pot to cool, I was waiting for the boiler to cool as well. The boiler pot continued to act as a heat source as it was higher in temperature than the candle pouring pot, and to maintain an equilibrium between the two as both were in direct contact.
The result of Candle 3 wasn’t as good as I had hoped. There were lumps, but note that there weren’t as many as in Candle 2.
Candle 4:
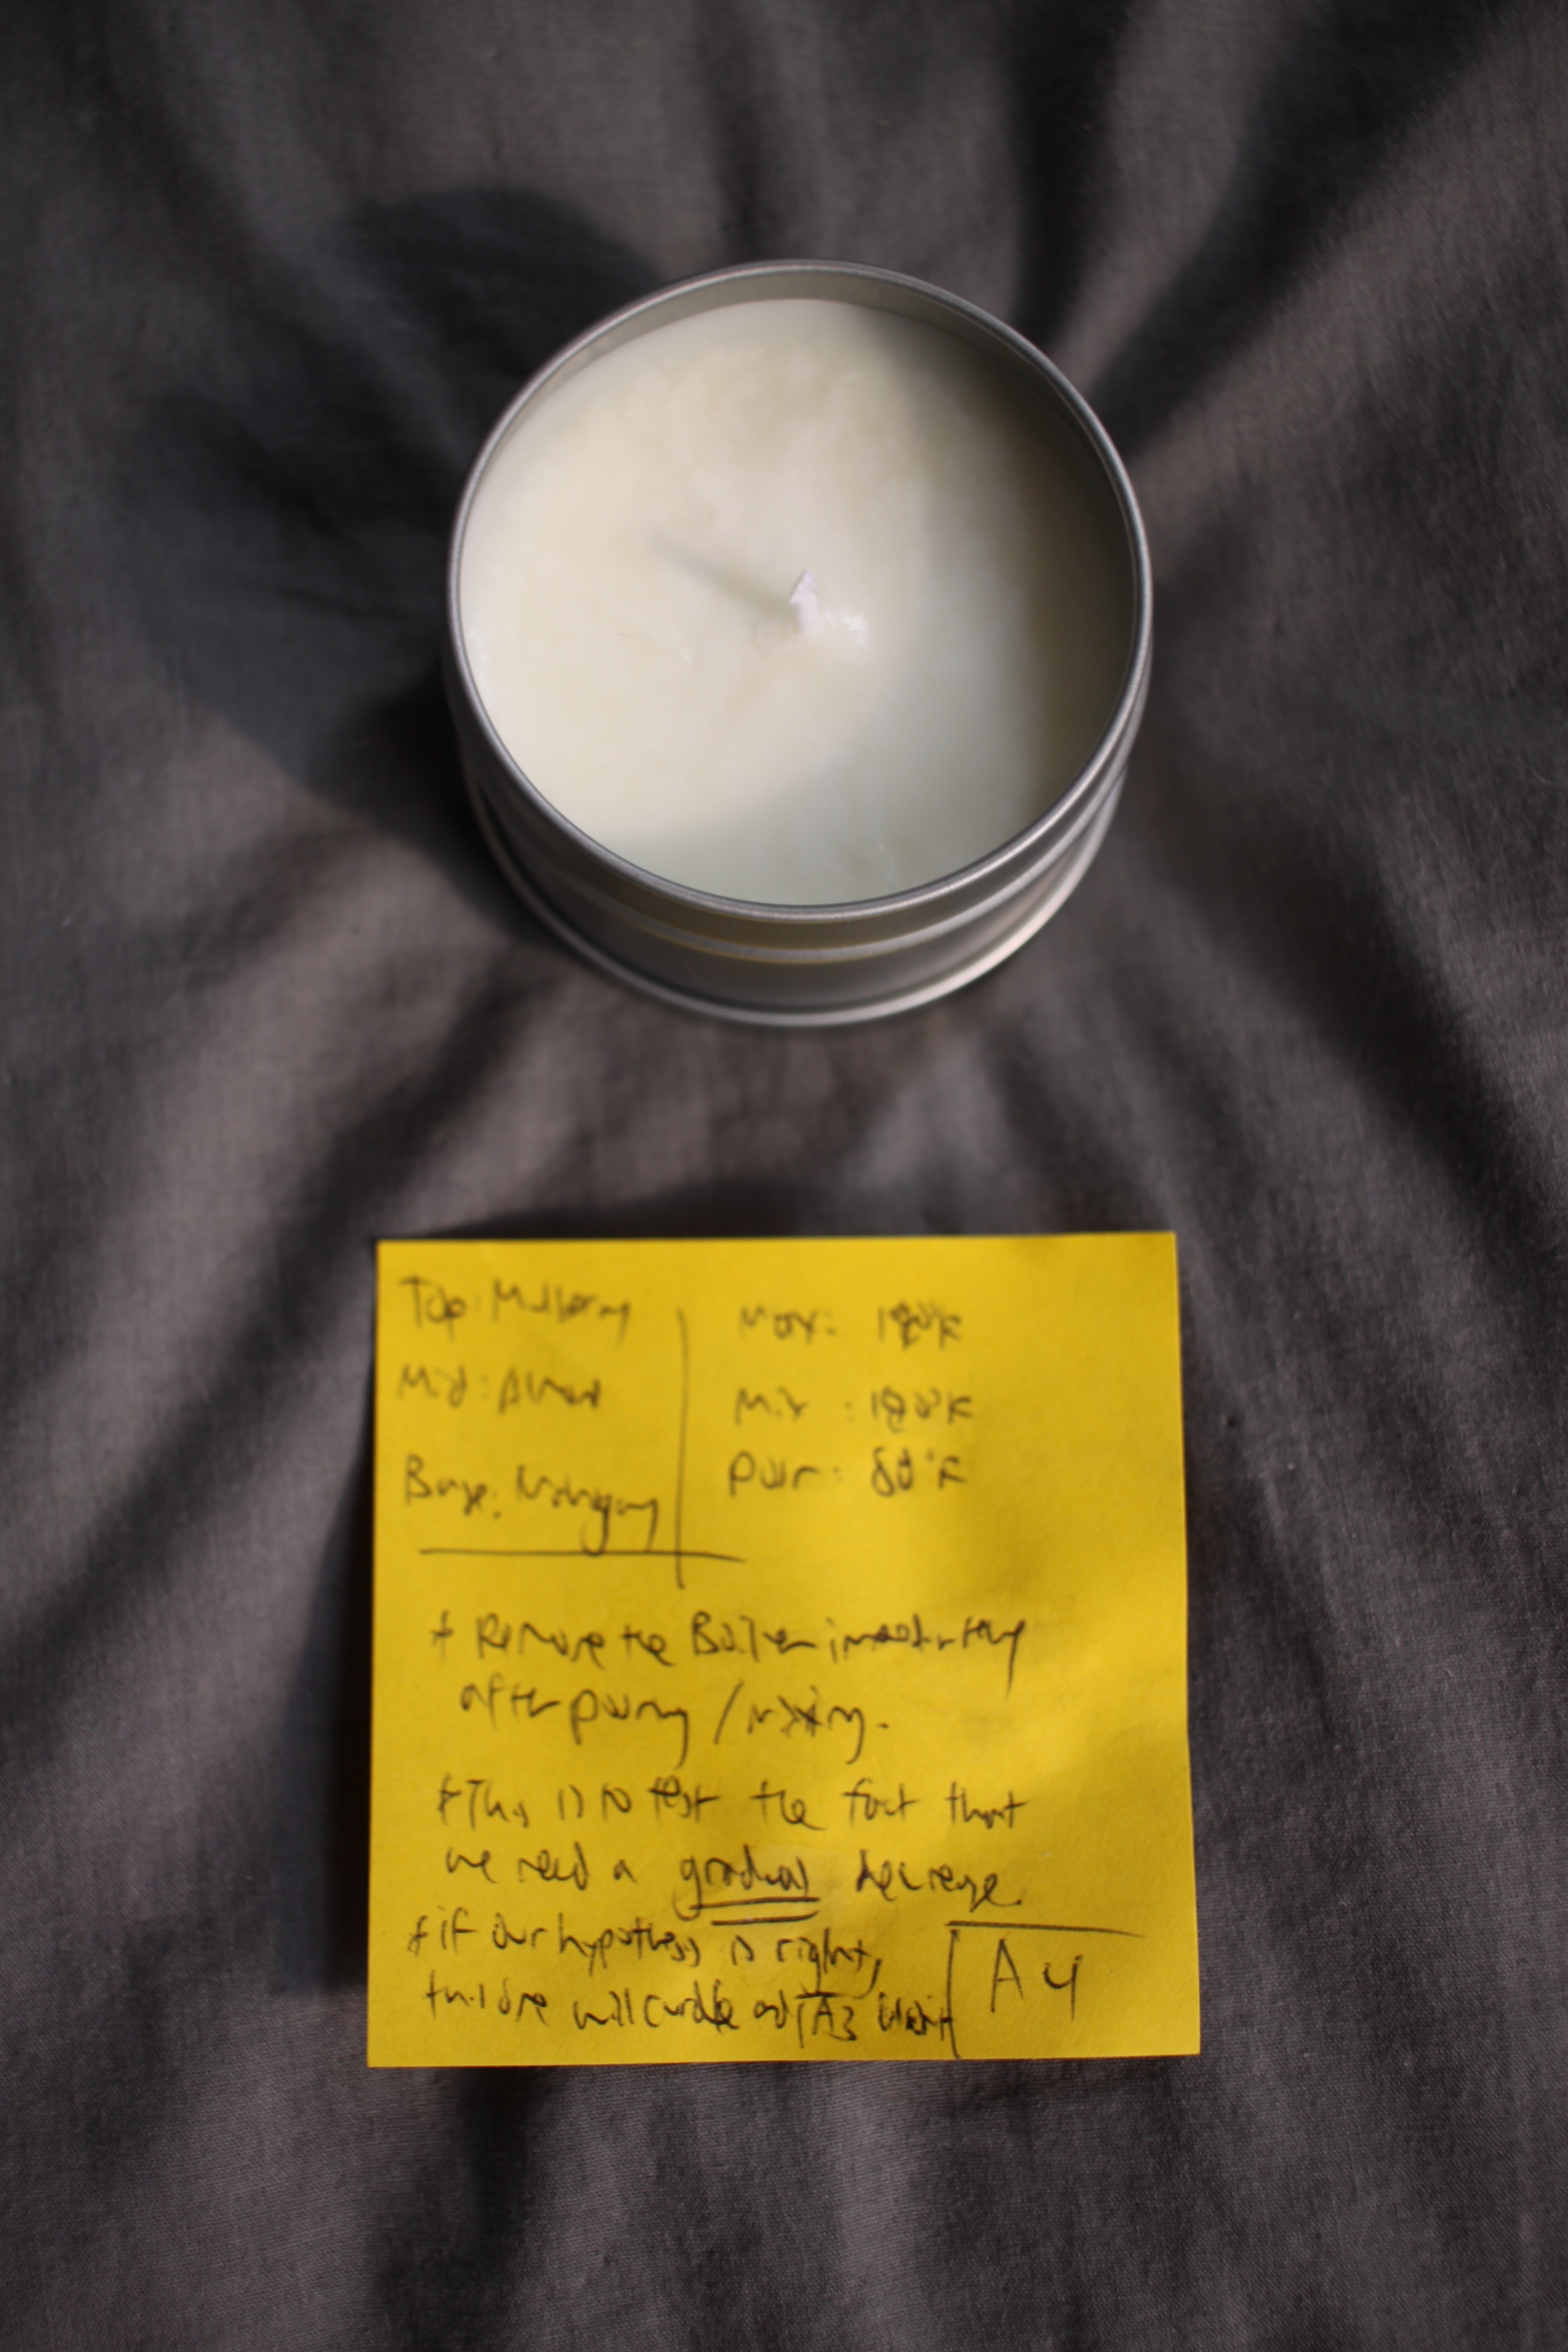
Candle #4
Conditions for Candle 4:
Pour at 80°F
Pull the candle pouring pot out immediately
Candle 4 tested whether we could pour out the wax at a higher temperature than 80°F. The image says 80°F, but I think it was more like 83°F. As stated before, I was using two different thermometers to measure temperature, so the temperatures on the stickies weren’t the most accurate.
When it came to pouring the wax out, I was diligent in watching out for any changes in structure in the wax as the temperature approached the target pouring out temperature. As the wax temperature decreases, it may start turning hazy, or specs might seem to form in the wax. These specs are signals that the wax is close to beginning to solidify.
For Candle 4, once I saw any changes in viscosity and haze, I would start the pour.
This candle came close to matching the results of Candle 1. The top was kinda smooth, but you can still see small lumps in it. One interesting thing to note was that this candle didn’t seem to fully solidify. Its top was very soft and oily, and any pressure on it would leave an imprint.
Candle 5:
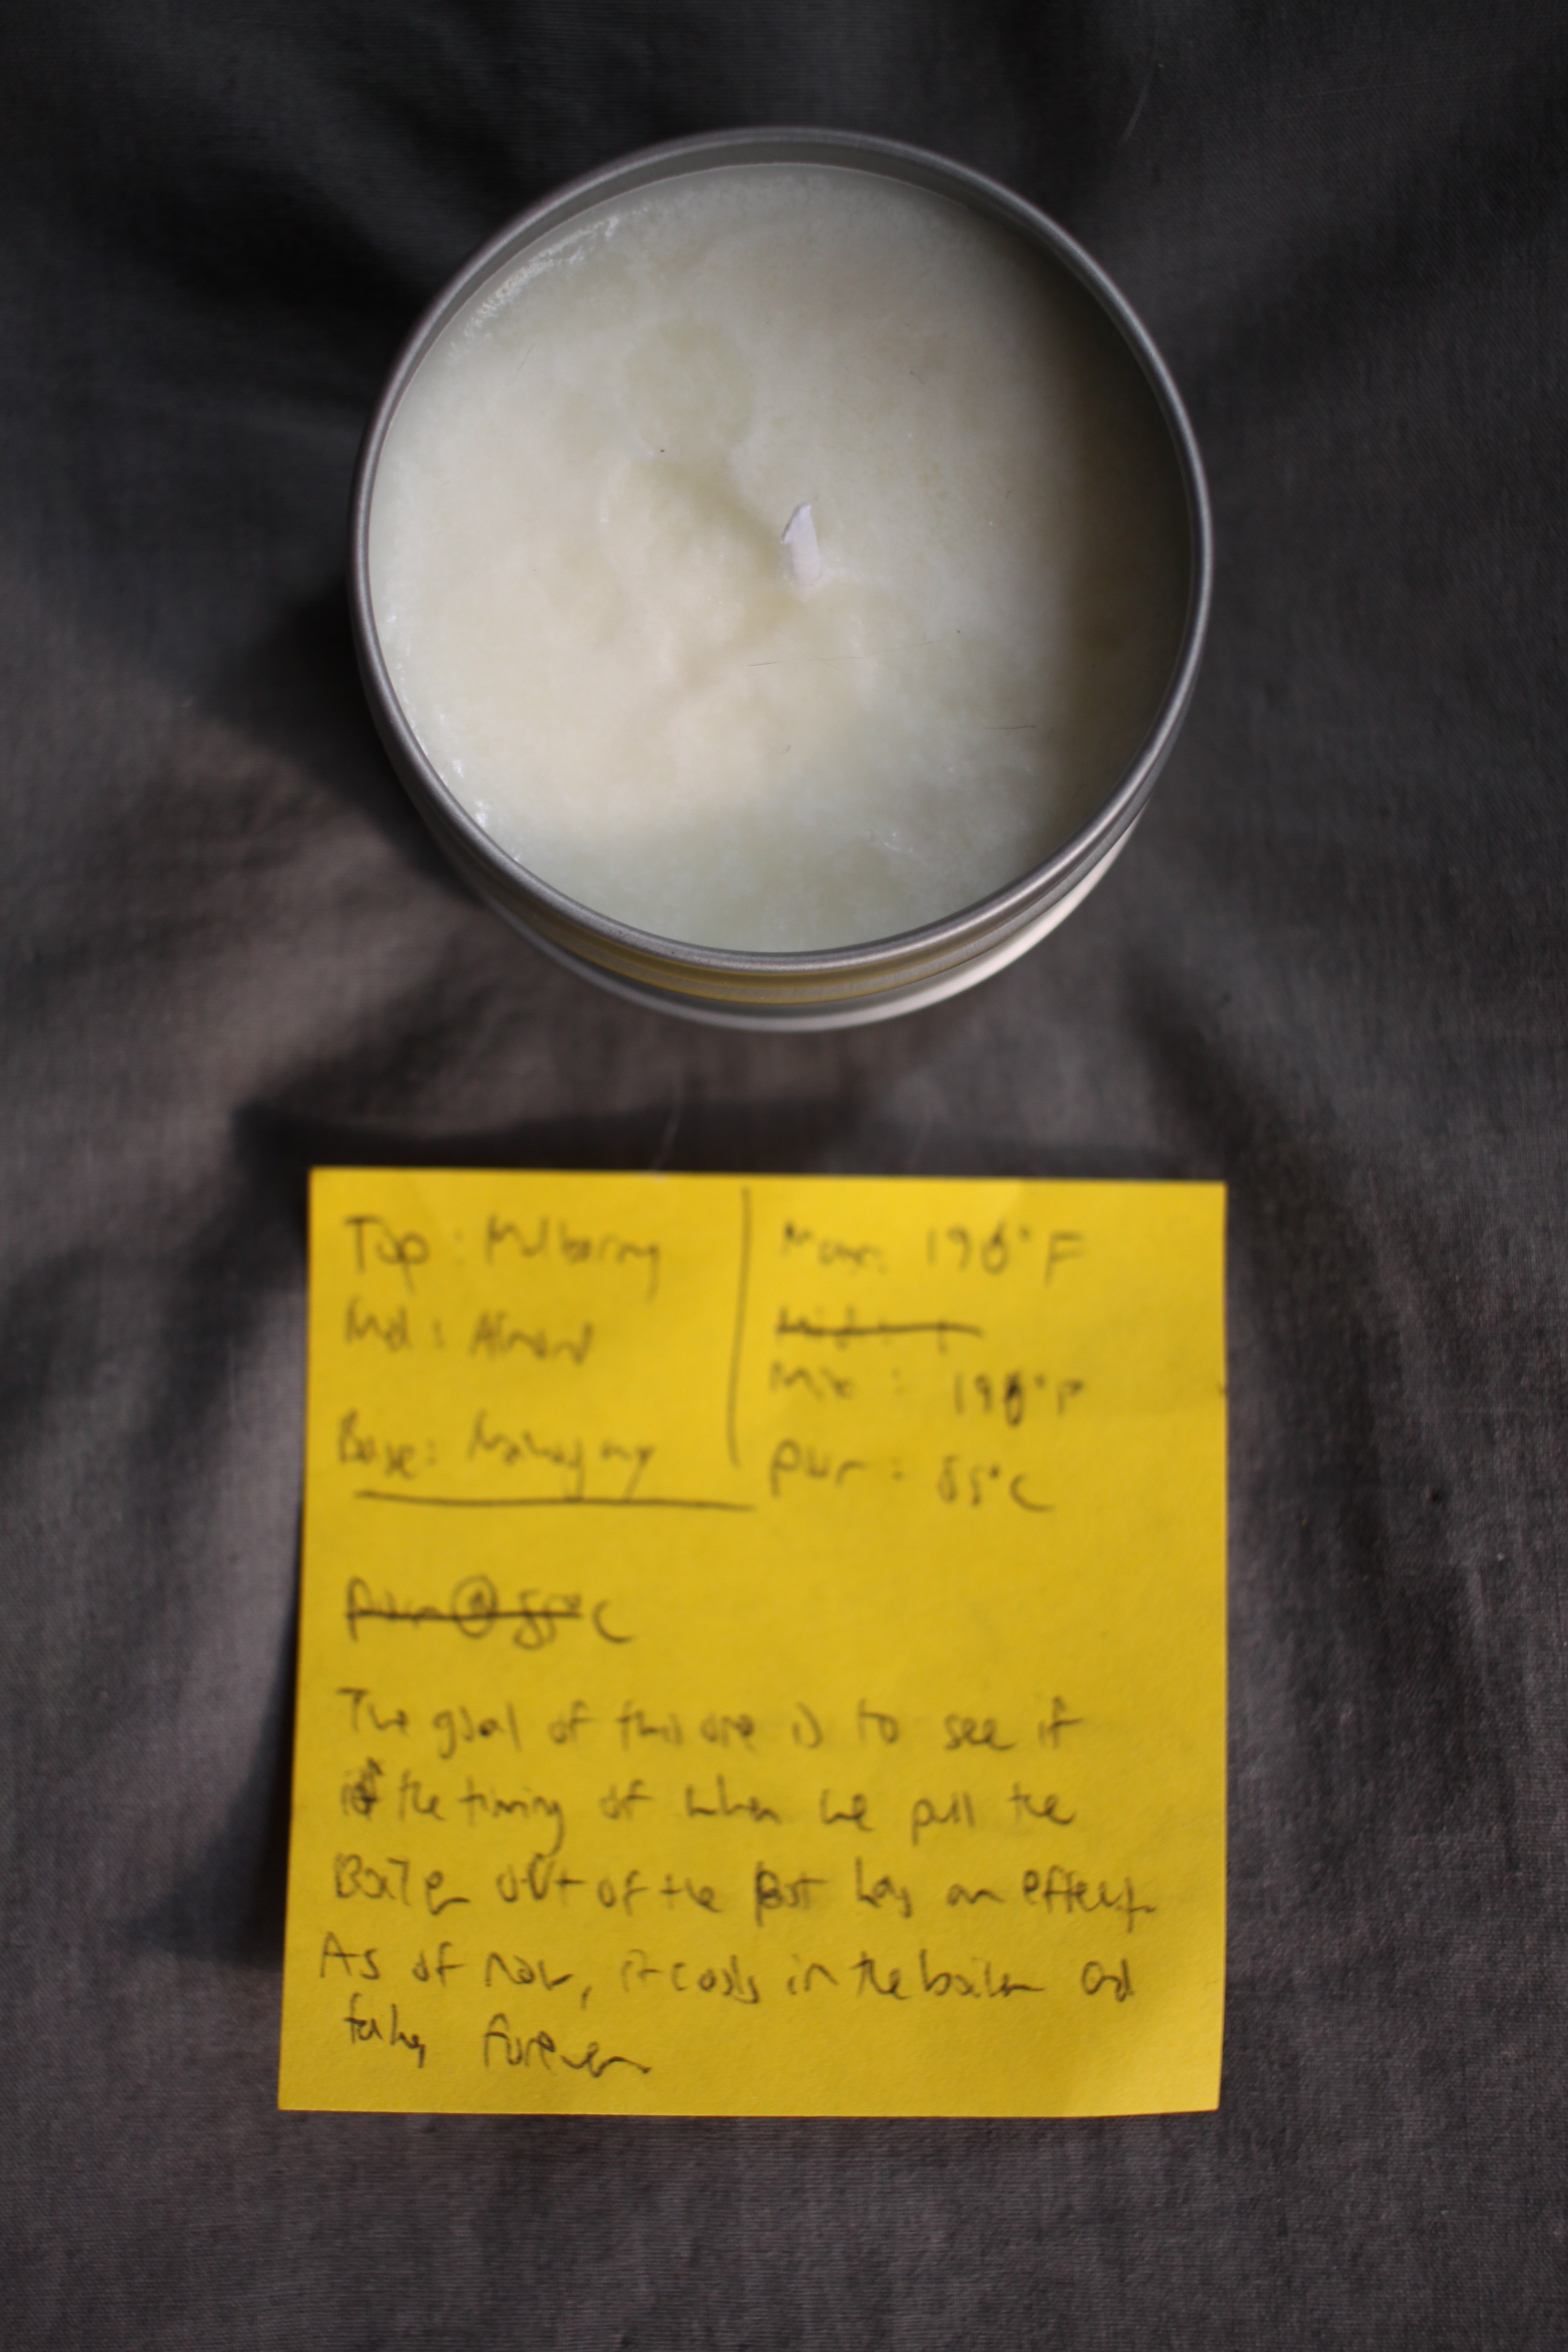
Candle #5
Conditions for Candle 5:
Pour at 85°F
Pull the candle pouring pot out immediately
Candle 5 mimicked the same pouring conditions as Candle 4, but it was poured out at a slightly higher temperature. The top from Candle 4 was the second best, so pour temperature became my focus. I decided to up the temperature to round out my temperature increments and to not skip 85°F when going from 95°F to 80°F.
As confirmed, candle 5 didn’t perform as well. Its top was oilier than Candle 4, and its top still wasn’t smooth.
Candle 6
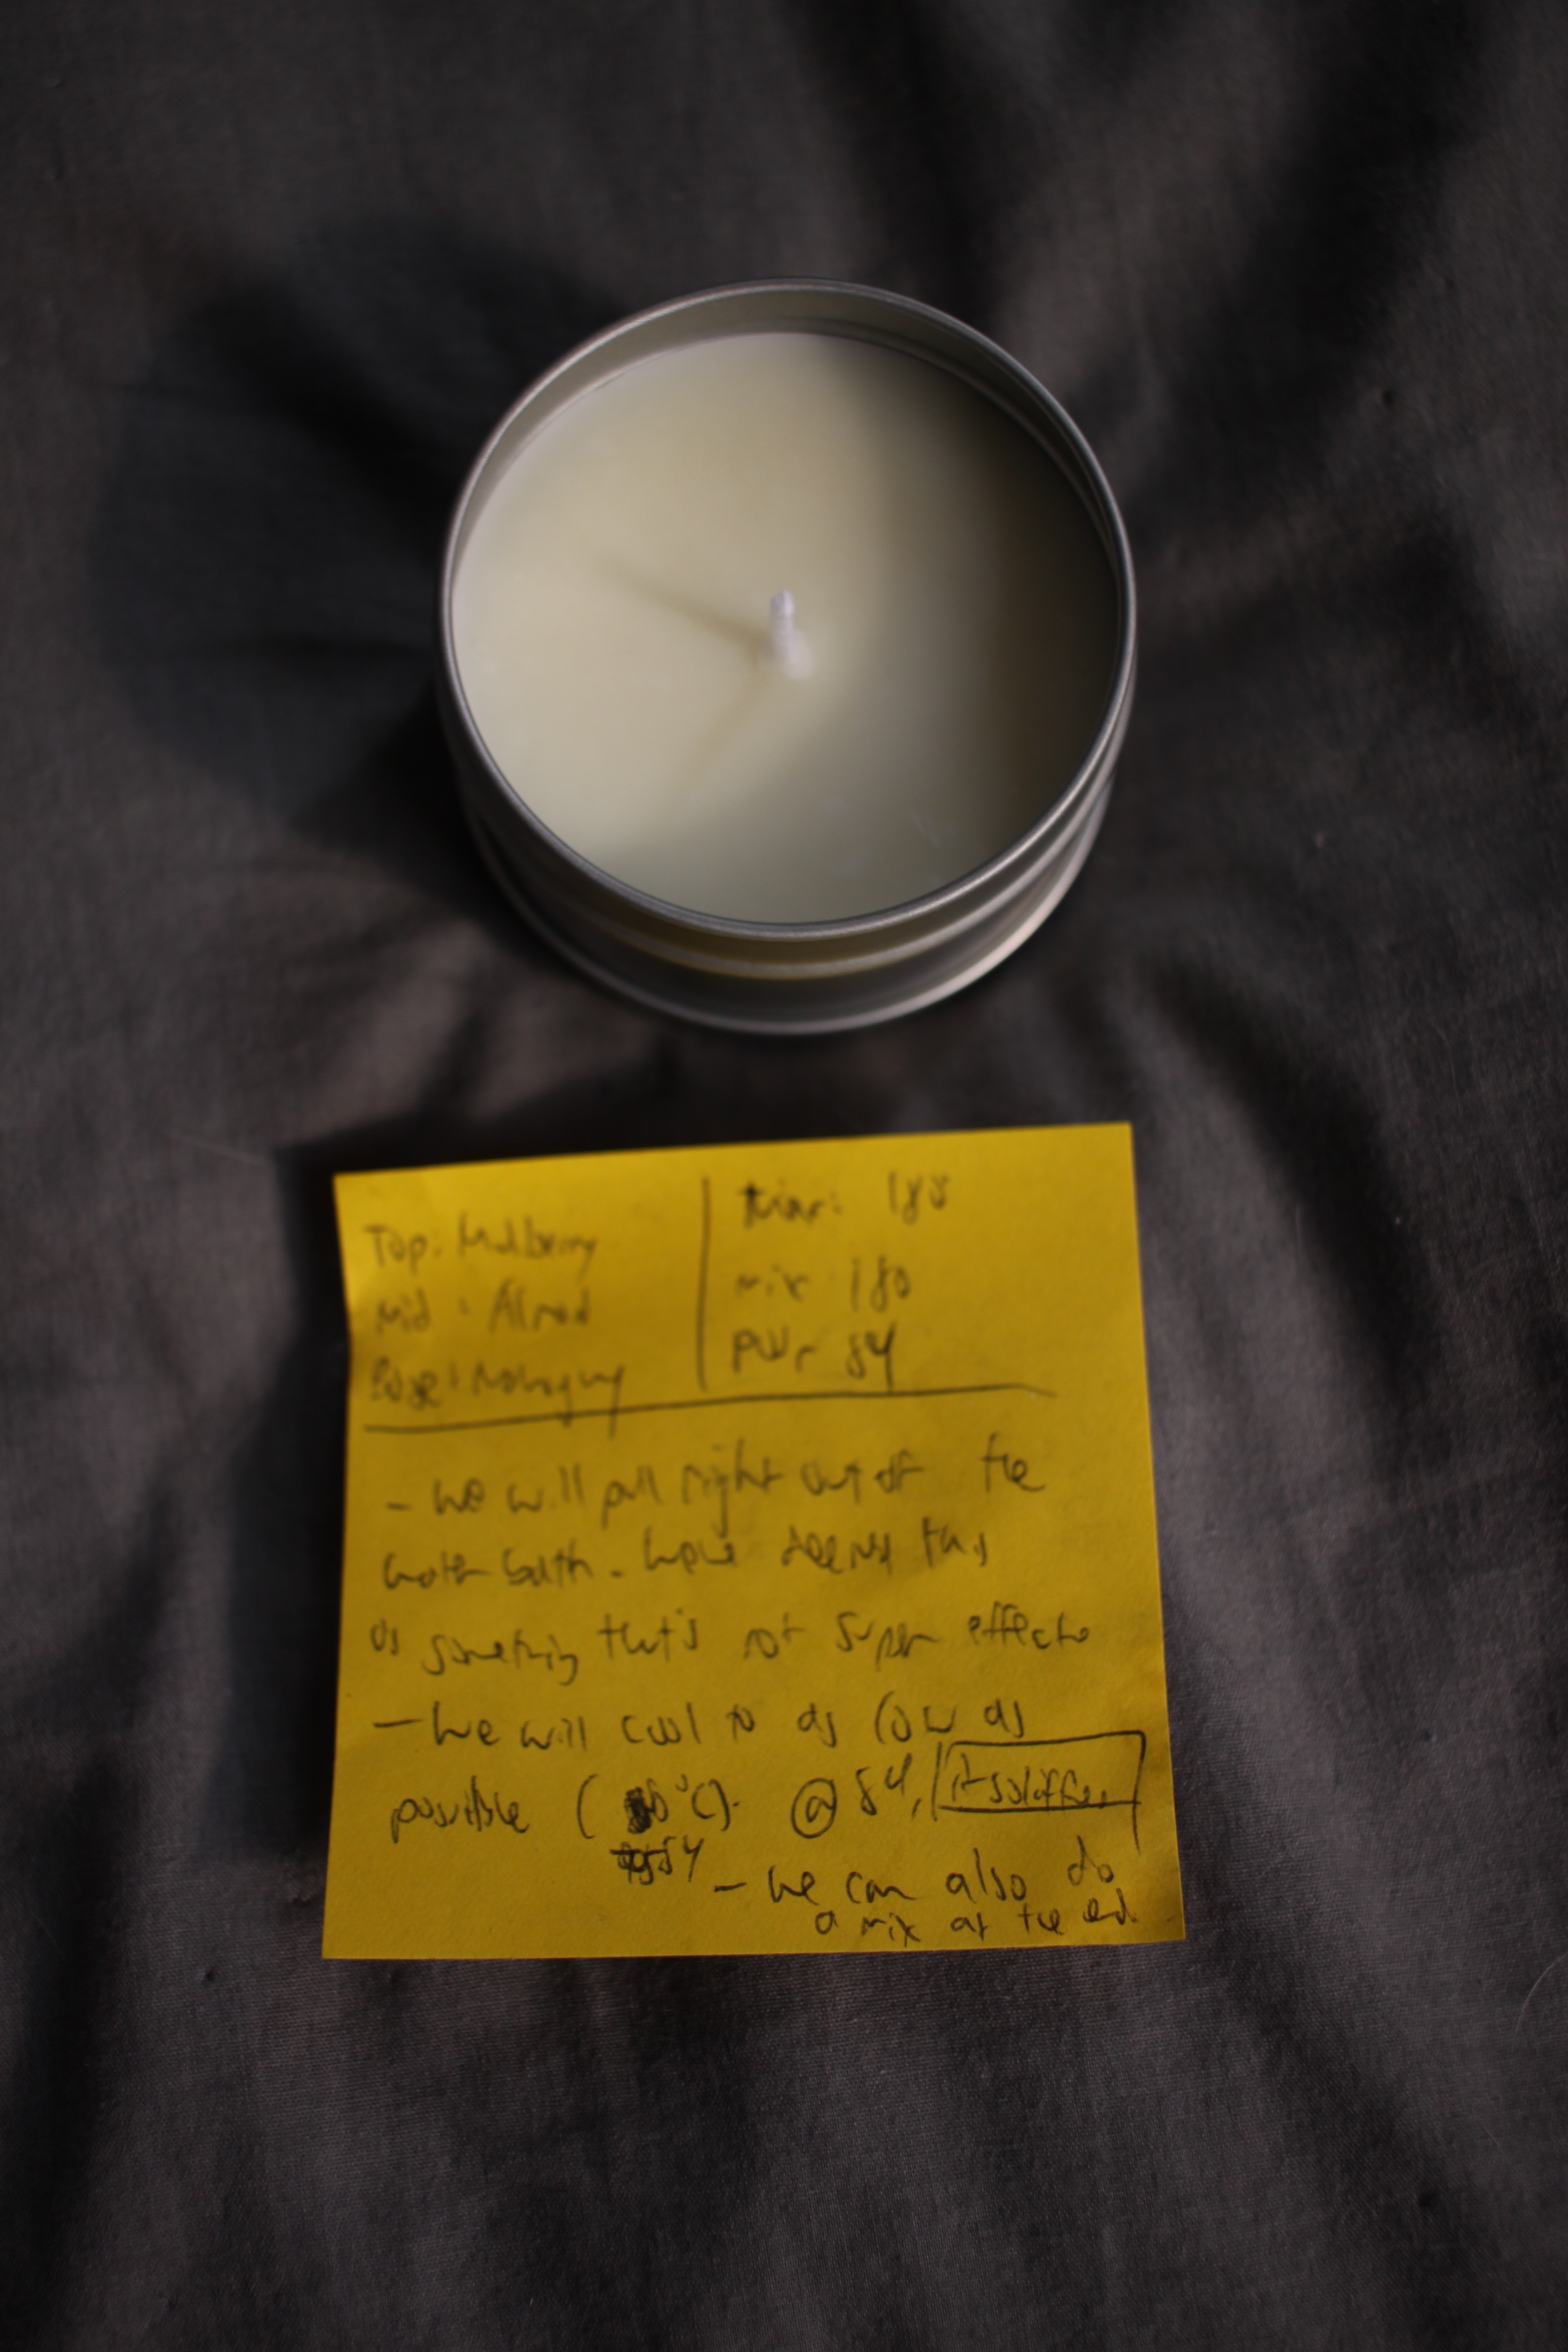
Candle #5
Conditions for Candle 6:
Pour at 80°F (or when heavy clumping occurs)
Pull the candle pouring pot out immediately
By Candle 6, I was pretty certain I knew what temperature I should target when pouring out my wax. I made sure that there was some sort of clumping happening within my wax, and that it had a cloudy and hazy texture before pouring out into the tin container.
These conditions resulted in a creamy, smooth pour that resembled Candle 1.
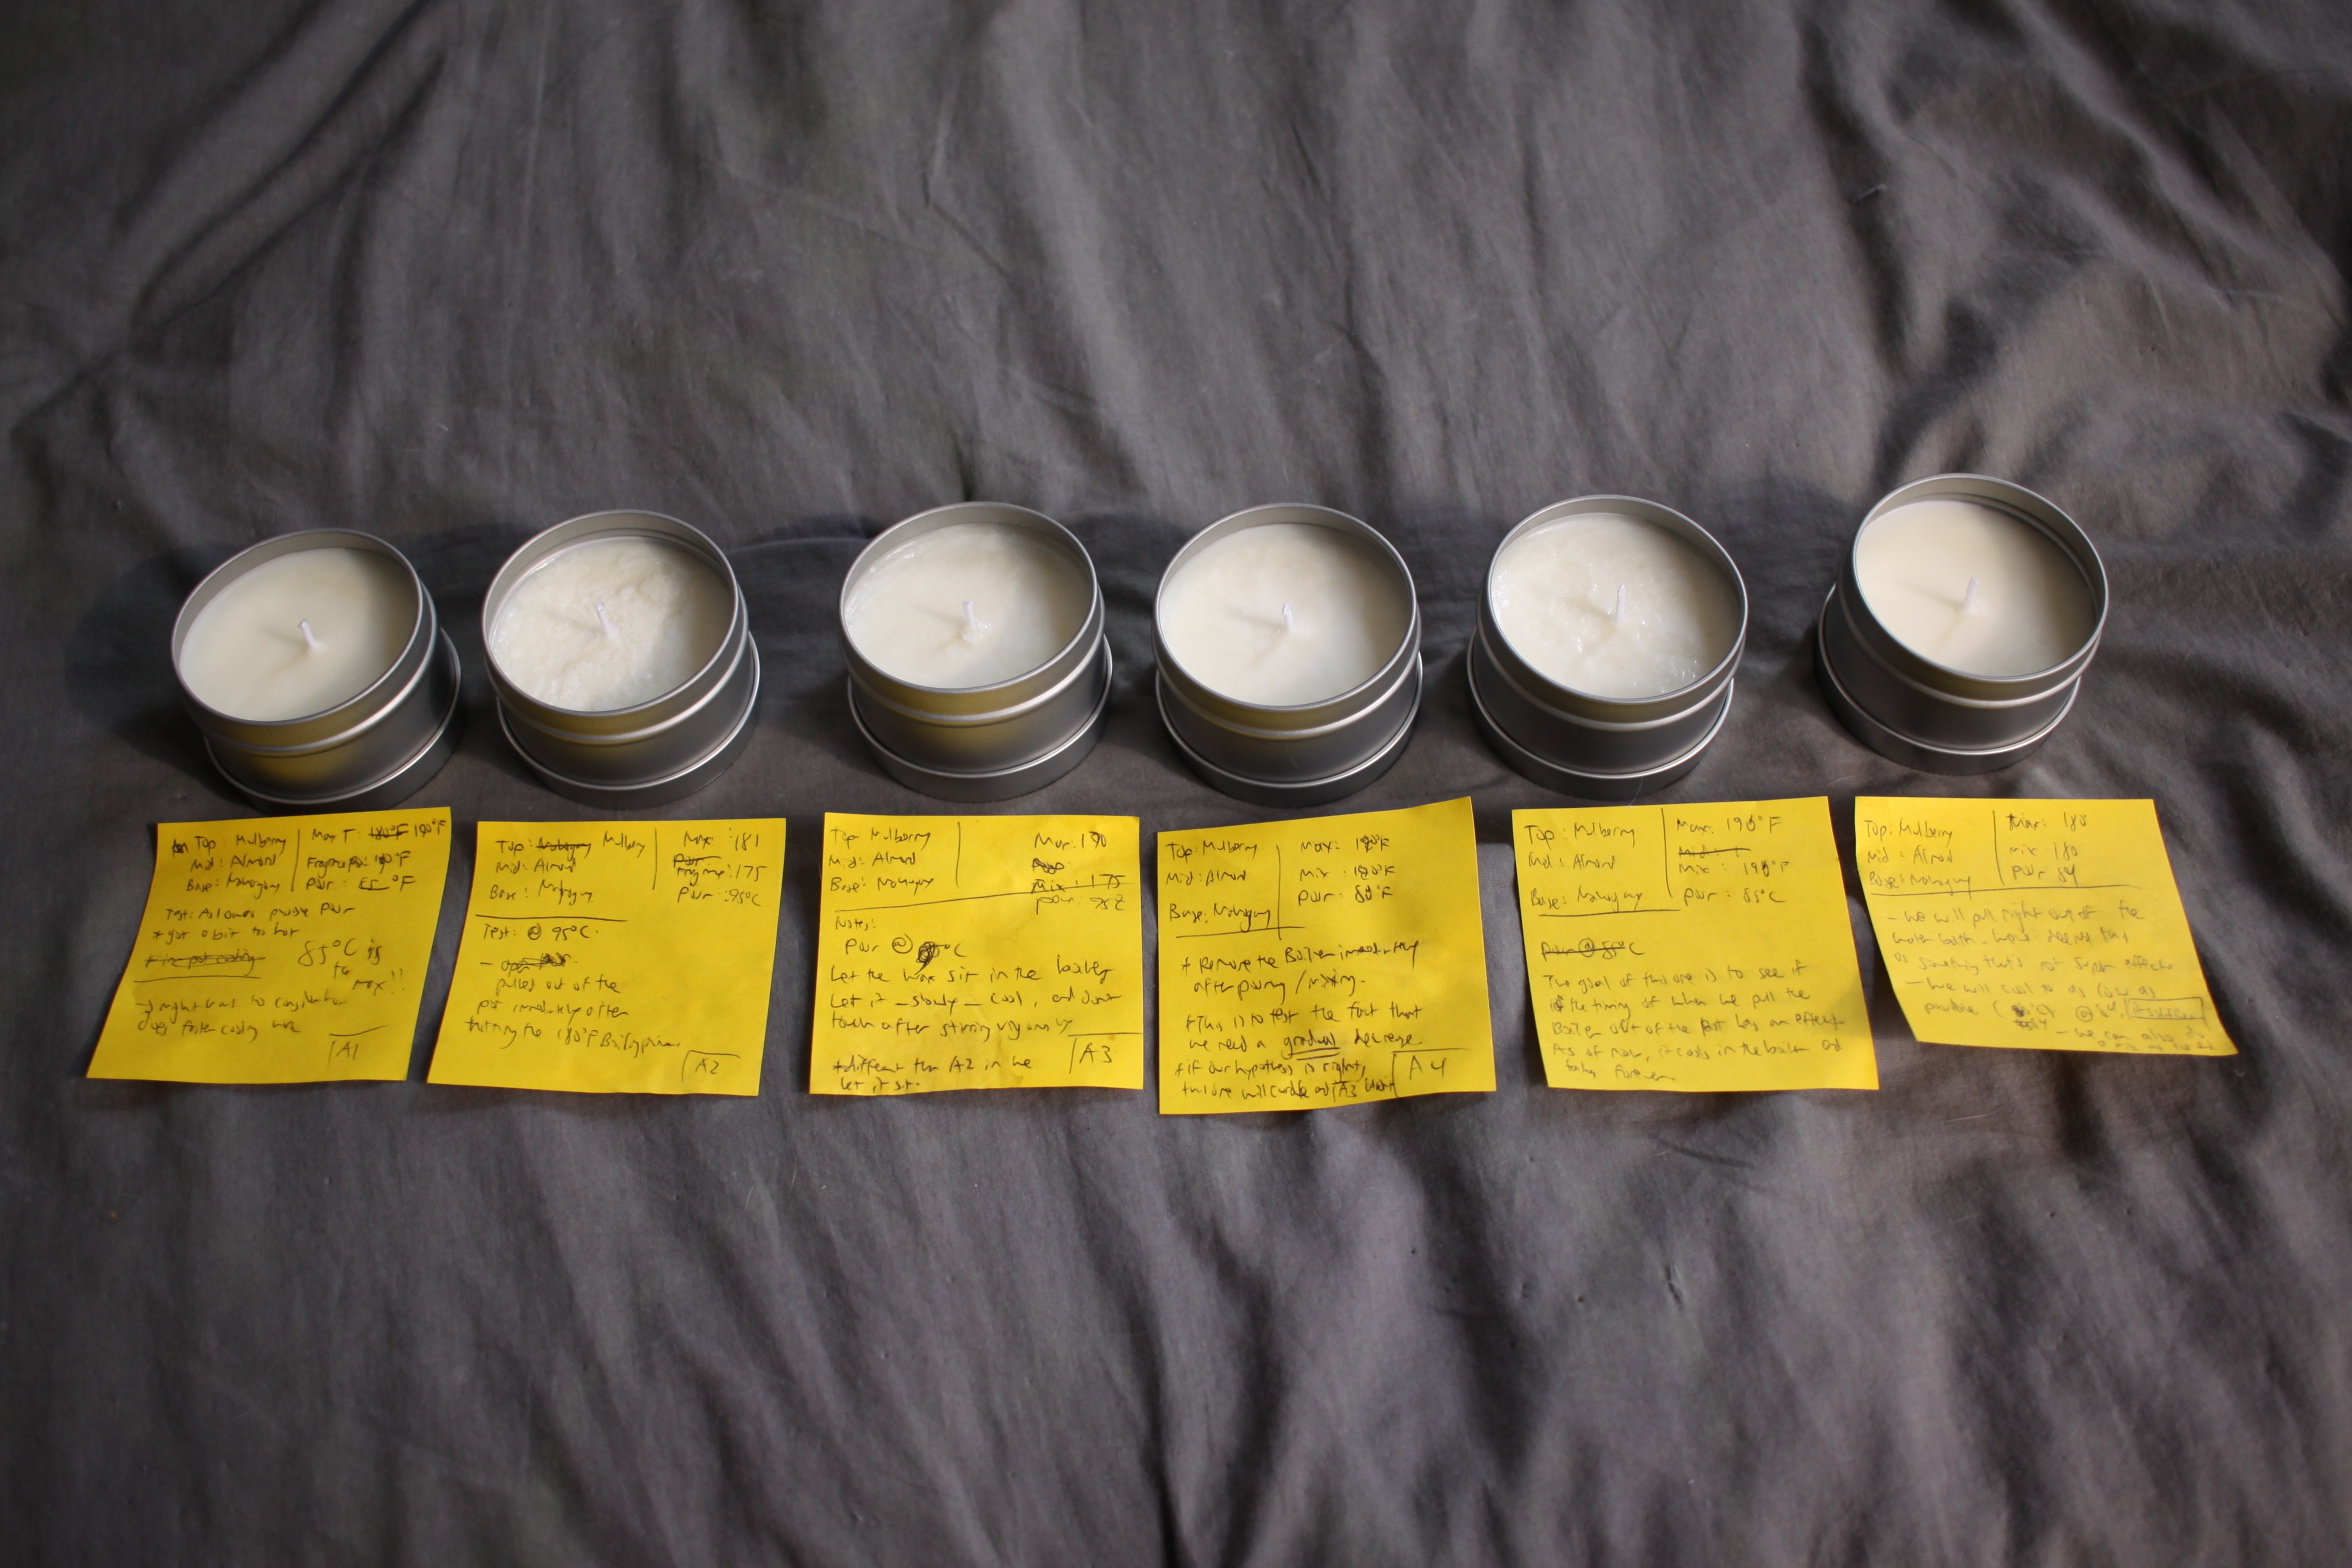
From these 6 candles, I was able to take away that I should aim for as low of a pouring temperature for the wax if I wanted a smooth top.
I wasn’t able to deduce whether letting the wax cool in the boiler or pulling it out to cool had an effect. However, I also don’t think it’s worthwhile to optimize this parameter as having it cool in the boiler would result in almost a cool duration that was 3 to 4 times longer. I might explore this parameter further down the line when I have the equipment to do so.
I noticed that when I poured at low pouring temperatures, I’d have remaining wax in the container as some of it became too viscous and stuck to the candle pouring pot. The way to combat this would be to add in some buffer wax from the beginning to account for this loss.
This was where the excel sheet came in handy. I’d add in an additional 25% of target wax, which the sheet would appropriately calculate how much additional fragrance I’d need. As long as I kept the ratios consistent, the end composition should still stay the same. Warning though, sometimes having an extra 25% was not enough to fill out the candle, so I’ve yet to figure out how much extra wax to include. I don’t think this is an issue if you are making huge batches of candles as you’d simply pass on filling certain containers. However, if you are only making one candle and you have too little wax, then this becomes an issue.
Other notes to consider:
The sample size of this experiment is too small to have anything concretely conclusive.
I wasn’t able to use new glassware between each trial. Washing and drying the beakers and graduated cylinders between making each candle took too long. Because we were mainly working with hydrocarbons, any contamination of water could cause weird settling in the wax due to its hydrophobic properties. Therefore, when I was measuring out the fragrance oils, there could have been some remaining oils from the prior pour that could’ve caused some variance.
So in the end, I think I have a foothold on making a candle that:
* [x] Holds its sent

* [x] Smooth surface

* [/] Minimal air pockets (haven't seen any yet..)
Hopefully this was helpful for you. If you have any questions or comments, feel free to tweet at me: @brianczhou