Burning 464 Soy Wax
March 01, 2020 | 5 minute read
After letting the 6 test candles sit and cure for 2 weeks, I thought it was time to give each a burn.
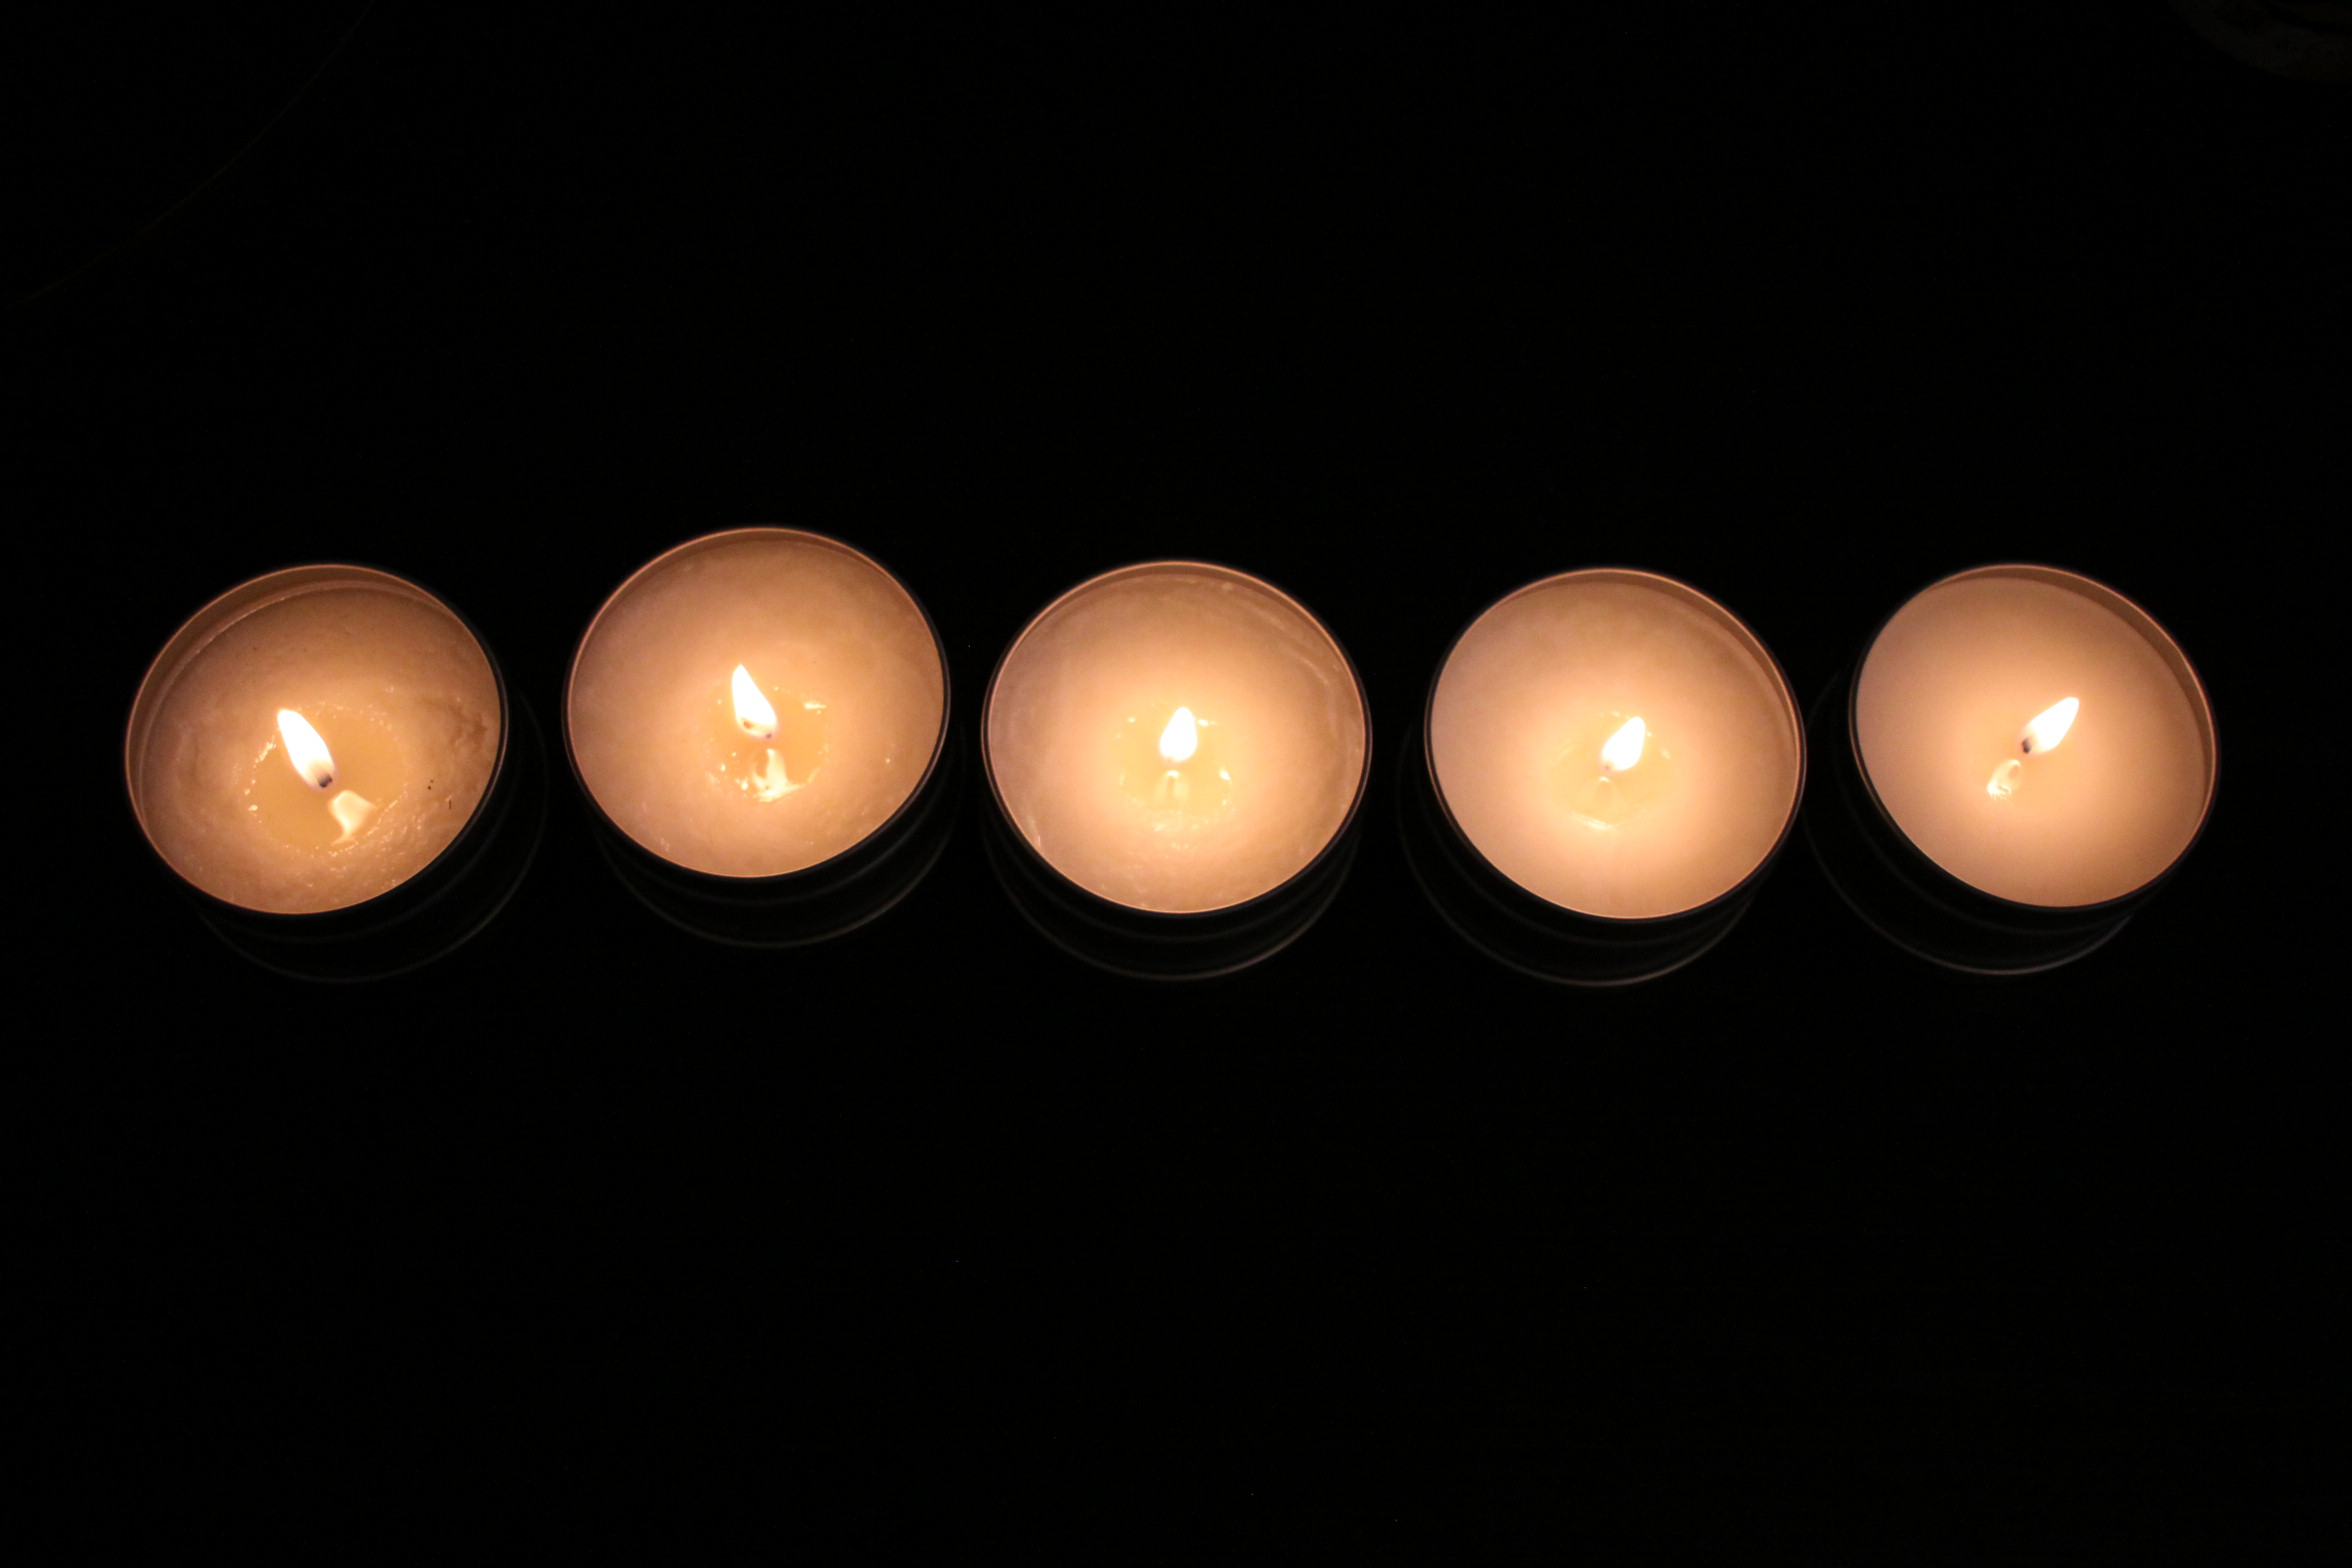
Beginning of the burn
I lit all three candles within a minute span of each other, and let them burn for a span of an hour.
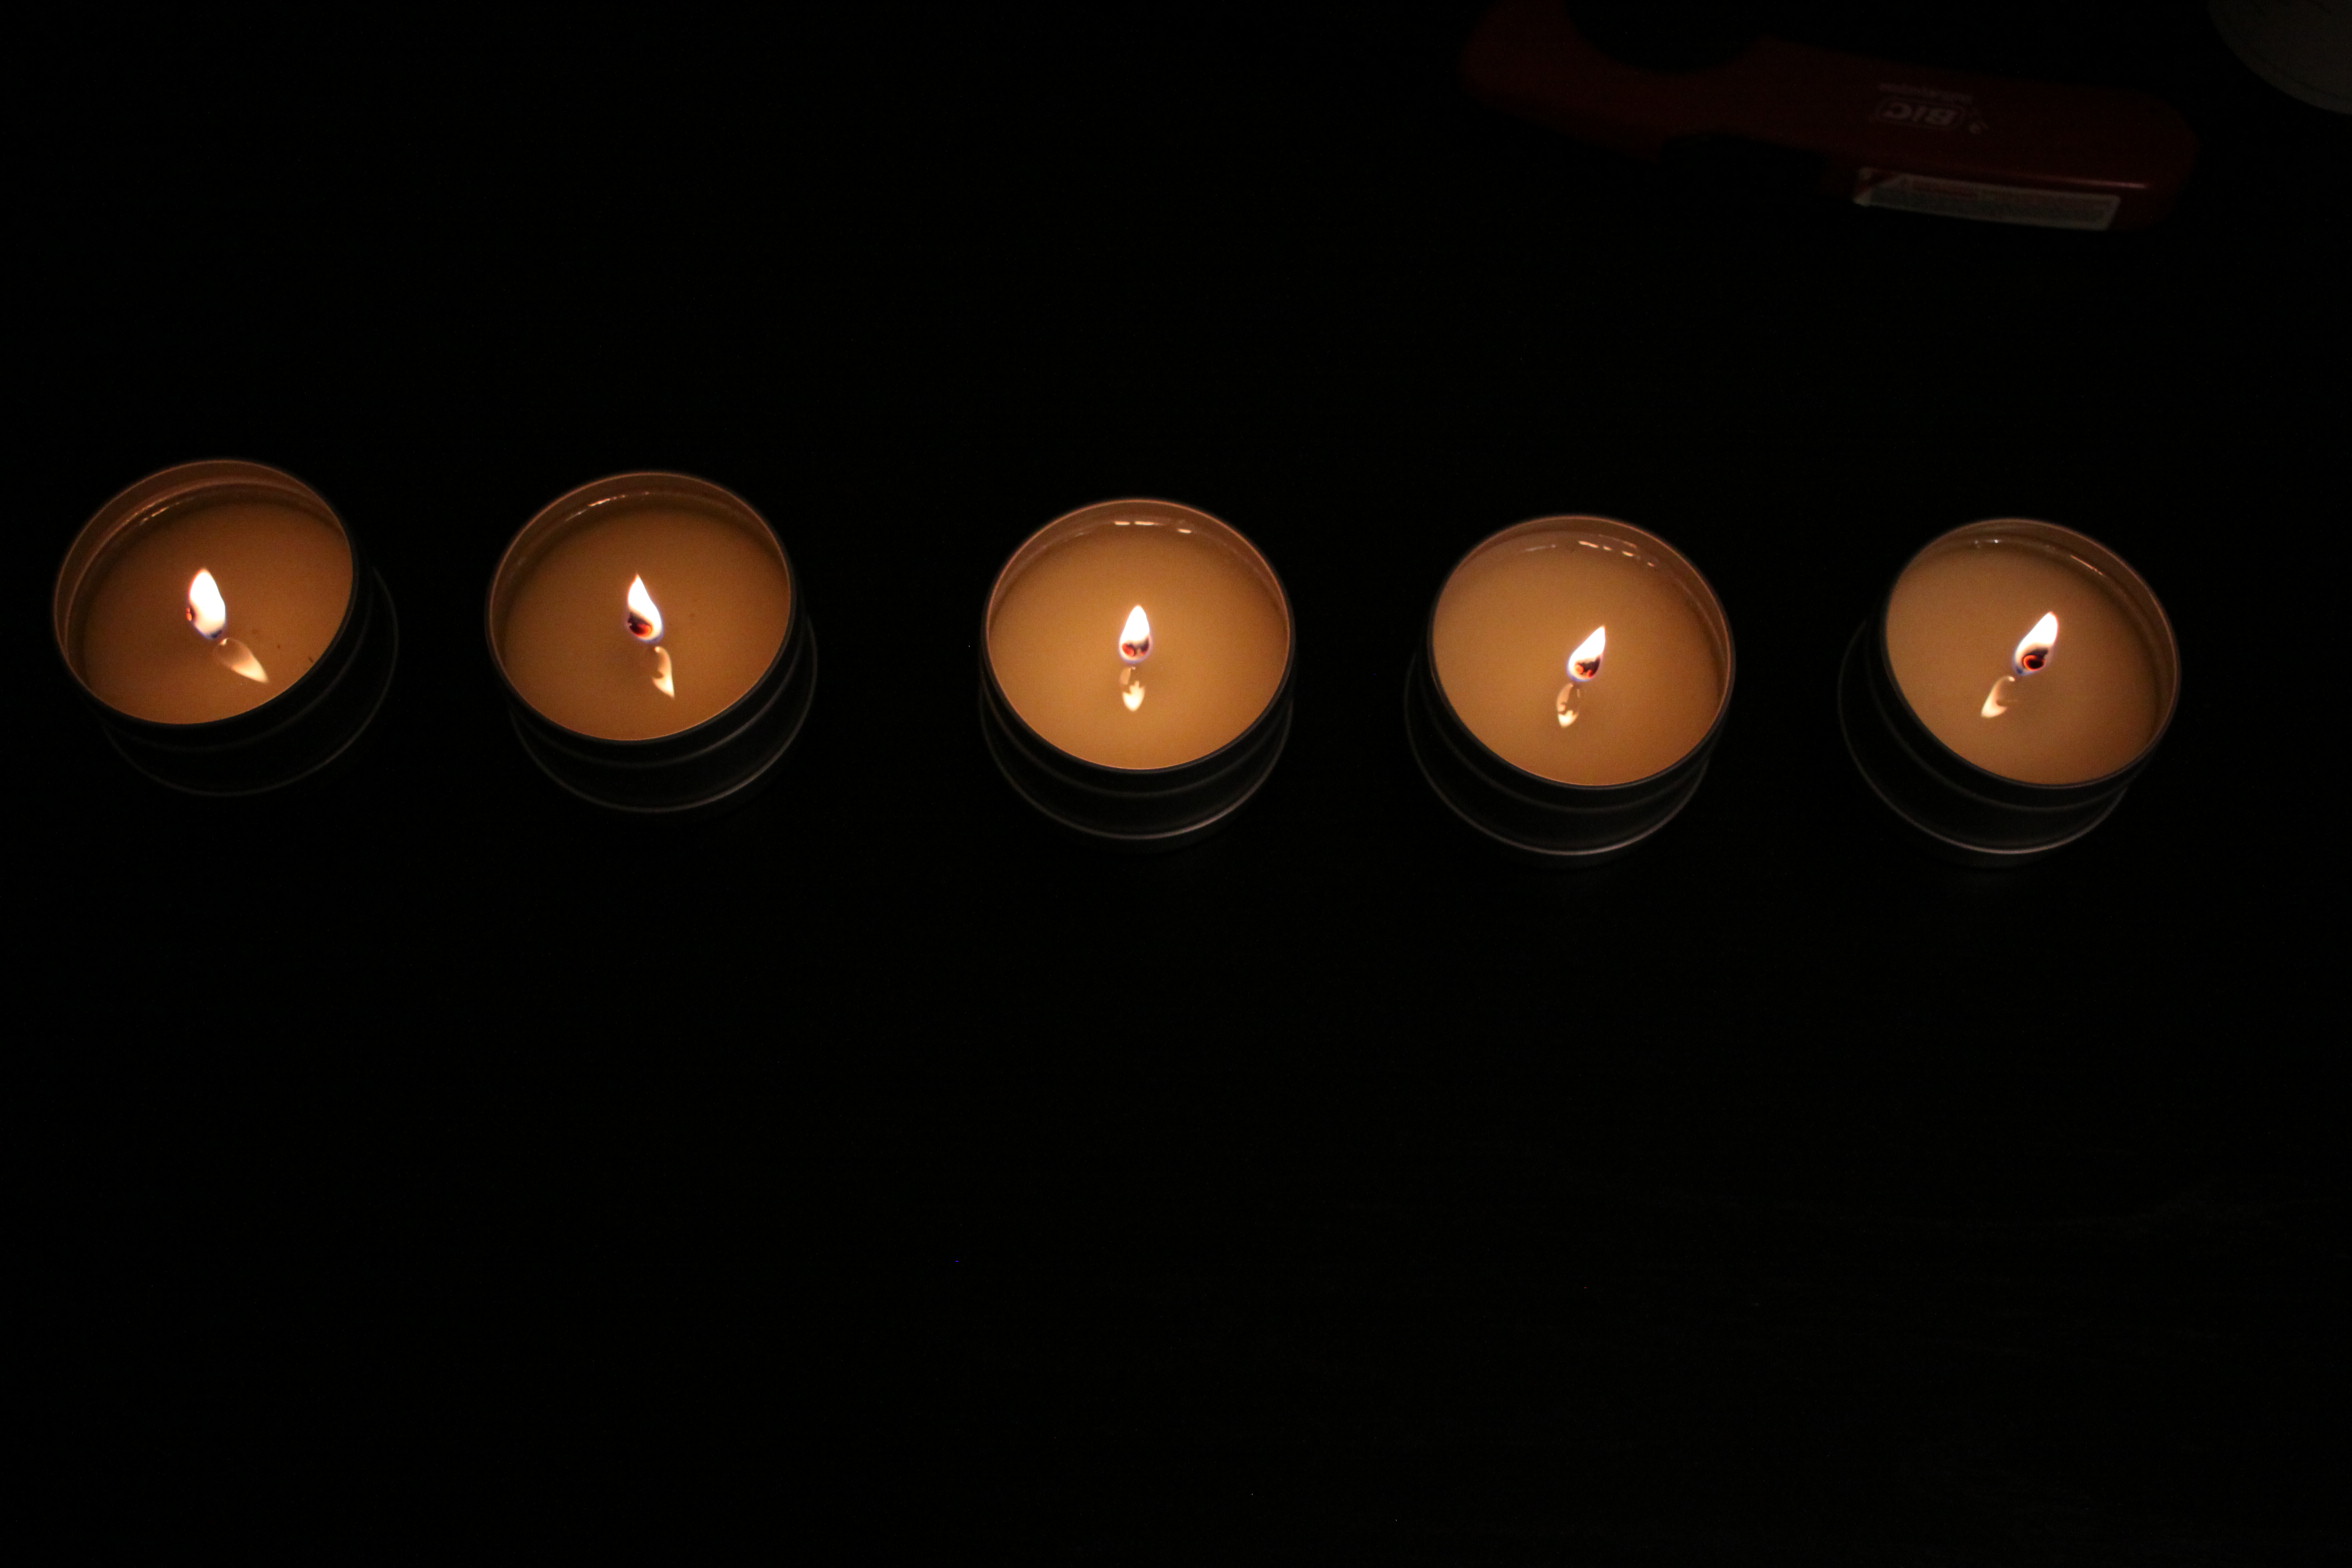
Thirty minutes in
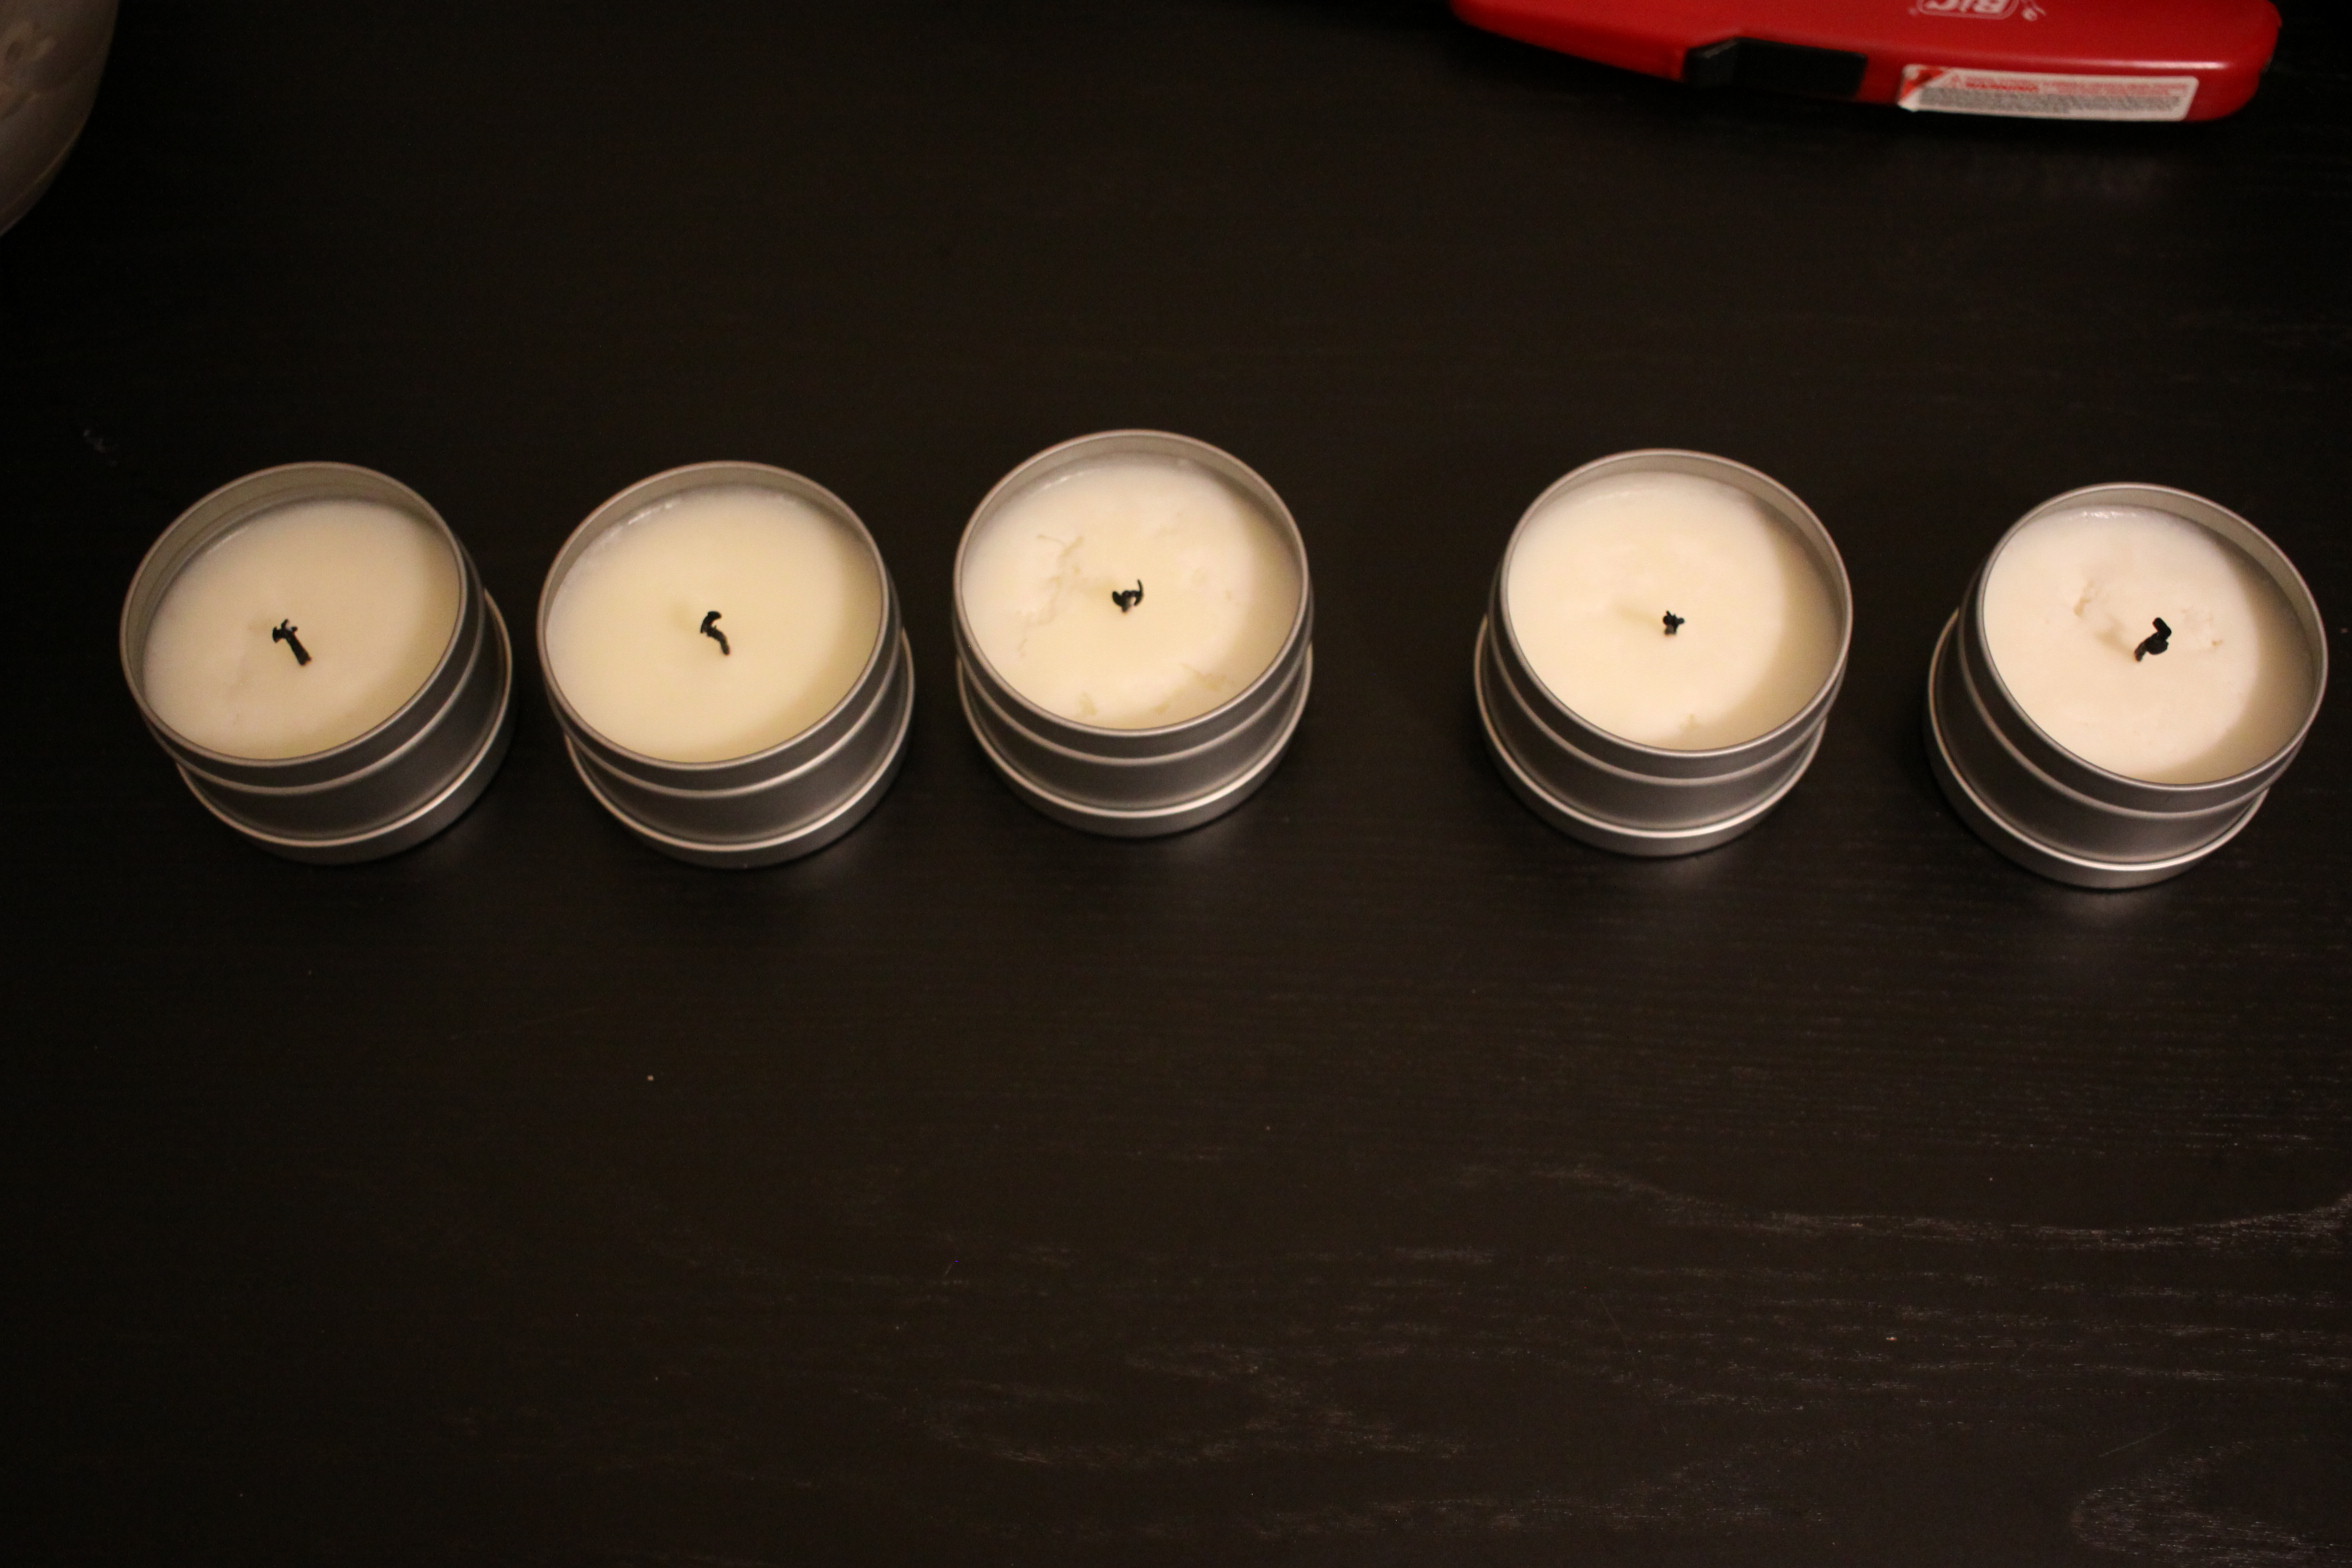
Cooling after burning candle for an hour
The results were pretty interesting. If you look at the above photo, you’ll notice that the candles that originally had rough surfaces ended up cooling to a state that’s silky and smooth. However, the candles that did start off with a smooth surface cooled to a rough surface.
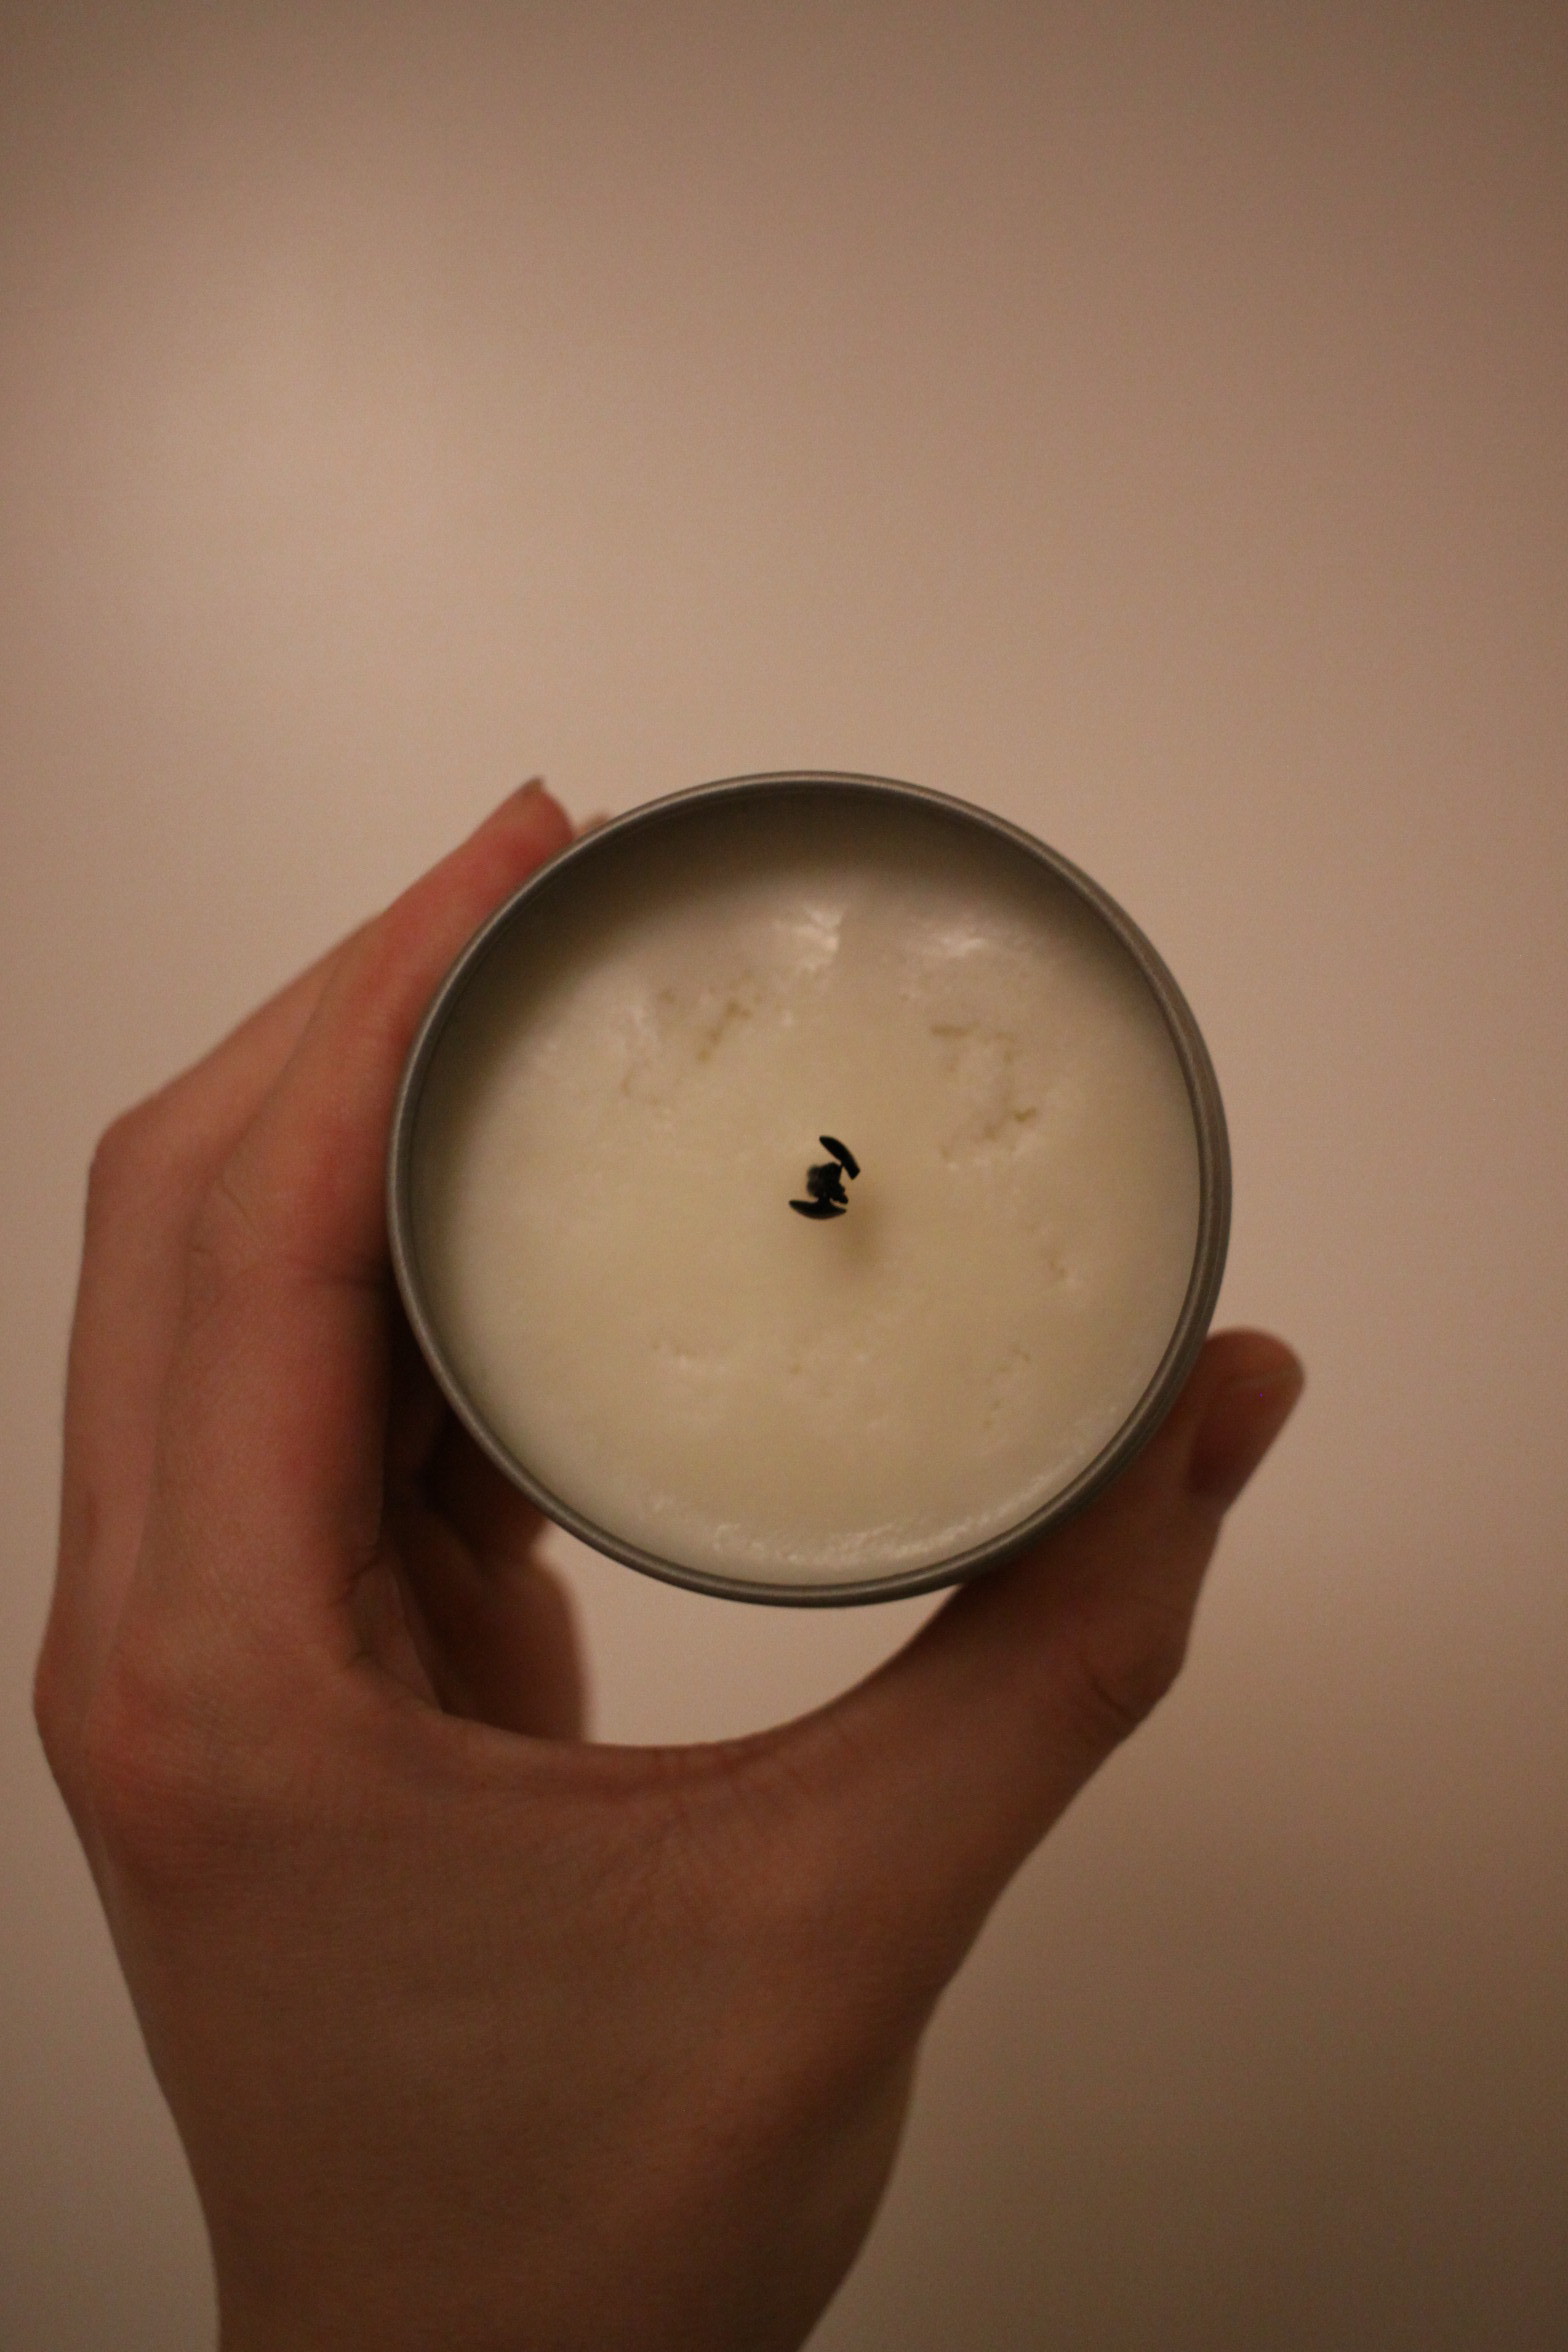
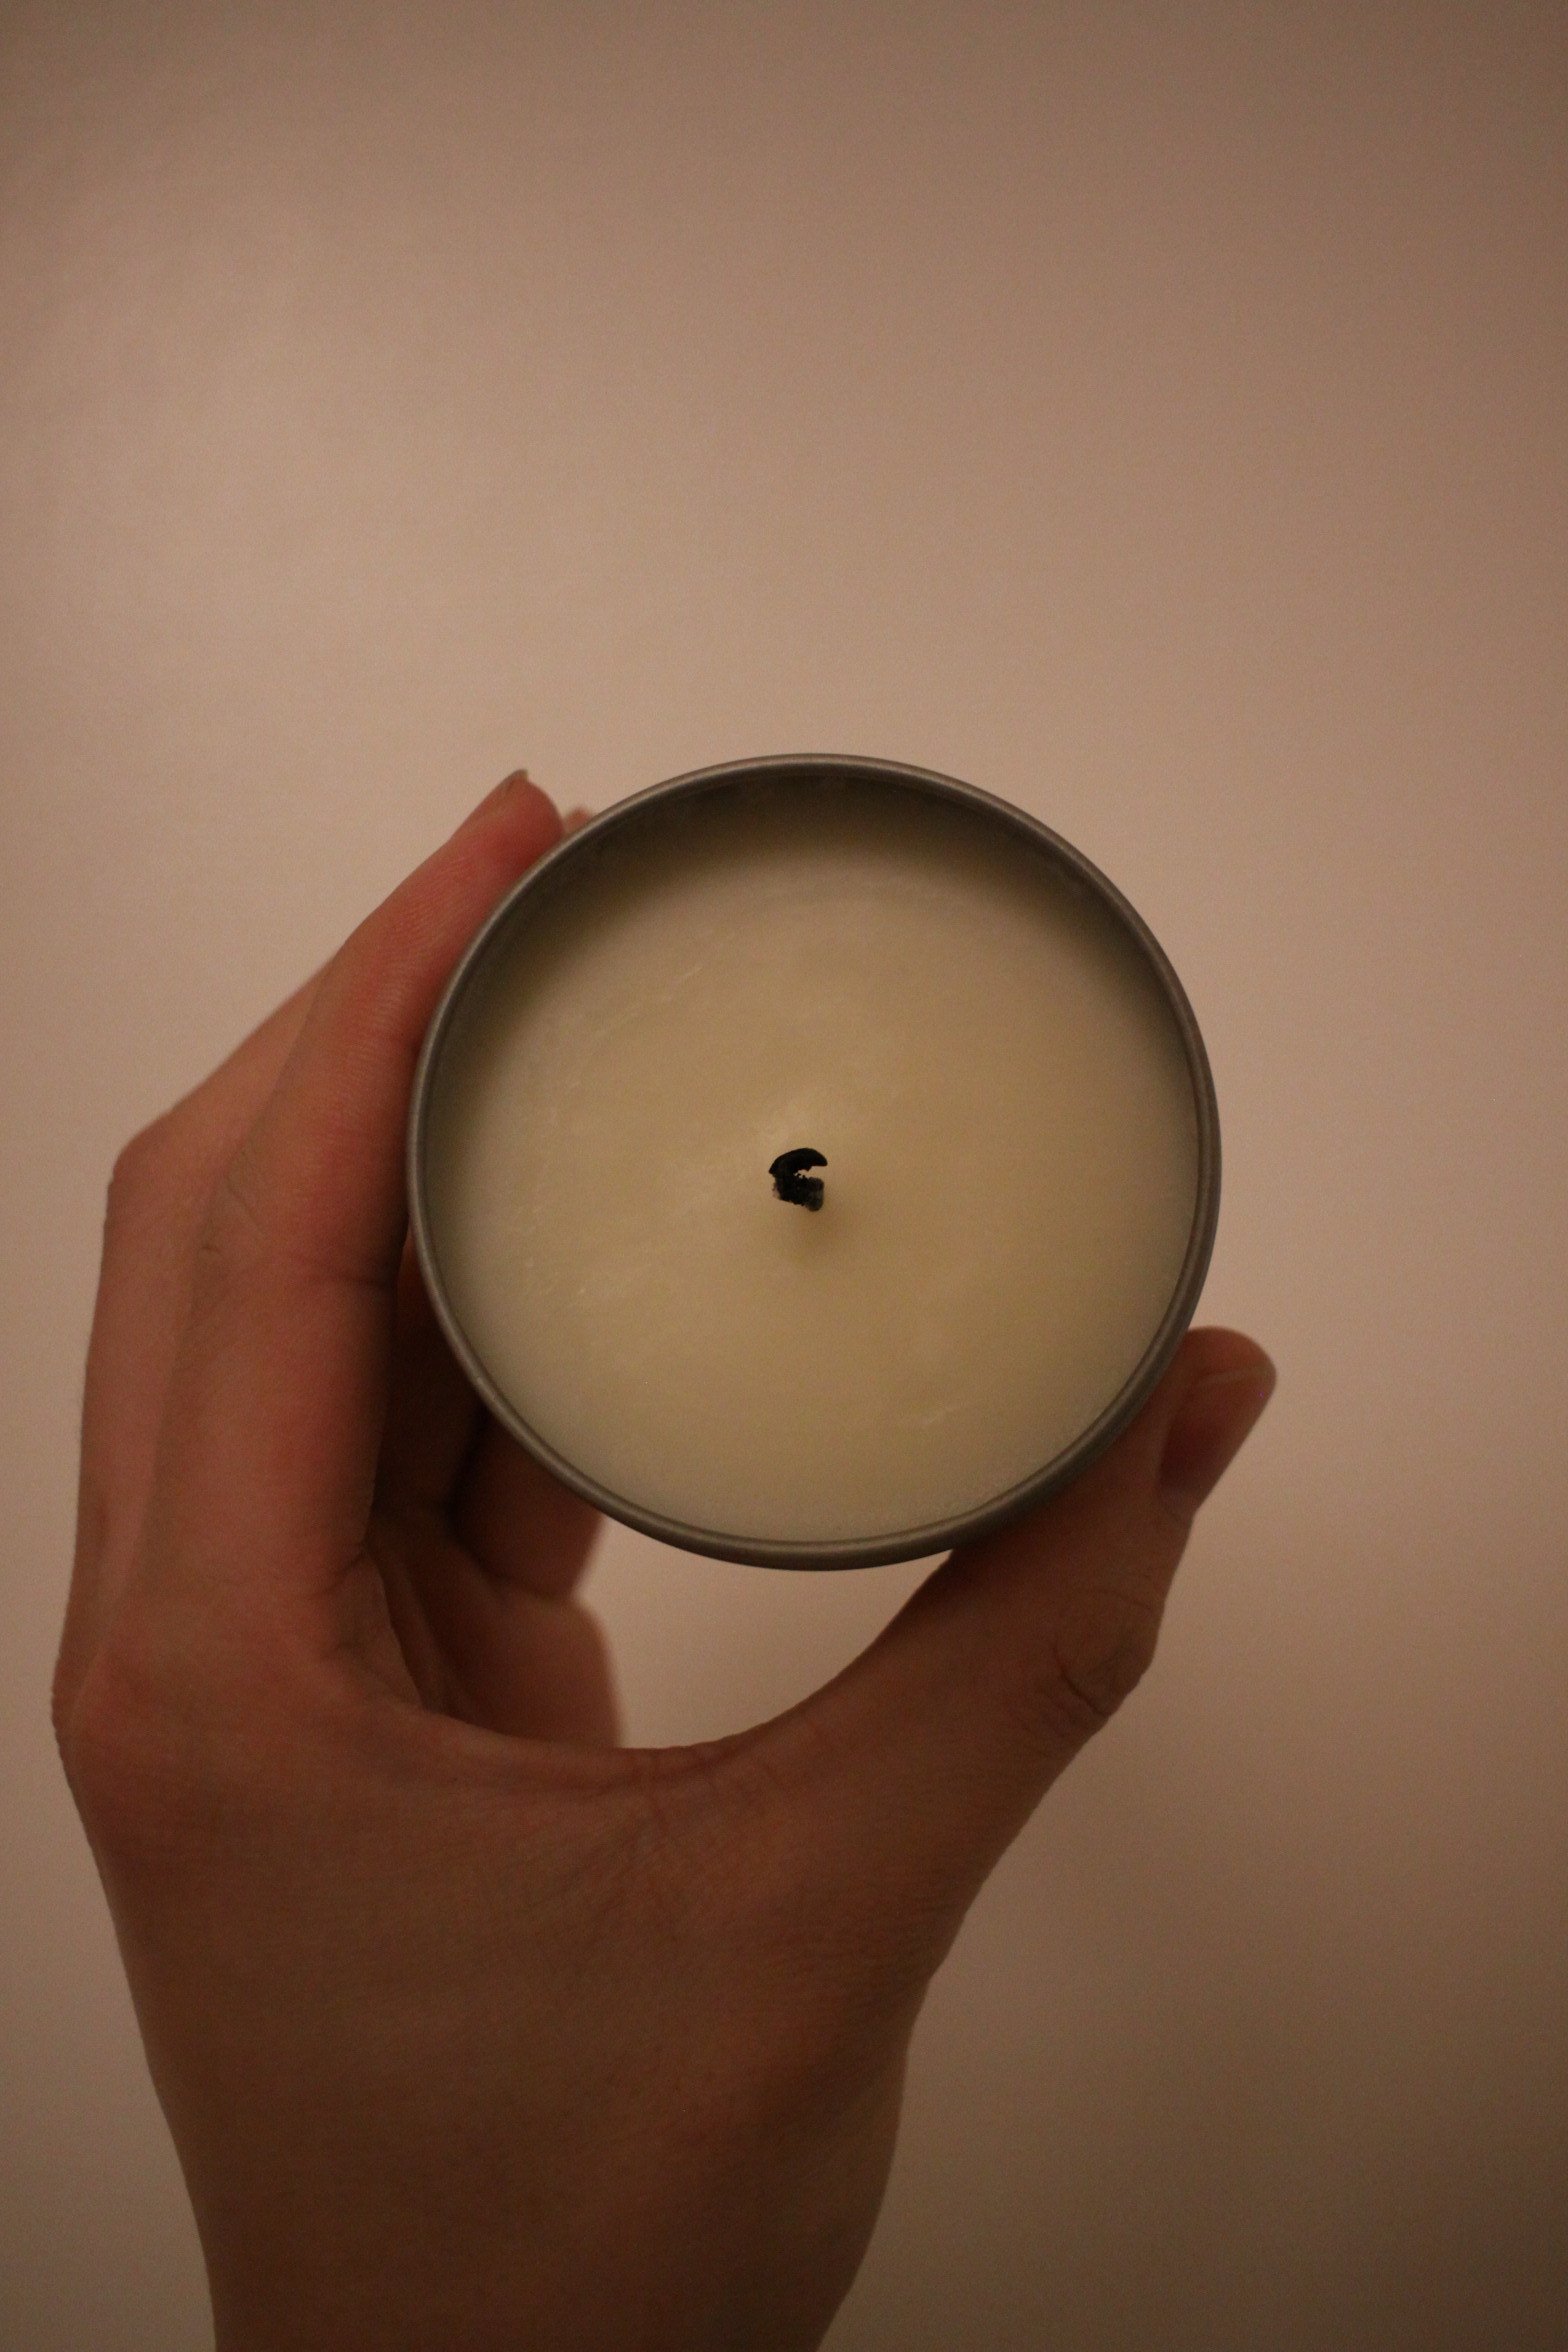
Top from low-temperature pour candle after burning for an hour.
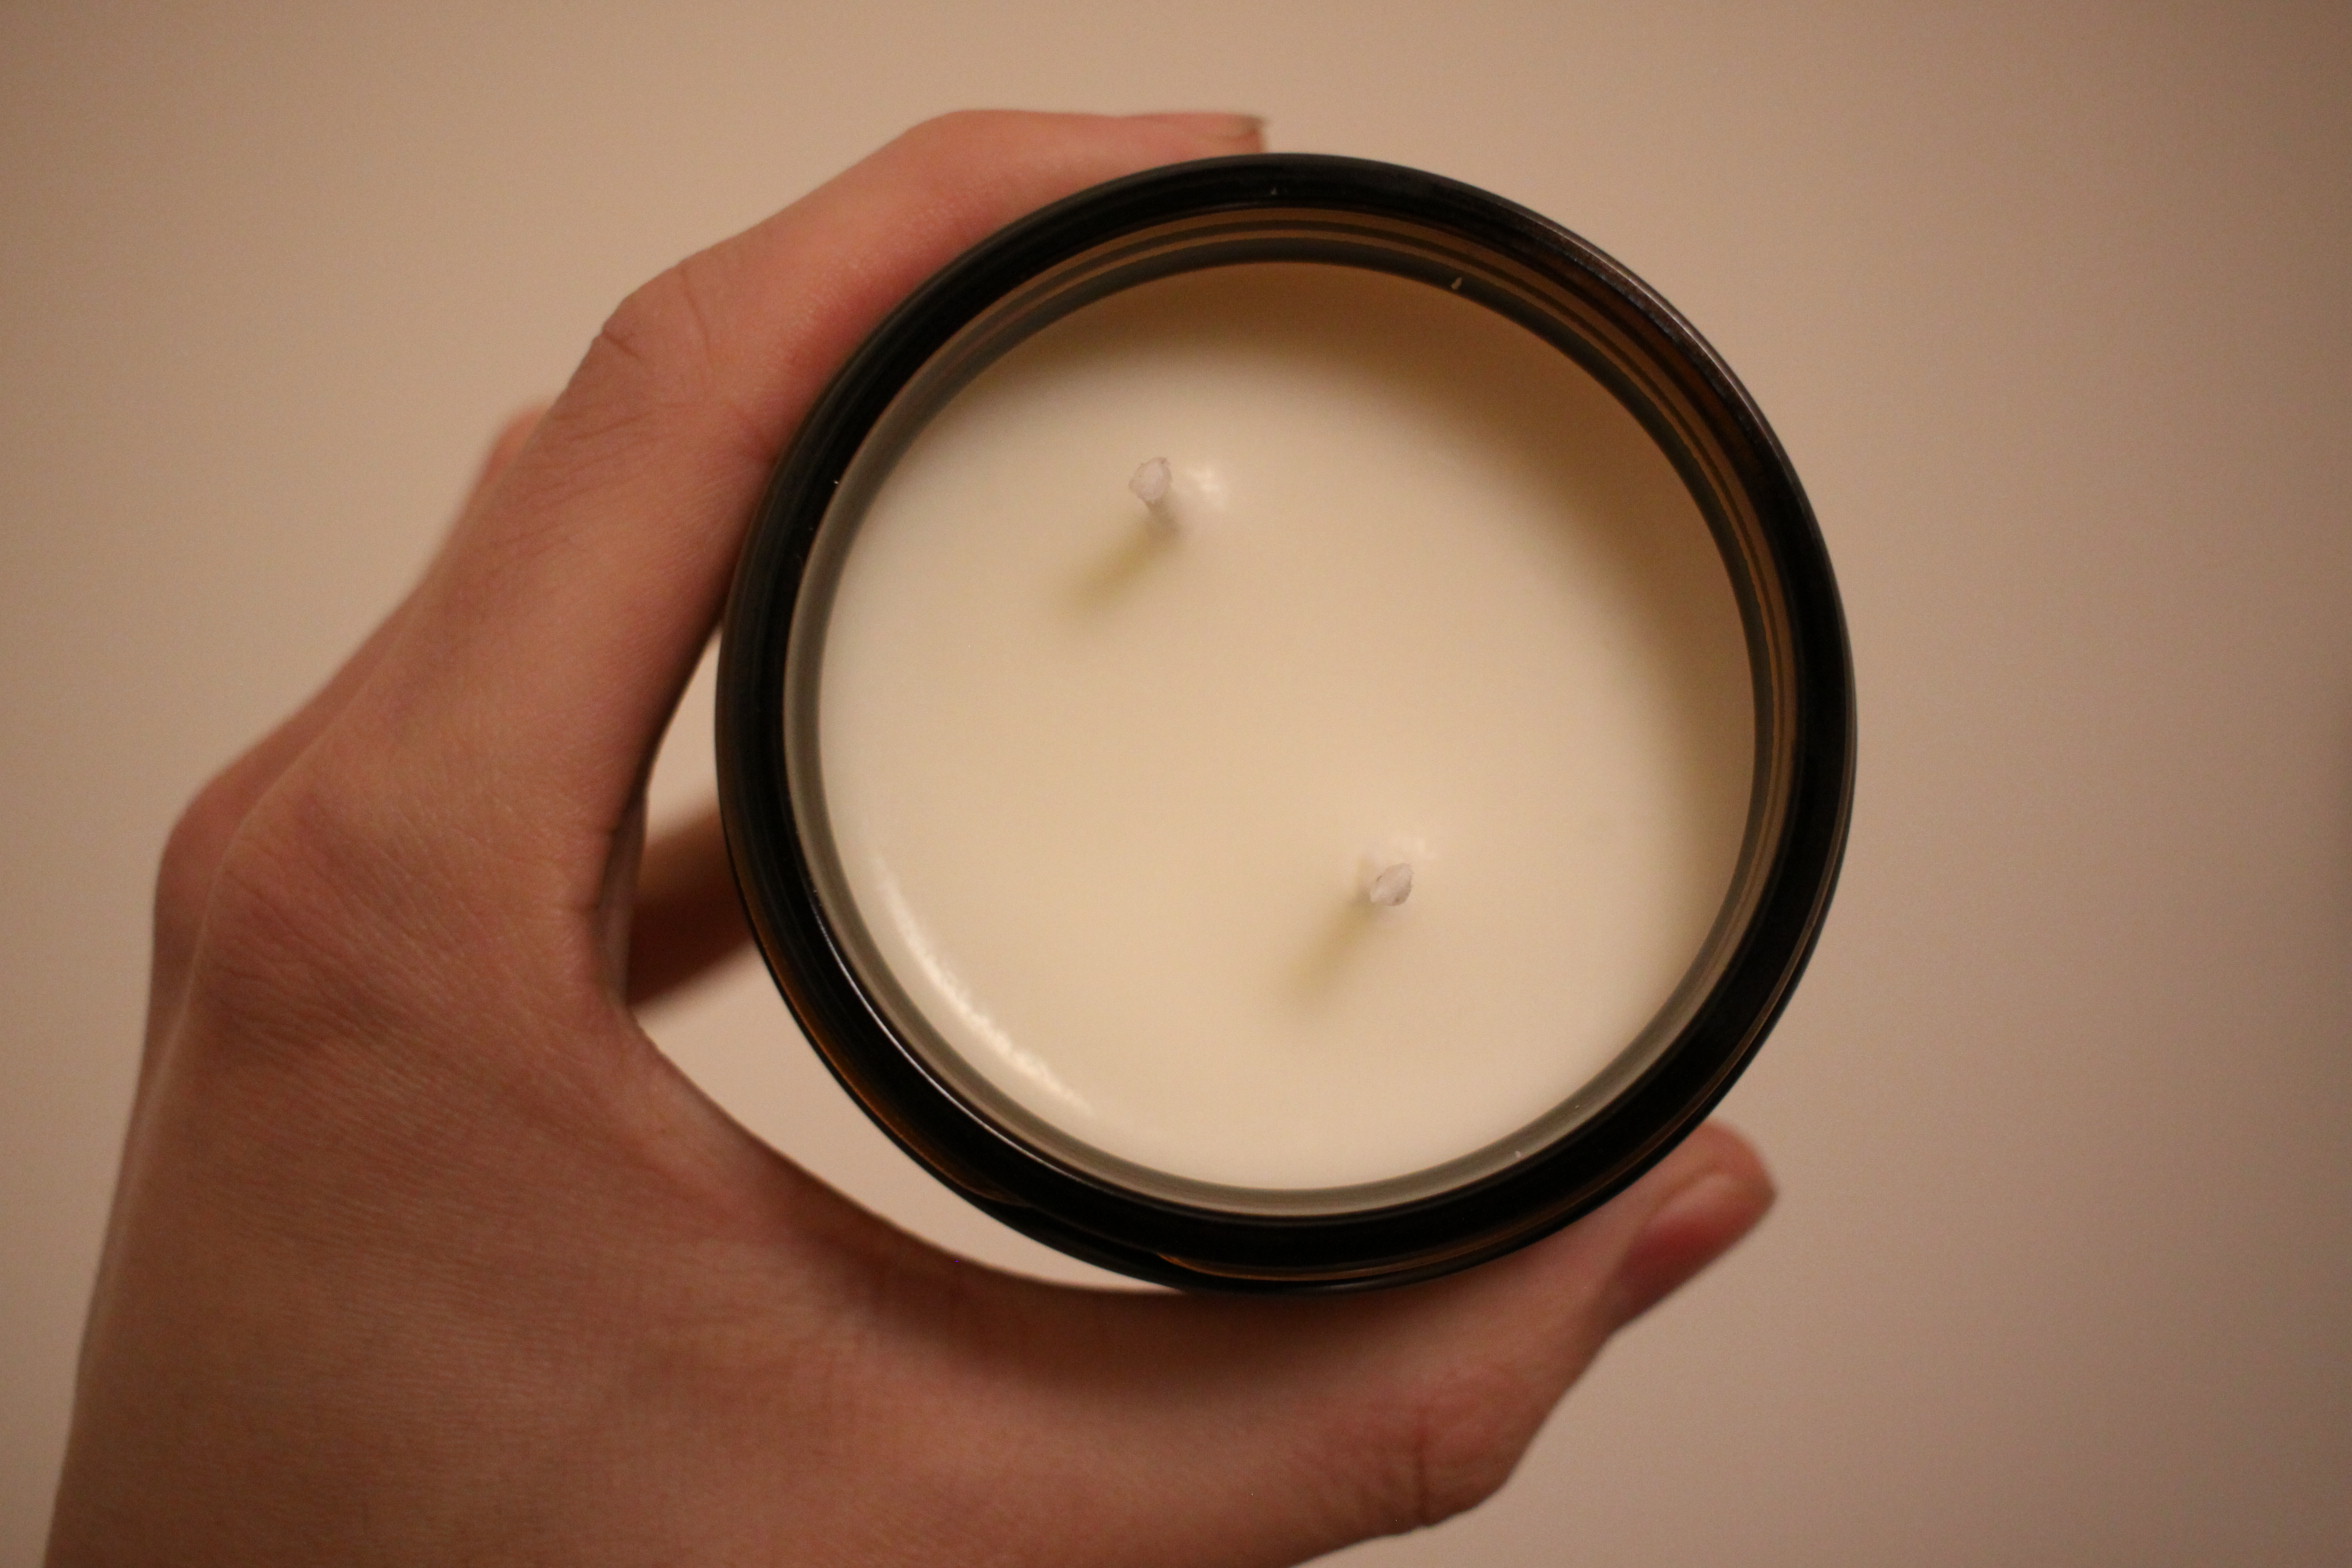
Top from a medium-temperature pour candle after burning for an hour.
I have an idea as to why this reversed effect happened. Because I poured the wax from the candle pouring container at such a low temperature, tiny solid clumps had already started to form by the time the wax was poured out. When these small clumps entered into the final candle container, the liquid wax had to solidify around the solid pieces, creating opportunity for small pores to form within the candle structure. These little pores probably formed all throughout the body of the candle, and are exposed as the candle is burned.
As for why the top surface didn’t originally have any pores, it’s because when pouring, the solid clumps were more dense than the surrounding liquid (more mass in the solid state than the liquid state as molecules are more compact), so they sank. This left only liquid at the top, which meant a more smooth cooling process.
From this experiment, I learned that pouring wax into the candle container at too low of a temperature could have a negative effect in the body of the candle.
To prevent this, I’d suggest ensuring that the final pour is at a temperature that is just before the point when clumping starts to occur, or straining the pour to catch any solids from falling into the candle container.
I applied the insights above to create this candle:
I’ll follow up after letting it cure for a week. Thanks for reading!